How to Build a Potting Bench
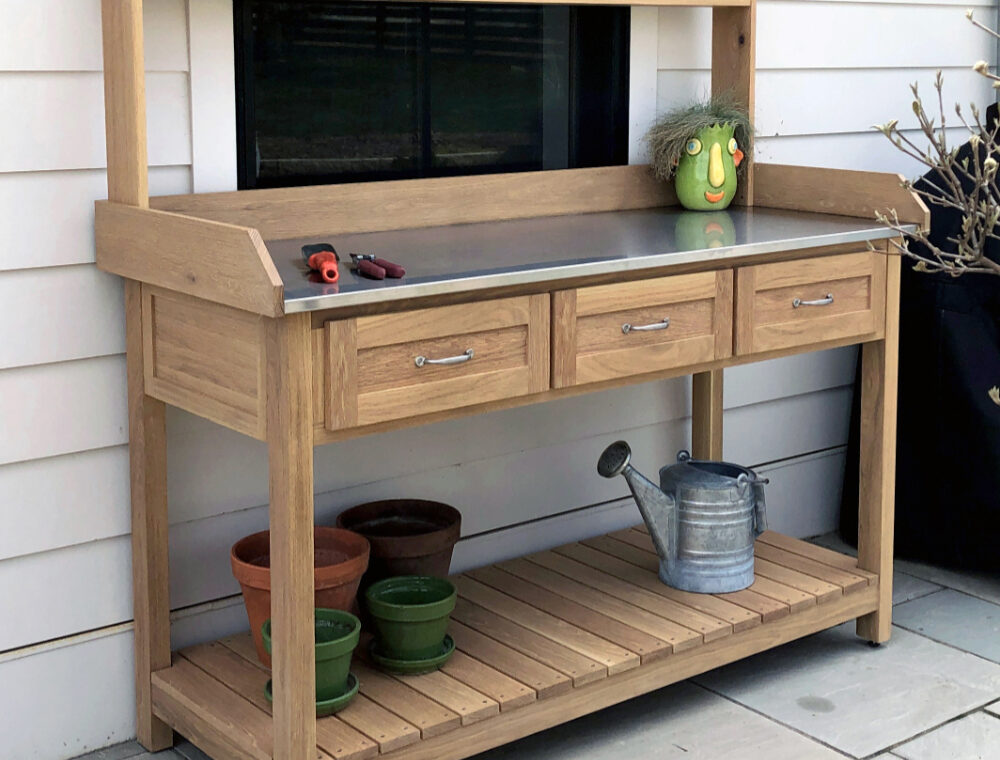
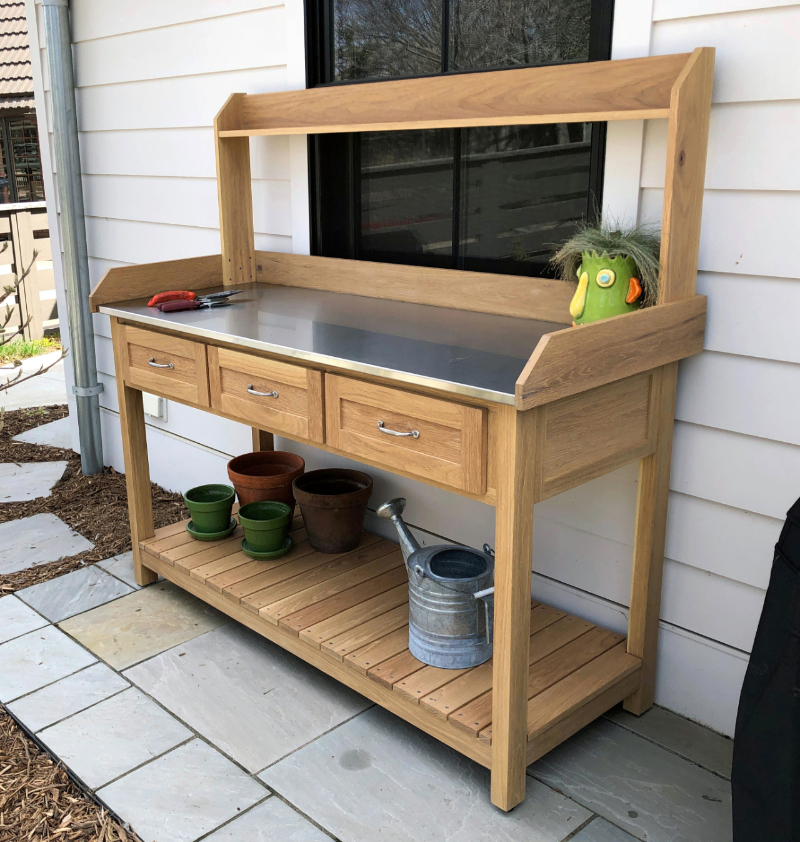
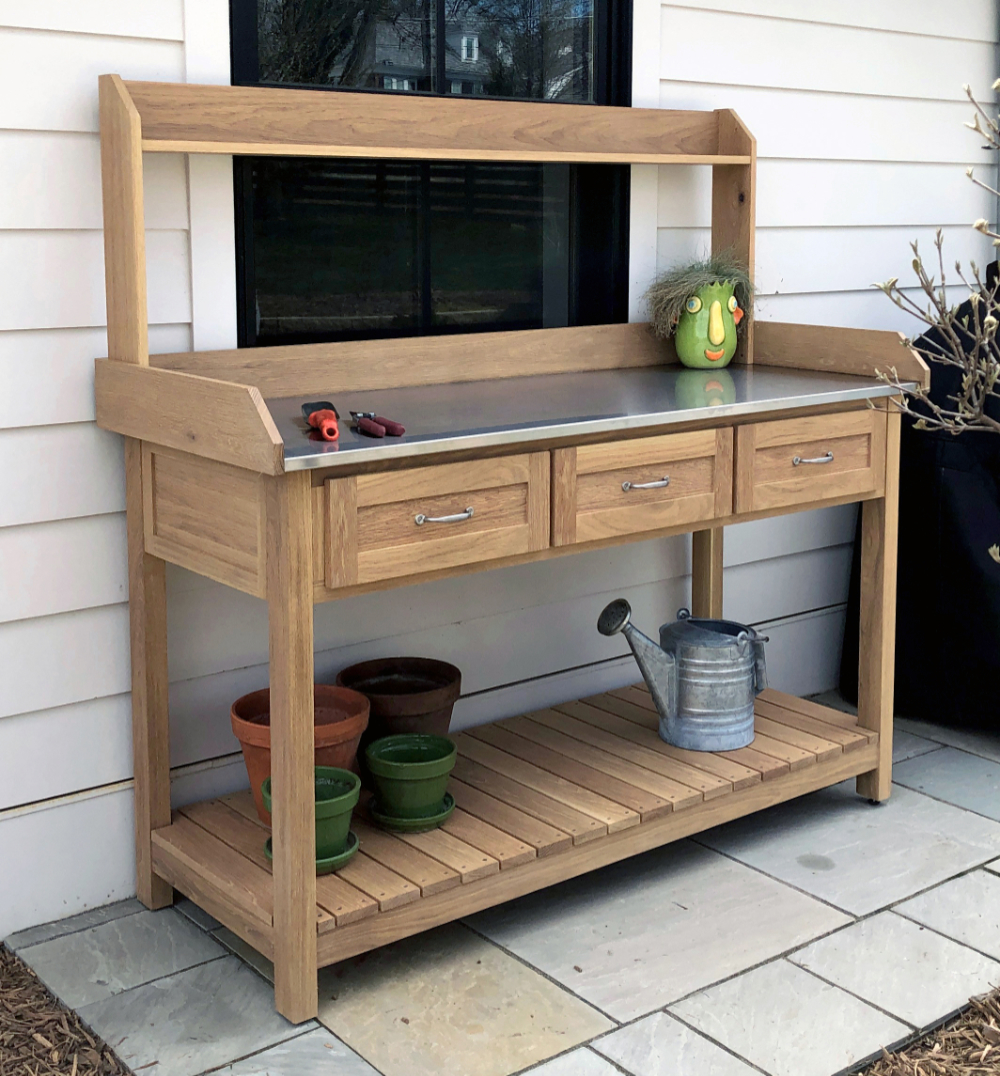
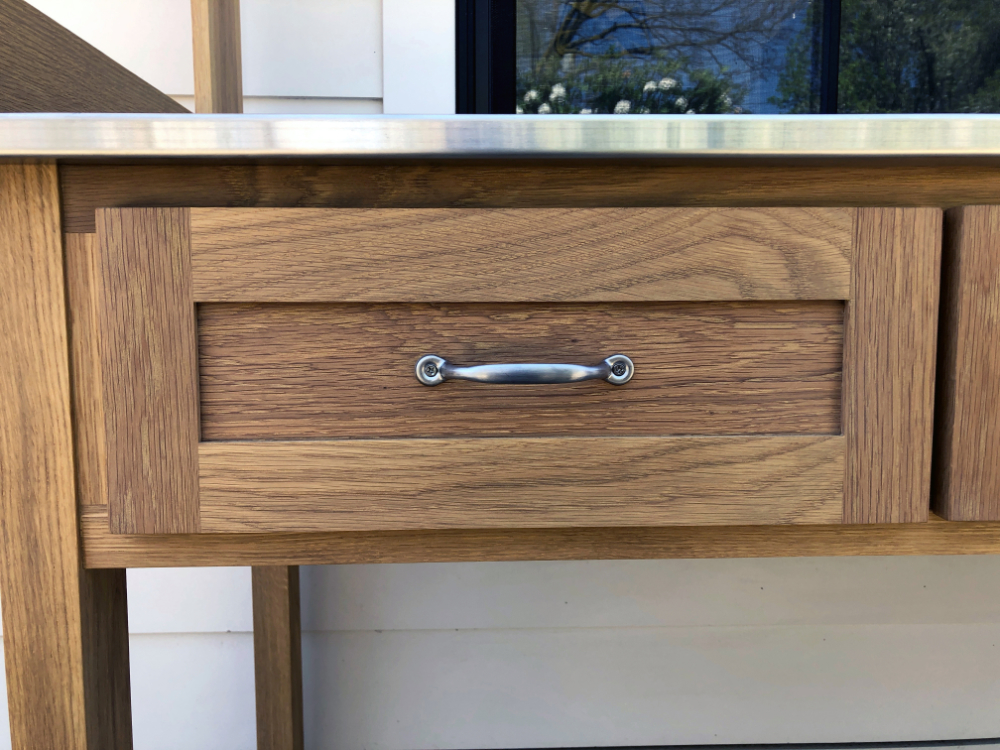
In this article I am going to build a potting bench. Or a gardening bench which is how I’ve always heard it but I am not a gardener so who am I to say what their tools are called. Anyway, this potting bench is roughly 6 feet wide, 2 feet deep and 6 feet tall. The lower area is for storing larger pots and tools, soils, etc. There are three drawers and a stainless steel top and there is also a hutch for storage up top.
Detailed plans for this potting bench are available in my store. They include Sketchup and Fusion files and a PDF with over 80 pages of instruction and images. Plan sales support this website and my YouTube channel. I greatly appreciate all purchases.

Materials and Tools Build a Potting Bench
Lumber and Sheet Goods
- ~20 board feet – 8/4 Hardwood – https://tinyurl.com/84whiteoak
- ~66 board feet – 4/4 Hardwood- https://tinyurl.com/4whiteoak
- 1 – 4′ x 8′ x 3/4″ MDO Plywood – https://tinyurl.com/mdo-plywood
Hardware & Materials
Metal and Steel
- 1 – 62 1/2″ x 25 9/16″ x 16 ga Stainless Steel Sheet
Hardware and Fasteners
- ~100 – #8 x 1 1/4″ Screw https://geni.us/9WCP
- 4 – 1/4 – 20 T Nuts https://geni.us/0KEGeot
- 4 – 1/4 – 20 Threaded Stud Bumper https://geni.us/voGART
- 3 – Drawer Pulls https://tinyurl.com/57ycne8k
- 36 – 10×50 Domino https://geni.us/kAdQ
- 14 – 8×50 Domino https://geni.us/BfzlN1
- 40 – 6×40 Domino https://geni.us/IulDSmD
- 1 pack – Spaceballs https://geni.us/ysBv
- ~12 – #6 X 5/8″ Stainless Steel Pan Head Screws https://geni.us/qupZb
- 6 – #6 x 1/2″ Stainless Steel Countersink Screws https://geni.us/votr2F
- 1 pack – Z Clip Table Top Fasteners https://geni.us/Semye
- 12 – #6 x 1-1/4″ Stainless Steel Pan Head Wood Screws – https://geni.us/kgOVk4V
Adhesives
- 2 – TotalBoat Thixo Epoxy** – https://geni.us/YaeJy78
- 1 – Epoxy w/Slow Hardener** – https://geni.us/gGcgmGH
- 1 – Silica Epoxy Thickener** – https://geni.us/uMQse
- 1 – Liquid Nails Adhesive – https://geni.us/znpO
- 1 – Titebond III – https://geni.us/EYEXmF
**As you will learn later in this article, the adhesive I chose for the project turned into a bit of a nightmare and I do not recommend using the same. There are a couple of glue ups in this project that are a bit complex so you will need something that is both waterproof and has a long open time. For the long open time I recommend either using TotalBoat Thixo Epoxy (it’s very easy to use but a bit pricey and not quite as long of open time as regular epoxy) or a regular epoxy with a silica thickening agent added. The thickening agent helps keep down the mess but it does shorten the open time so be aware.
Finish
- 3 10ml bottles – Rubio Monocoat Hybrid Wood Protector (Pure) – https://geni.us/I4pNAiy
Any outdoor finish will do but just about anything is going to need to be reapplied at the very least every other year and at most annually so keep that in mind.
Tools Used
- DeWalt FlexVolt Track Saw Kit – https://geni.us/8r8YfQq
- DeWalt 20V Max Drill and Impact Driver – https://geni.us/jz2SJ2v
- Festool ETS EC 150 Random Orbit Sander – https://geni.us/cjyfTt
- Festool CT36 Dust Extractor – https://geni.us/yaBd
- Oneida Ultimate Dust Deputy for Festool Vacs – https://geni.us/B73L0
- Festool DF500 Domino – https://geni.us/zi1MyY
- Laguna 18BX 18″ Bandsaw – https://geni.us/gJFv9
- DeWalt Jigsaw – https://geni.us/Ir9l7ZL
- DeWalt 735 13″ Planer – https://geni.us/uCR7jW
- SuperMax 19-38 Drumer Sander – https://geni.us/s88M
- WEN 12″ Drill Press – https://geni.us/u0X3QB
- WEN 10″ Bandsaw – https://geni.us/U6u28xA
- DeWalt Right Angle Drill Attachment – https://geni.us/WTmUD
- Bosch Glide 12″ Sliding Compound Miter Saw – https://geni.us/waPb
- SawStop CNS Contractor Table saw – https://geni.us/bropyjj
- Incra Miter 5000 – https://geni.us/Zc2rsYB
- Microjig GRR-RIPPER – https://geni.us/Qo1O
- Bessey F Style Clamps – https://geni.us/lfgt
- Bessey K Body Revo Parallel Clamps – https://geni.us/TMu0to
- Oneida Mini Gorilla 1.5 HP Dust Collector – https://geni.us/w5bFL
- Snappy 5pc Countersink Drill Bit Set – https://geni.us/fbm6kM8
- Snappy 5pc Self Centering Hinge Drill Bit Set – https://geni.us/OvzqTF
- Ridgid Palm Router – https://geni.us/J8zOhJs
theaveragecraftsman.com is a participant in the Amazon Services LLC Associates Program, an affiliate advertising program designed to provide a means for sites to earn advertising fees by advertising and linking to amazon.com
Build a Potting Bench
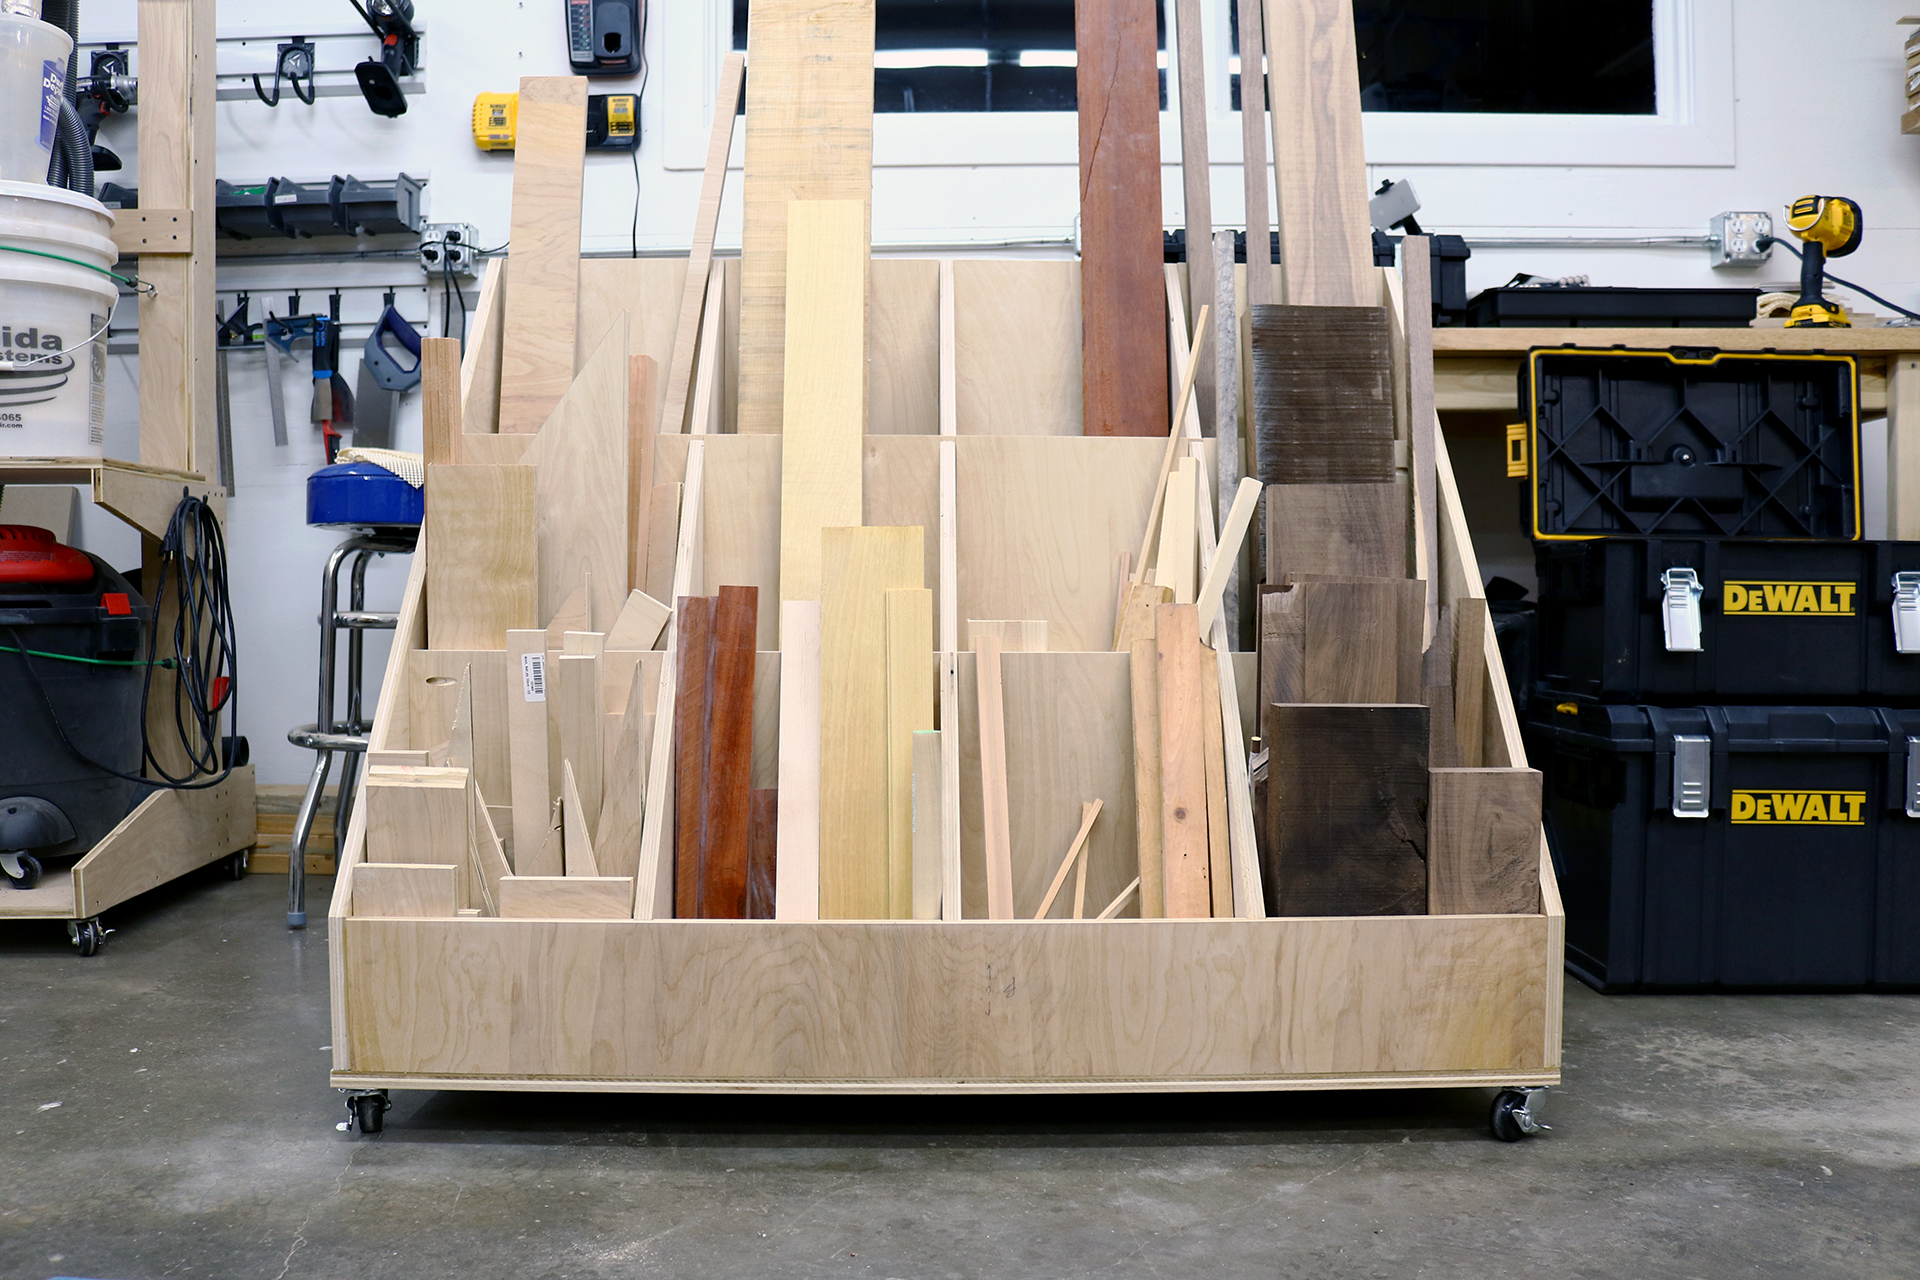
Breaking Down the Lumber
This potting bench is going to be outside so I needed to find a wood that could withstand being out in the elements. The customer and I settled on white oak. I calculated how many board feet I would need for the project and added a 20% to be safe and then headed to the hardwood dealer. This potting bench is built completely out of solid wood except for the top which is stainless steel over an MDO plywood sub top.
Outside of cutting boards I haven’t really worked with solid wood and there are definitely some different challenges compared to working with plywood. The first of those challenges I faced was laying out all of the parts on the boards. I measured all of the different boards I bought and then took those into Fusion 360 and laid out all of the different parts on each board. With all the boards being different sizes there was a lot of trial and error. I also used up every bit of the 20% buffer I bought.
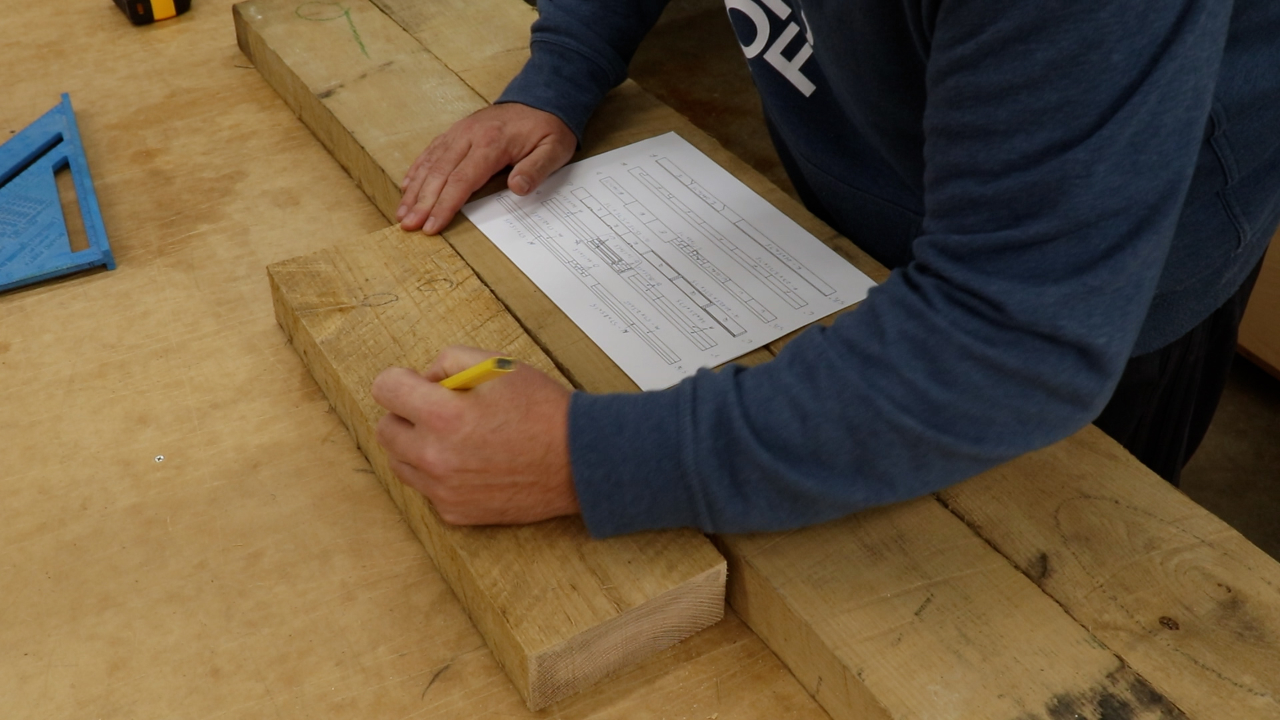
Laying out the parts
I used a jigsaw to cut the boards into more manageable sizes. As I cut the boards down I labeled each piece with whichever parts were in that piece. I then went to the band saw and miter saw to break down the pieces. I was not ready for milling at the jointer and planer.
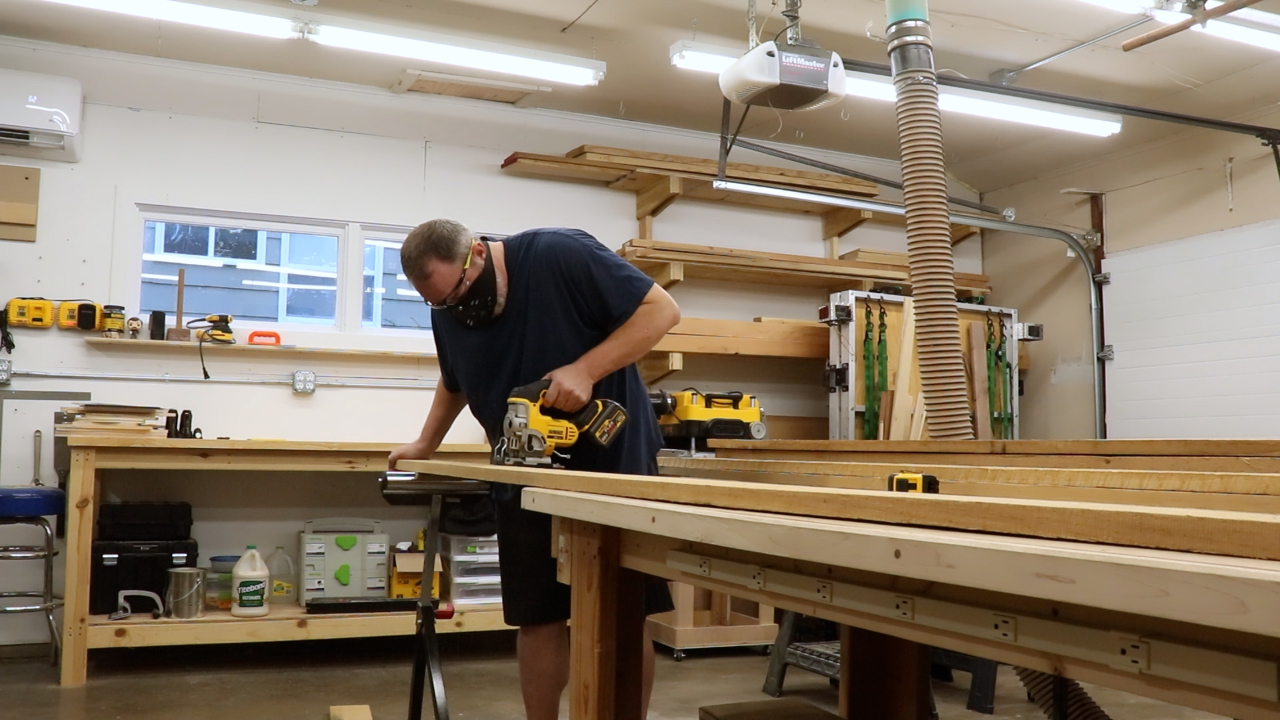
Breaking down the lumber into more manageable pieces with the jig saw
Labeling every part to stay organized
Milling the Lumber – Build a Potting Bench
Let’s talk a little about the milling process. The very long milling process. I was kind of taken aback at how long this process took and it was the biggest change from working with plywood. Buying presurfaced wood can definitely save you time but you will pay quite a bit more for the wood. You will also be more limited in how much twist, warp, etc you can mill out of the wood.
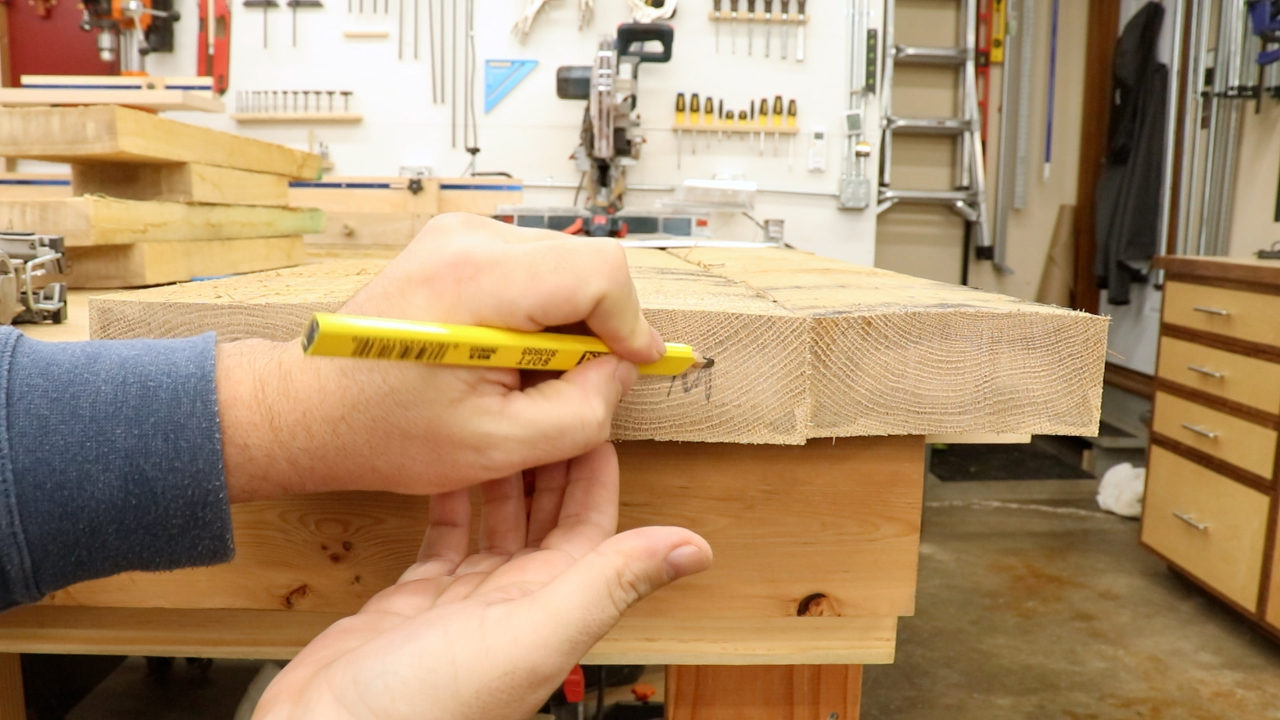
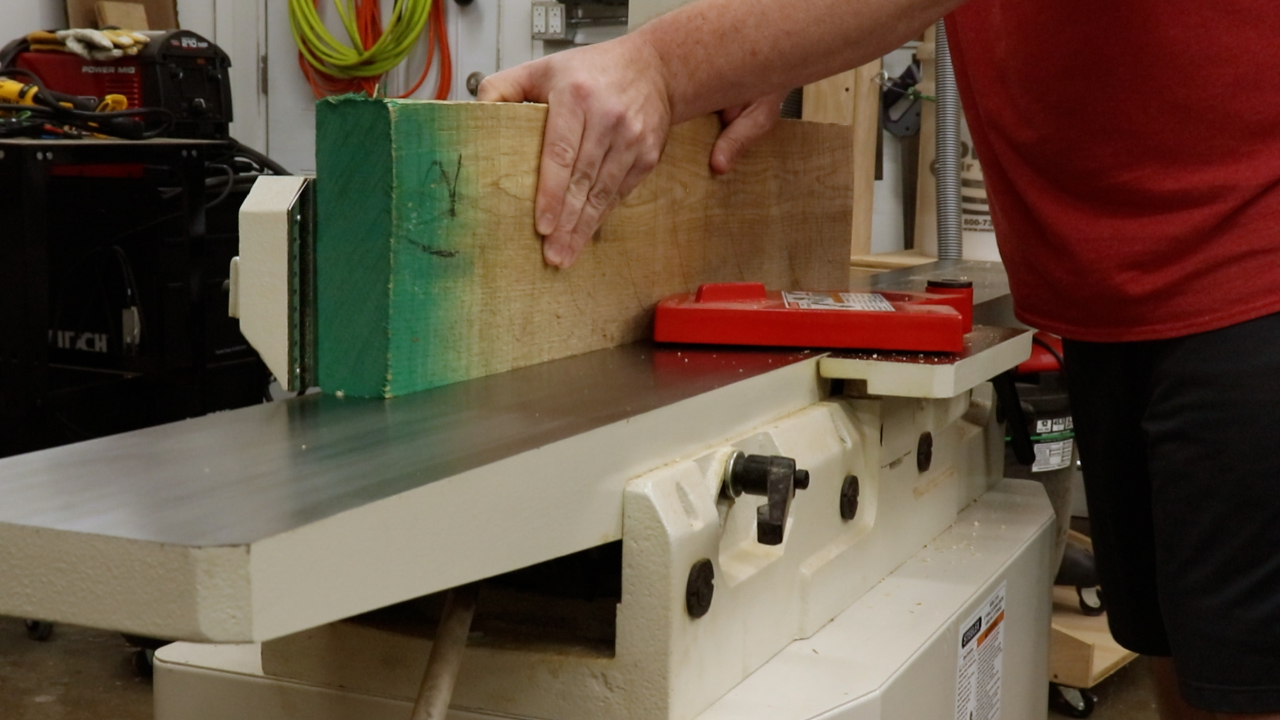
Before sending anything through the jointer or planer I marked the grain direction on each piece to prevent tearout as much as possible. I then jointed one side, planed the other side, and then back to the jointer to joint one edge.
On the first step of milling I left everything about 1/8 – 1/4” heavy and then I let them rest at least overnight. I only milled to their final dimensions when I was ready to start assembling those parts. Also, I made sure to take off equal amounts of material from each side. This helps to ensure that each of the faces have similar moisture content which limits the amount of movement in the parts.
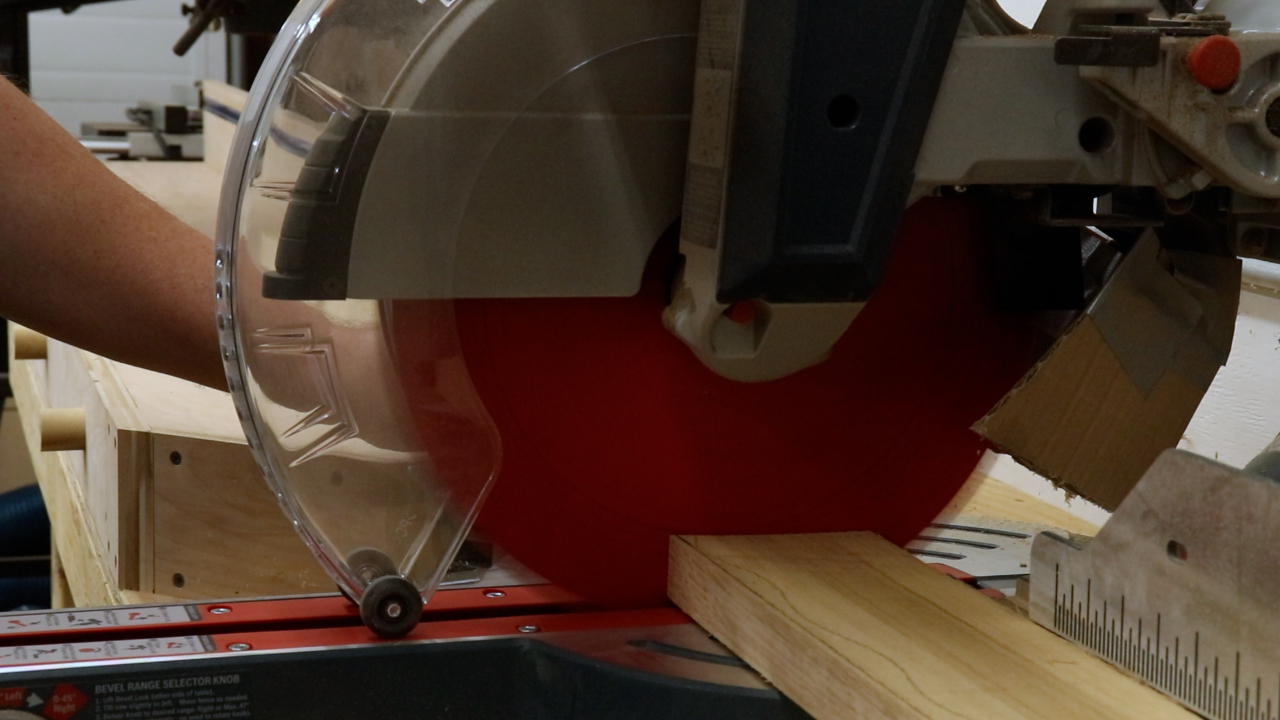
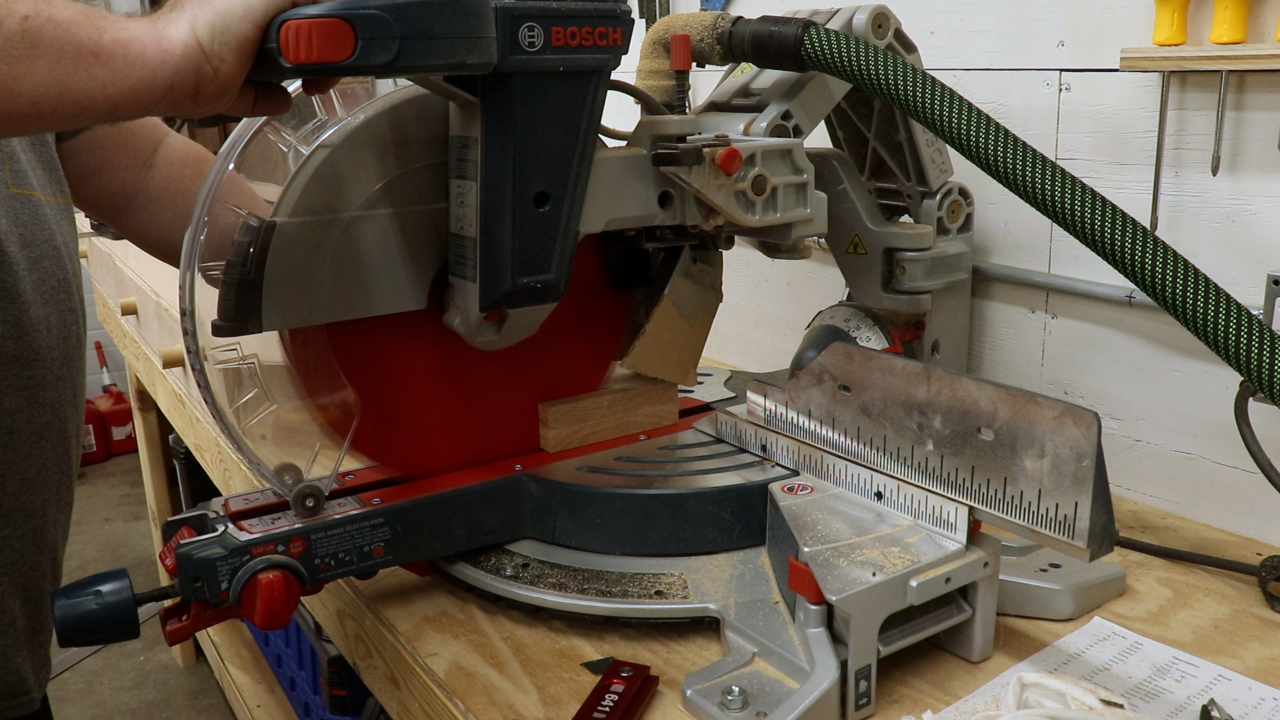
Using the miter saw to break down larger pieces
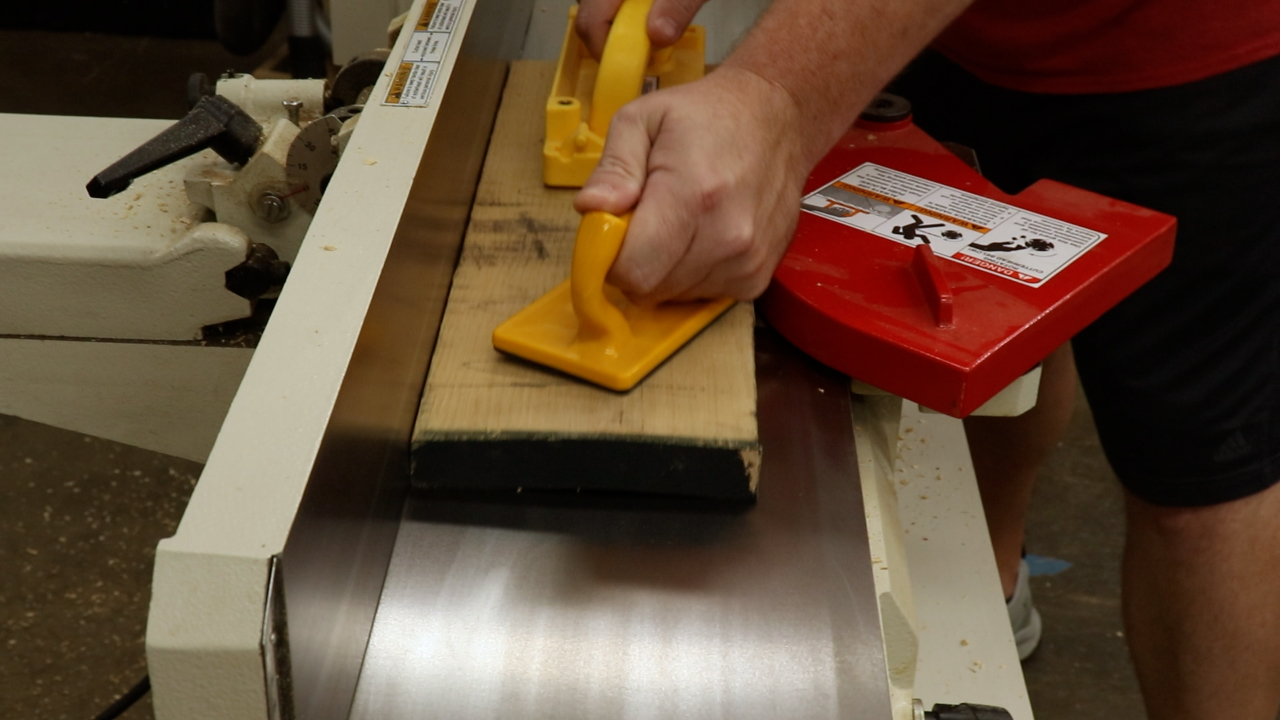
Jointing one face
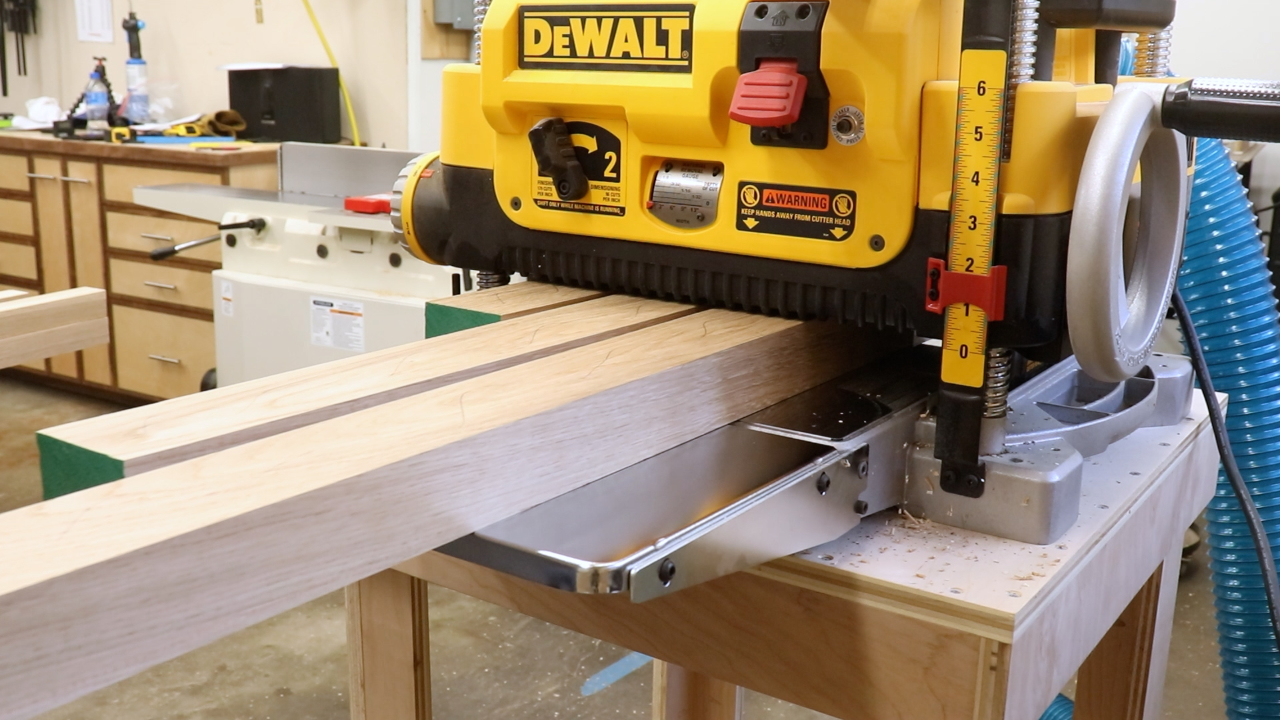
Planing the opposite face
Jointing one edge
This is the last I’ll show of the milling process but you can assume that I milled parts before each assembly step.
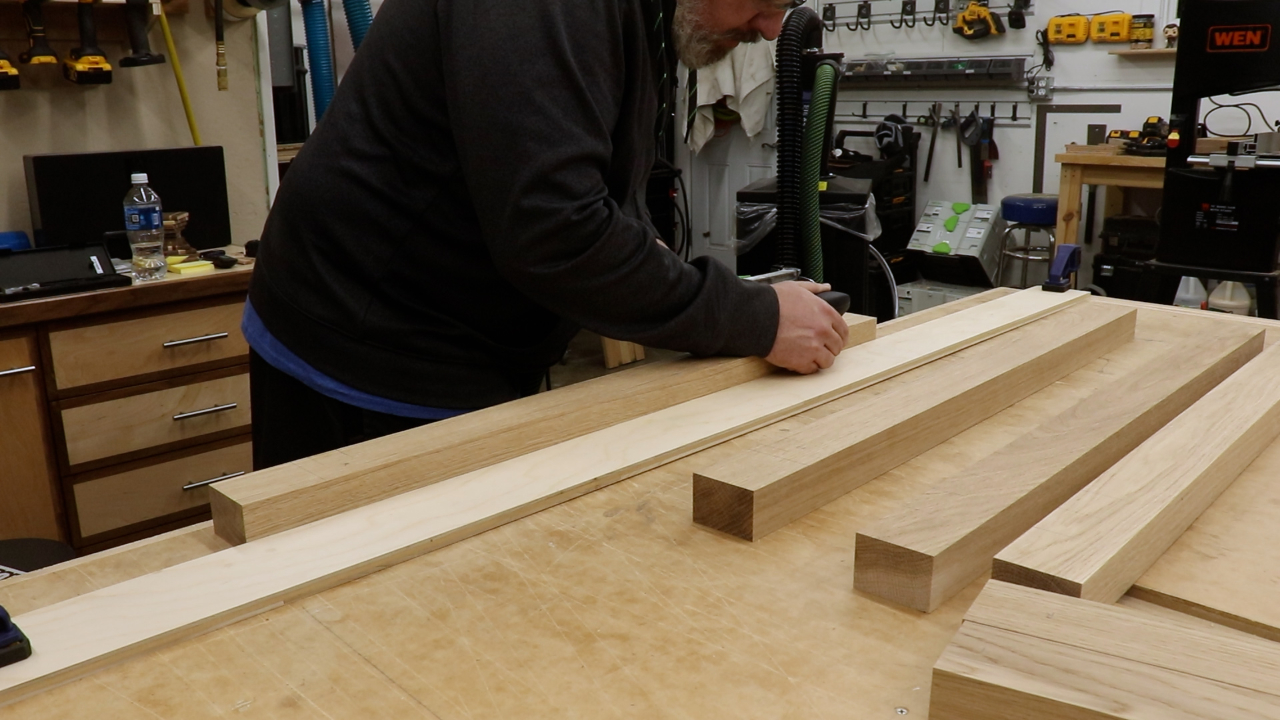
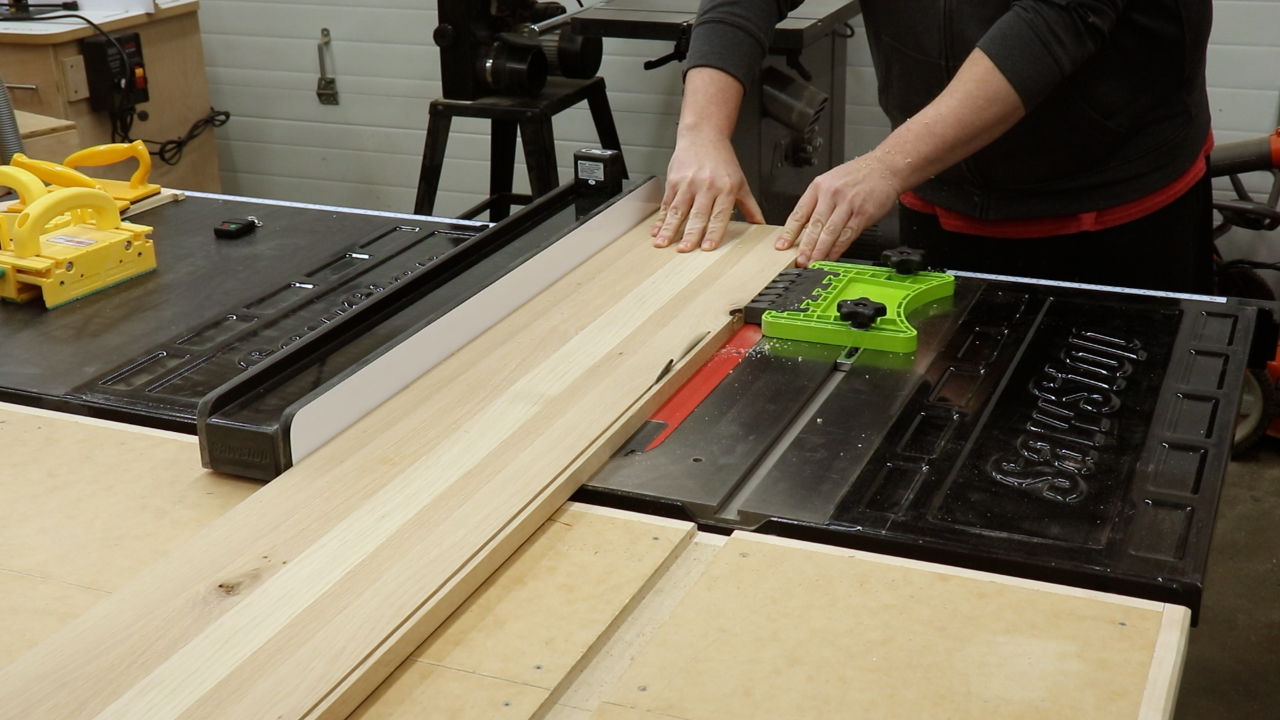
Side Assemblies – Build a Potting Bench
I could now start assembly and the first parts to assemble were the sides so I cut down the parts to their required size at the table saw. Each side is made up of two legs, a frame and panel at the top and a stretcher at the bottom. The frame and panel is a simple stile and rail assembly but I made this way more complicated than needed. I originally wanted a 3/4” panel centered in a 1 1/2” frame. To try and save material I decided to do a 1/4” panel. That would have been fine if I still centered the panel but I wanted a smaller setback so I offset the panel to one side.
Cutting to final width at the table saw
Frame and Panel – Build a Potting Bench
Tongue and Groove
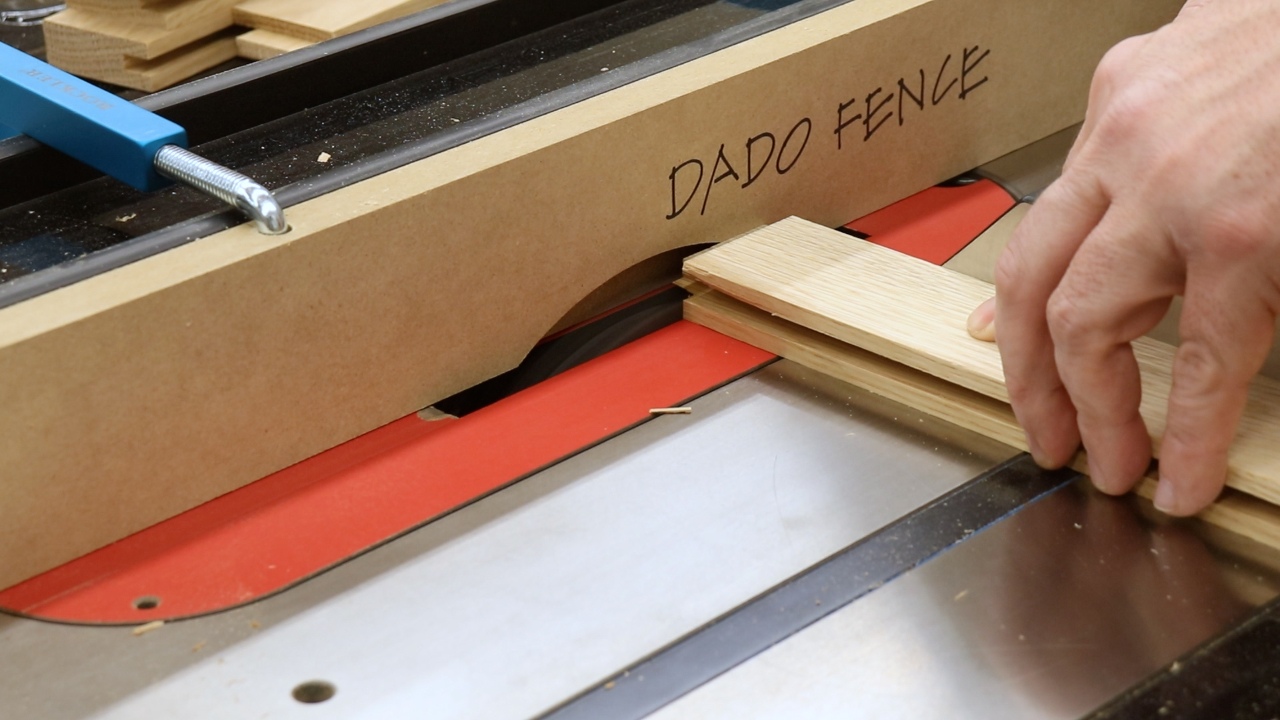
Each stile and rail needed a 1/4” groove which was very easy using my dado blade.
Cutting the groove with the dado blade
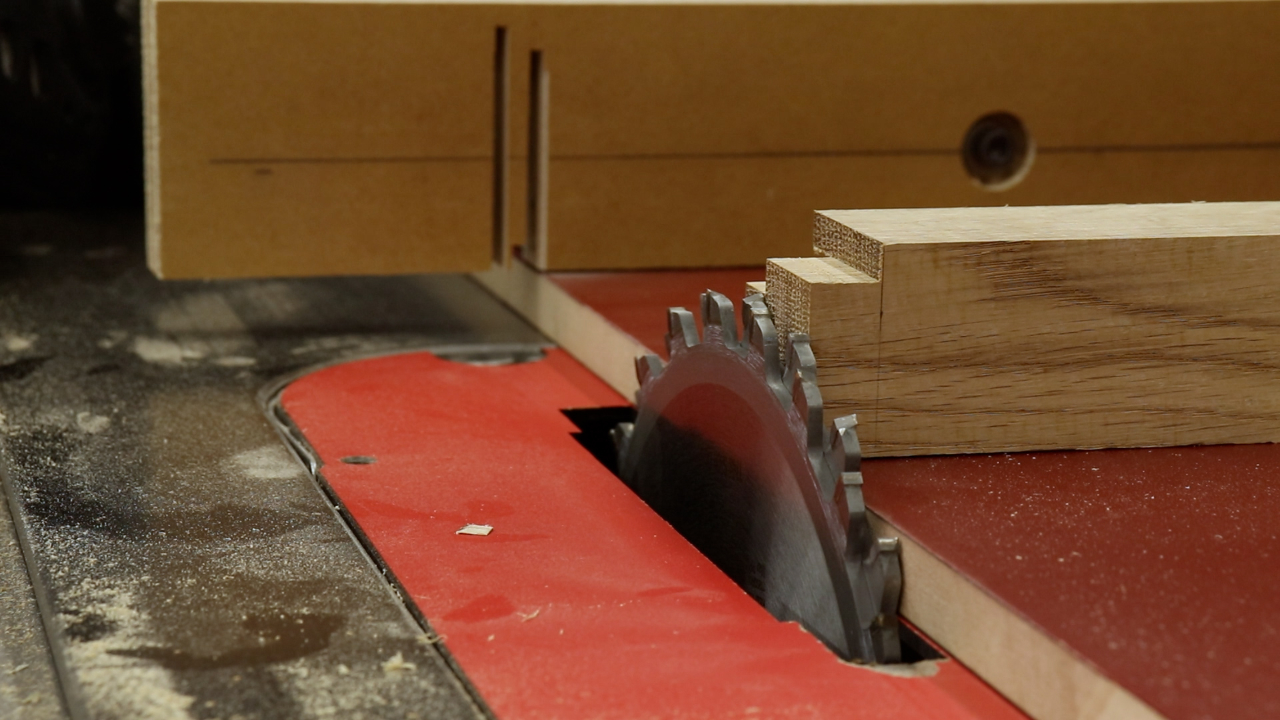
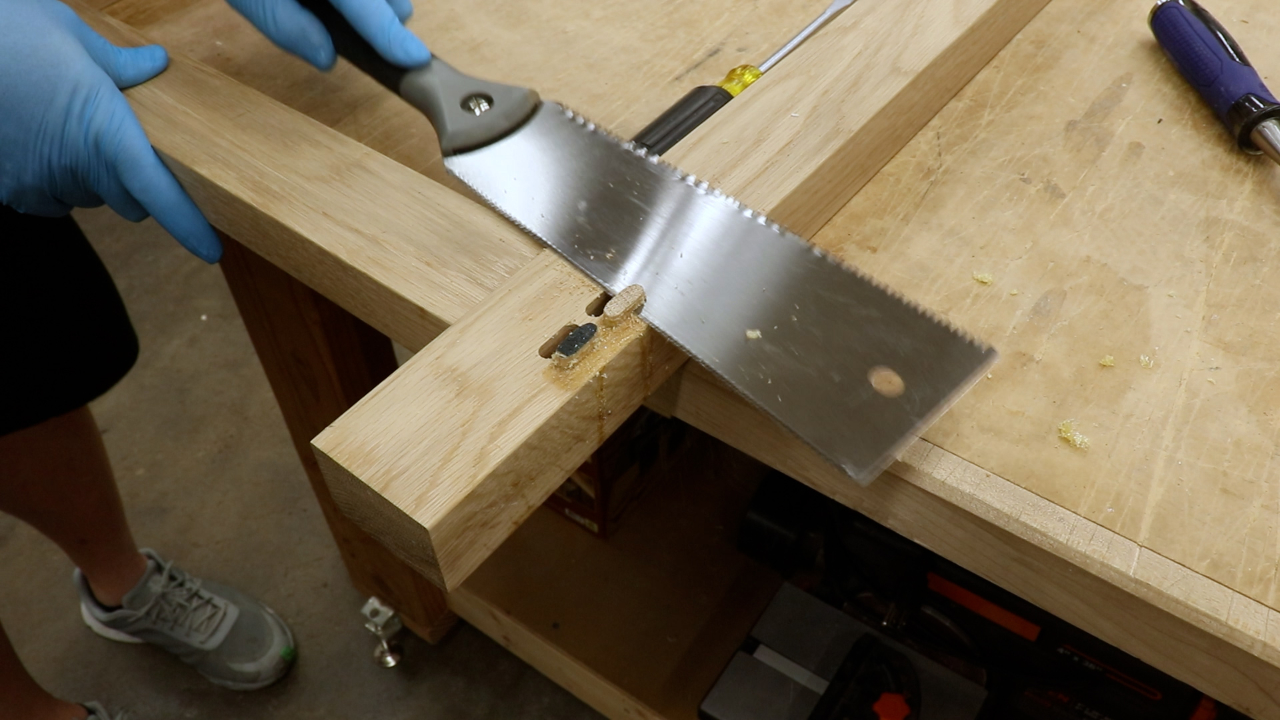
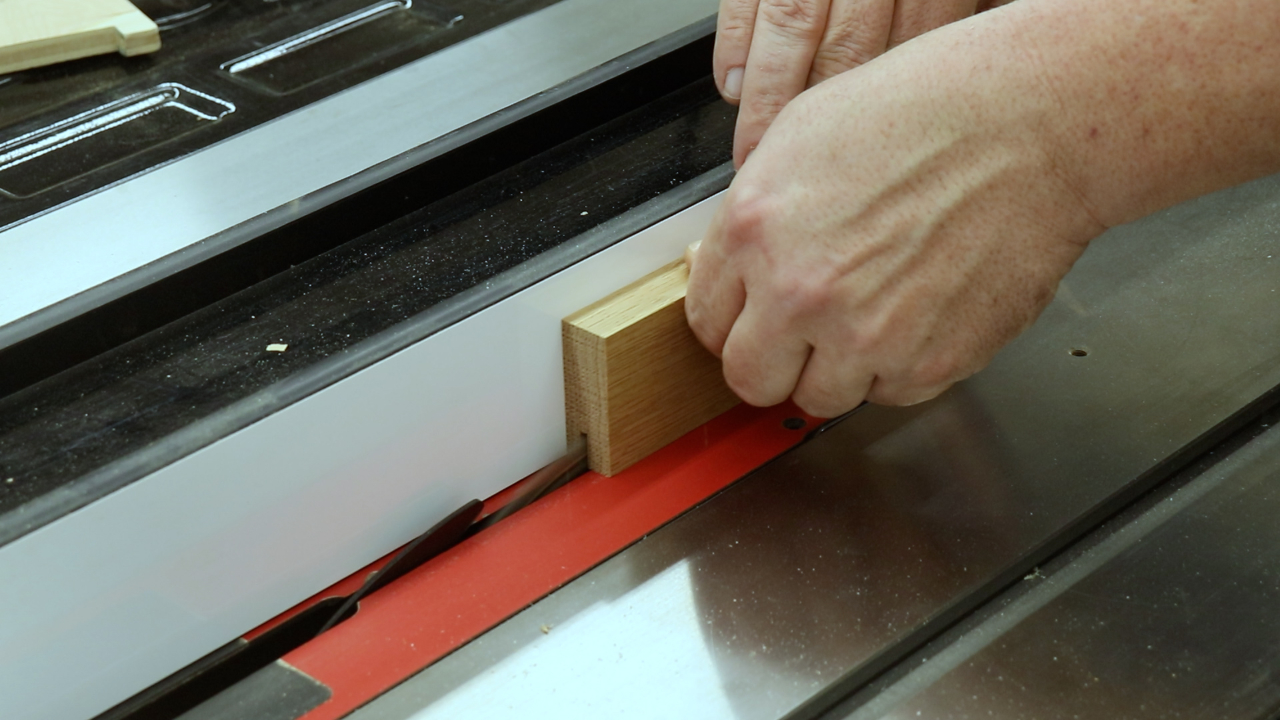
I then needed to cut a tongue on each end of each rail and this is where things got sideways. Normally this is very easy using a table saw. You just set the blade height a little low and then flip the piece back and forth nibbling off a bit each time which allows you to sneak up on a good fit. Because the tongue was offset I had to try and get one side perfect and then flip the piece, change the height and get that side perfect.
Cutting the tongue shoulder
After a couple of fails I decided to try and utilize the router table in the process. I set the table saw for one side and the router table for the other and just went back and forth. This was far from efficient but I was able to make it work through a lot of trial and error.
Trying to align the other side of the tongue
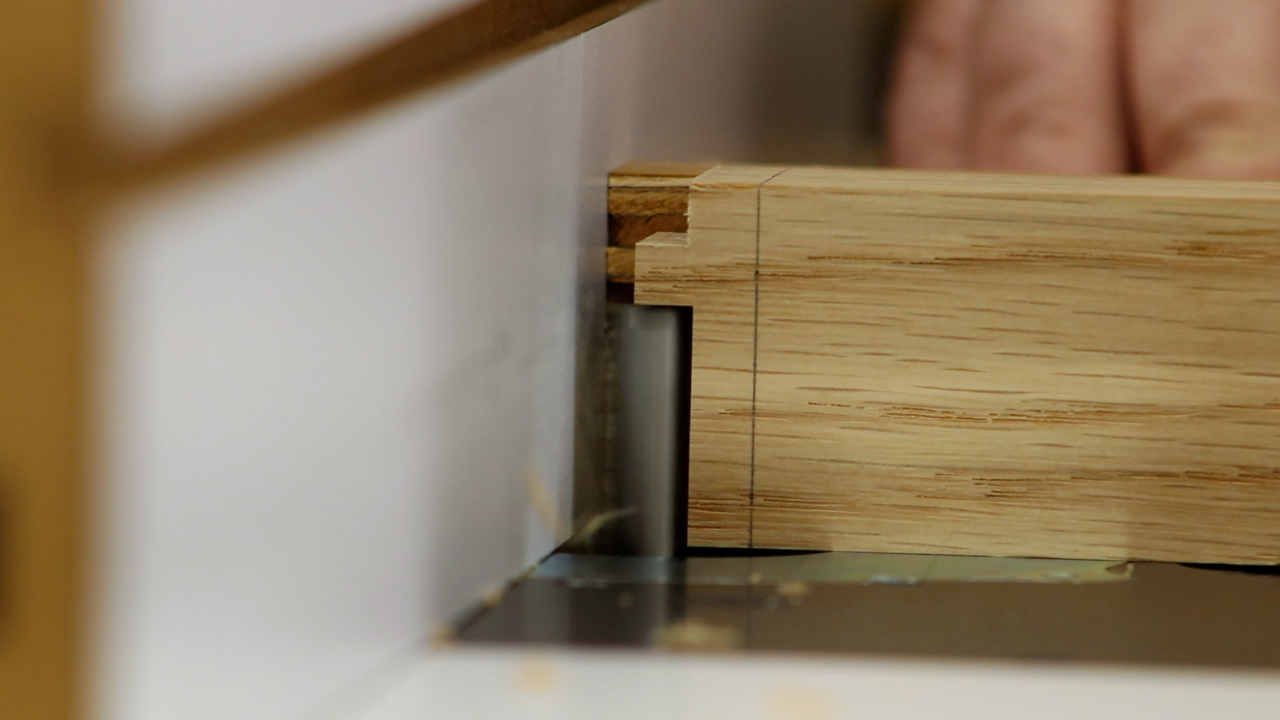
Using the router table for opposite setup
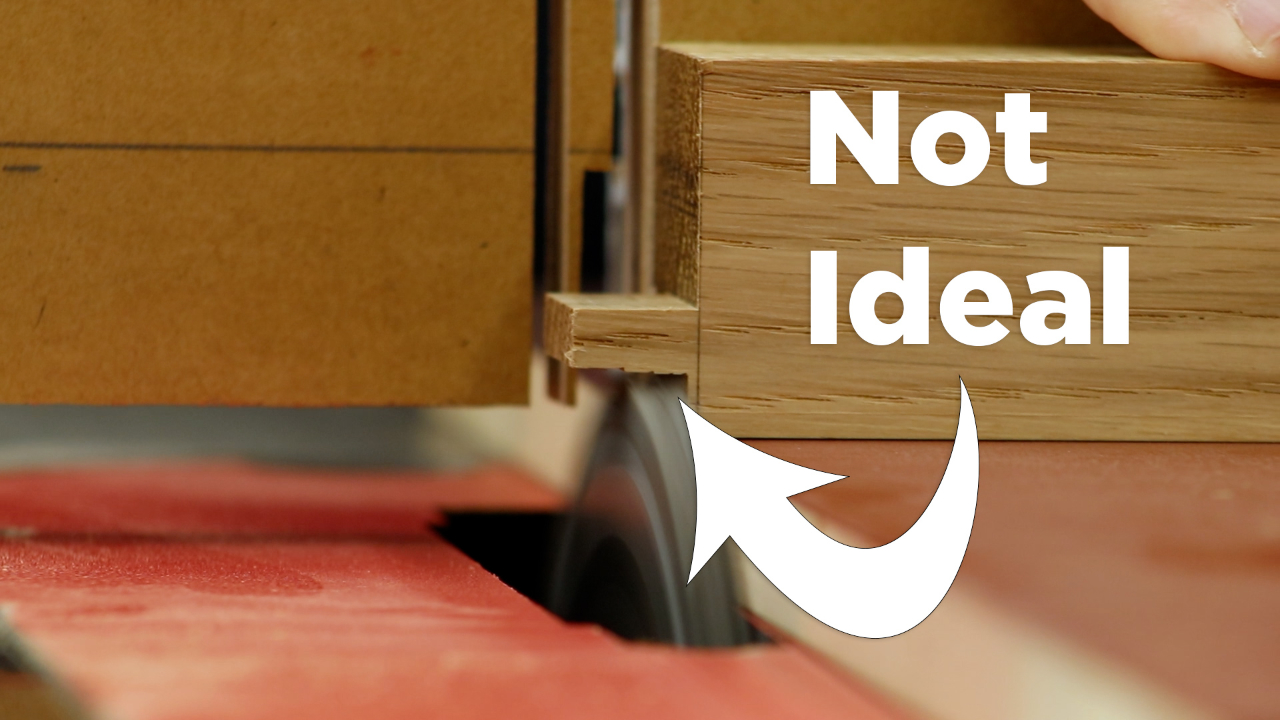
Not an ideal tongue
However, once I started having issues it would have been smarter to just get more material and do it the way I originally planned. FYI, the plans show the original 3/4” panel design so you won’t have to deal with any of this if you are purchasing the plans.
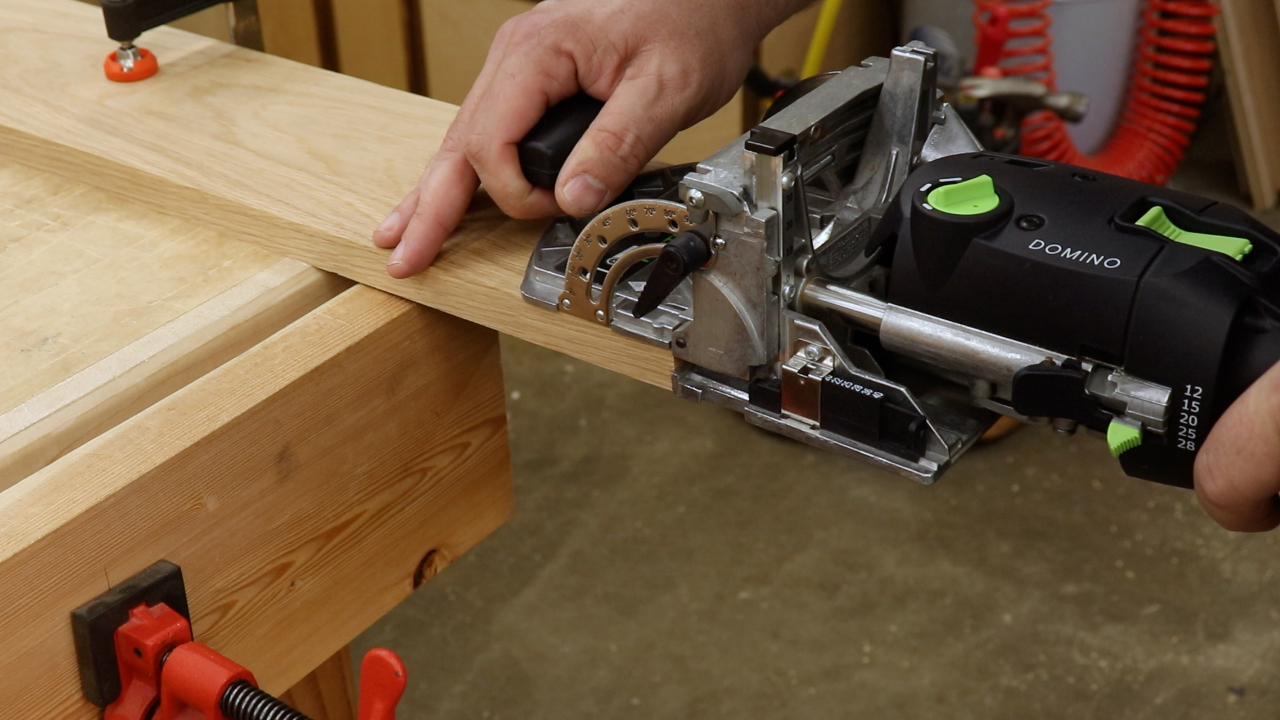
Domino Joinery
I started assembly of the frame and panels and to strengthen them up I decided to use dominos on the back side of the frame. I use the domino a lot on this project and I know not everyone has access to a domino but, outside of this particular joint, dowels can be used in place of dominos. In some cases, dowels would have been much easier than dominos. Dowels are very easy to center on stock. Dominos reference from one side so you have to really pay attention to the faces you are referencing or things will get sideways in a hurry which is what happened to me in a couple of instances.
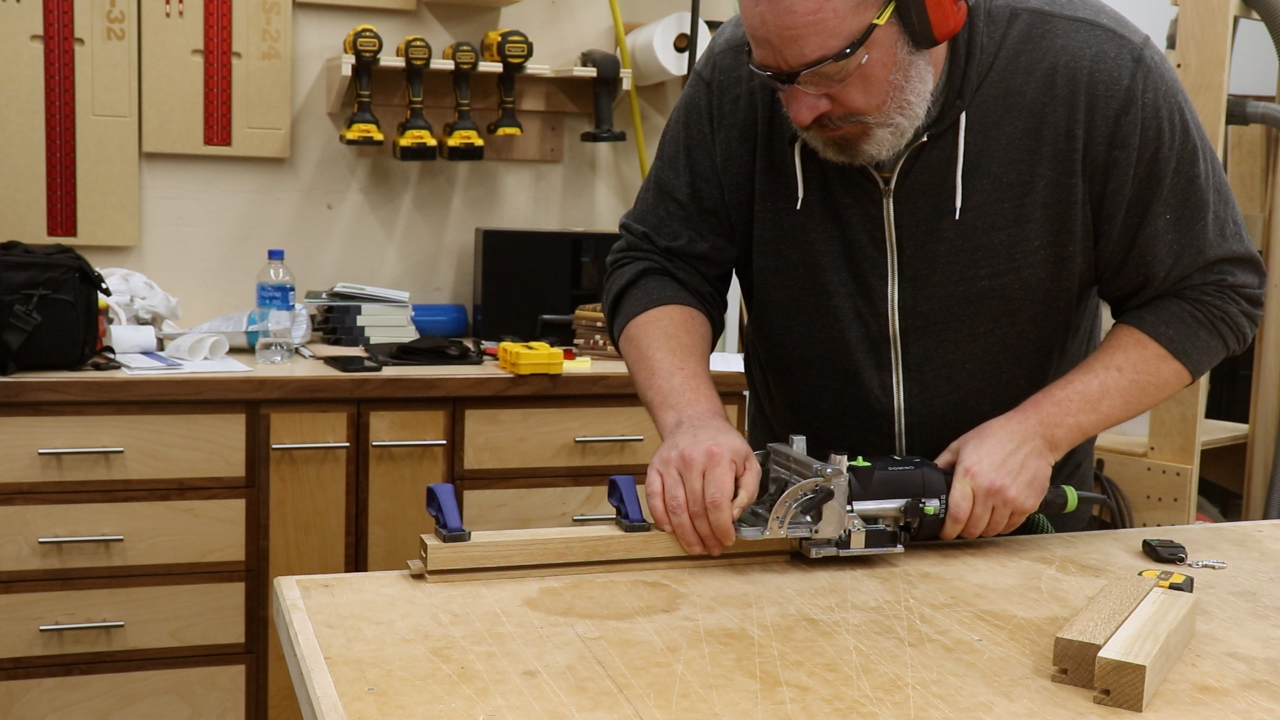
Cutting mortises in the rails
Panel Glue Ups and Fun with Poly Glue
I glued up a few pieces that I could resaw into two panels. The glue I used on this project was Titebond polyurethane glue and this was, by far, the most challenging aspect of this project. I needed a glue that 1) was good for outdoor projects and 2) as you’ll see later in the video, had a long open time. Poly glue seemed to fit the bill but it was an absolute mess which you’ll see over and over throughout this project. I could have saved myself a lot of headaches by using something like Titebond III for the parts that didn’t need a long open time and epoxy for others but I did not think of that during the project. Anyway, you’ll see the mess that ensues later on.
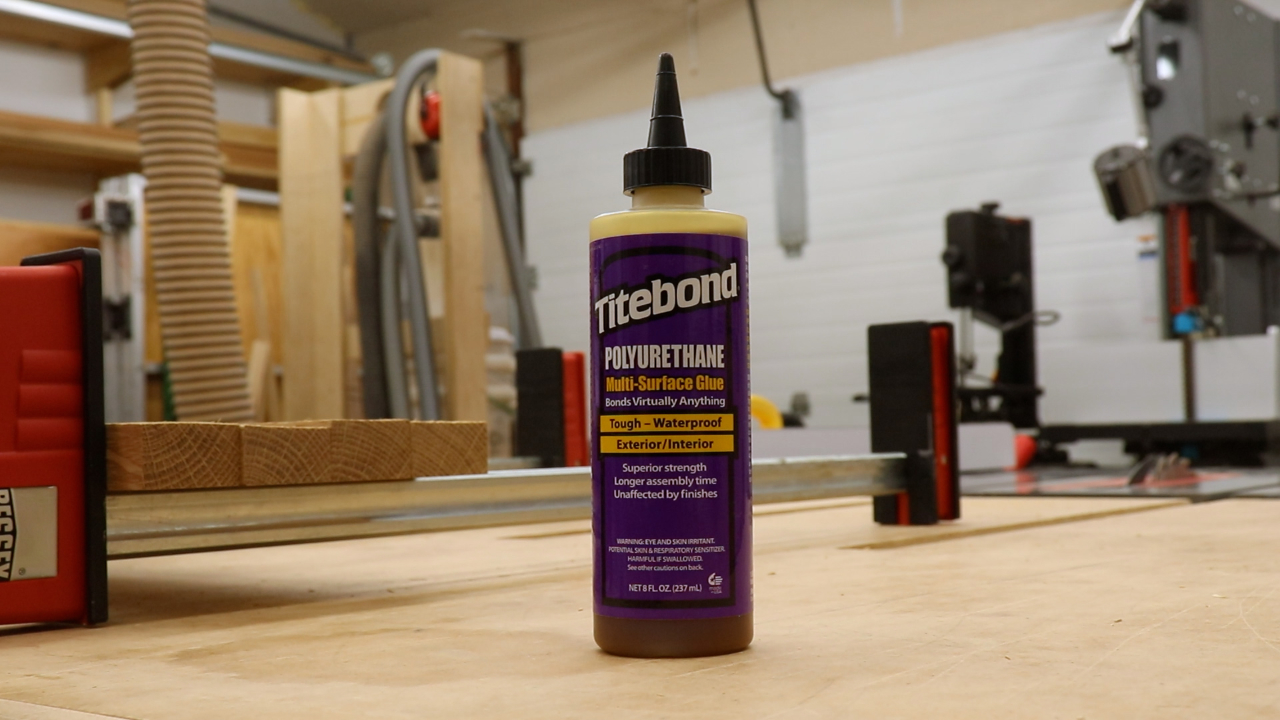
Titebond polyurethane glue
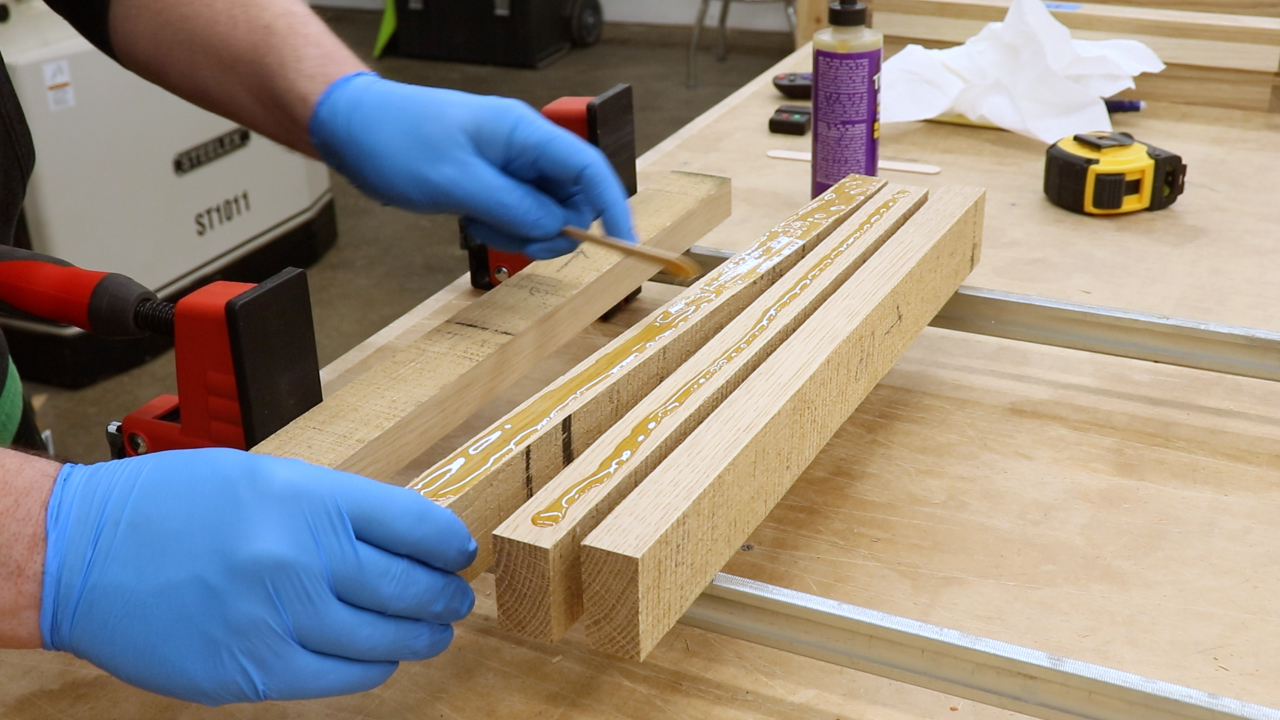
Too much glue
After resawing the panels I jointed and planed them and then cut them to size at the table saw and it was time to glue up the sub assemblies.
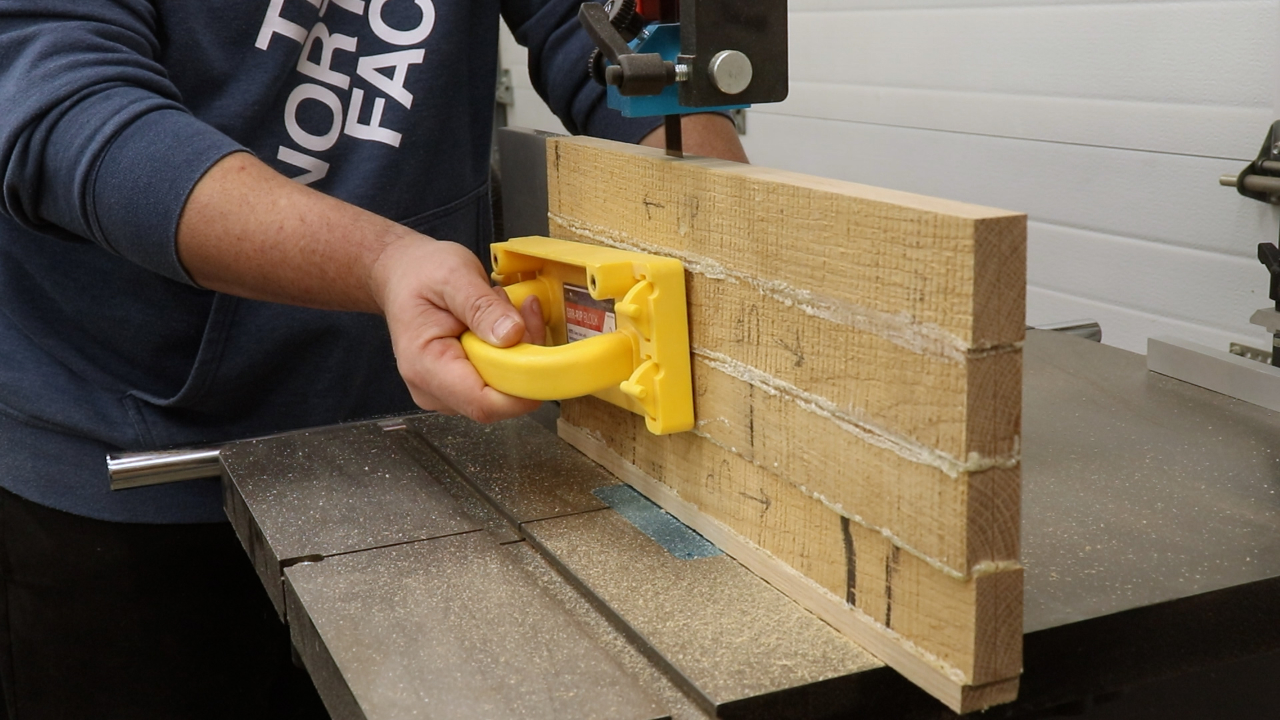
Resawing the panels
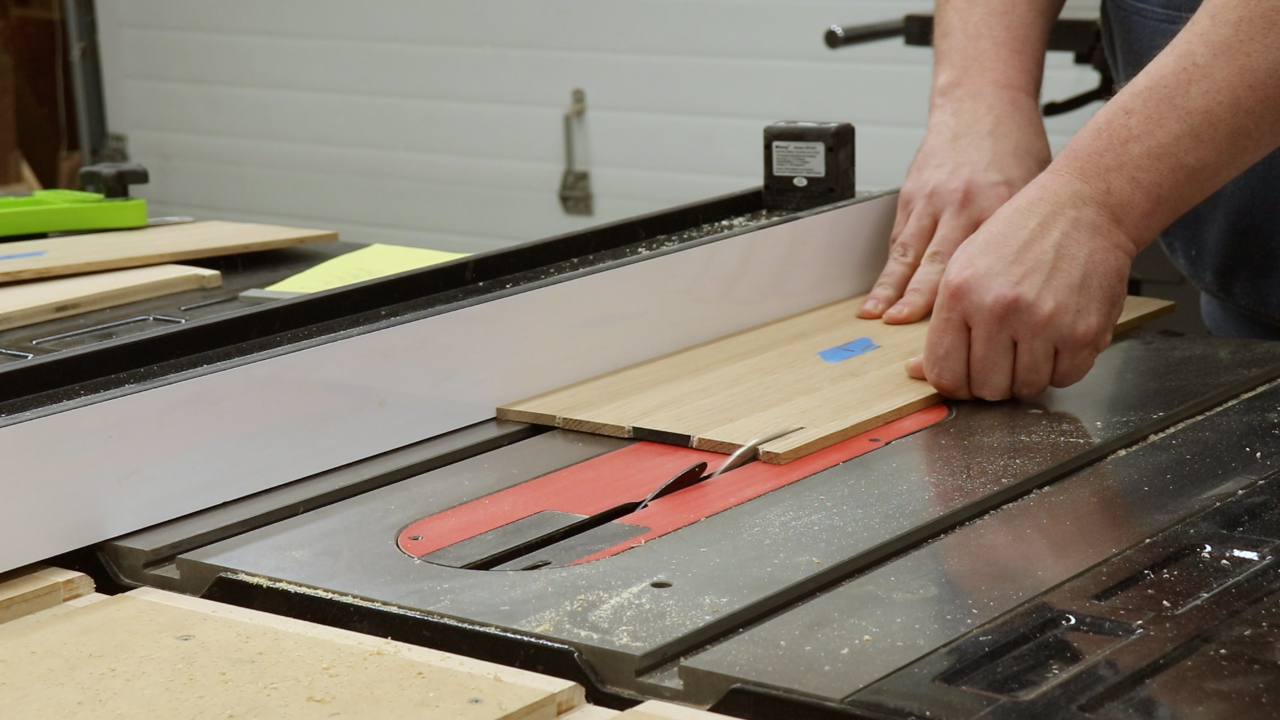
Cutting panels to size
Space Balls!
When you have panels like this made from solid wood they are going to expand and contract, especially being outdoors, so it’s best to leave them undersized. To keep them from moving around in the frame I used Space Balls. These are just little rubber balls that allow flex of the panel but keep them from moving around in the frame. These are really handy if you are making raised panel doors or drawer fronts because it keeps the panel centered.
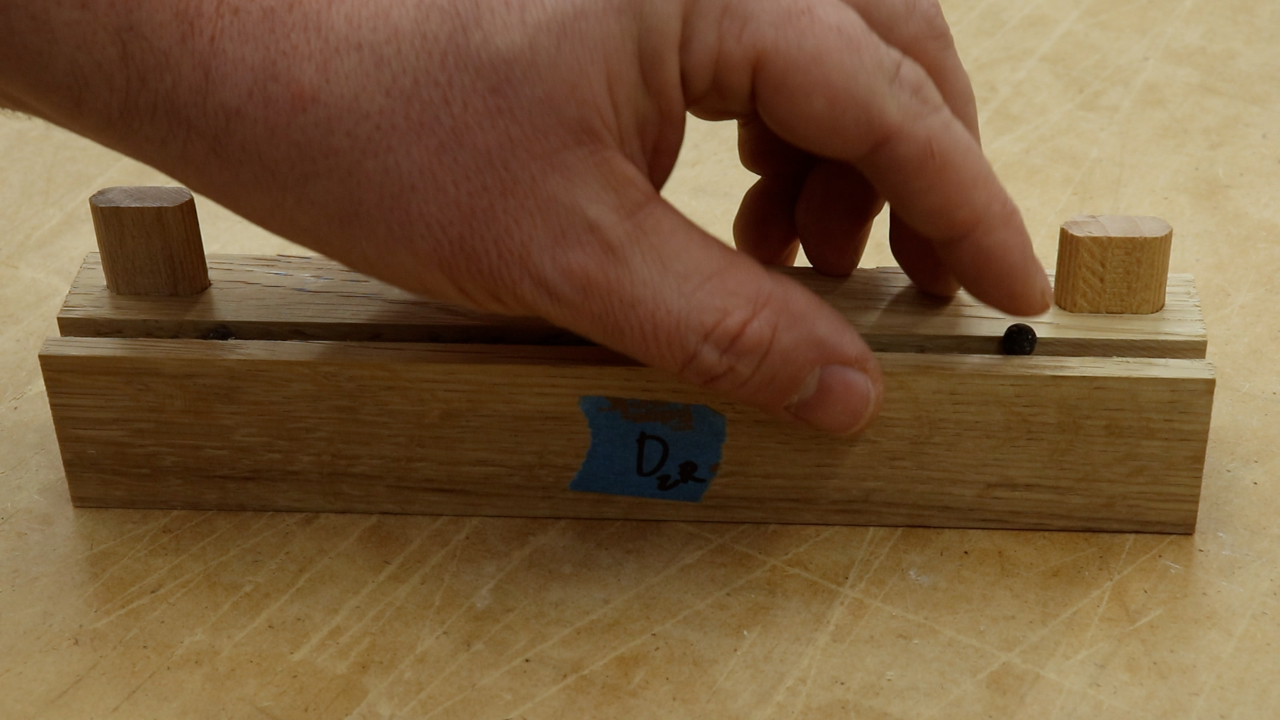
Inserting the Space Balls
Drawer Frame – Build a Potting Bench
I moved on to make the front frame. 1 1/2” by 1 1/2” stock make up the front frame. The front frame contains three openings for the drawers. I again used dominos for the joinery. One of the few things I like about this polyurethane glue is that the joints slip together nicely because the glue is not soaked up by the wood. Unfortunately that also means that they come apart very easily so it can be a little cumbersome getting everything clamped up.
Assembling the drawer frame
I let the front frame and the side frame and panels cure overnight and the next evening I started to become familiar with the pitfalls of using polyurethane glue. It seems like no matter how little I used I got an insane amount of squeeze out. For this frame it wasn’t a major issue because only the front is going to be visible. I knocked off the bulk of it with a chisel and then sanded down the rest.
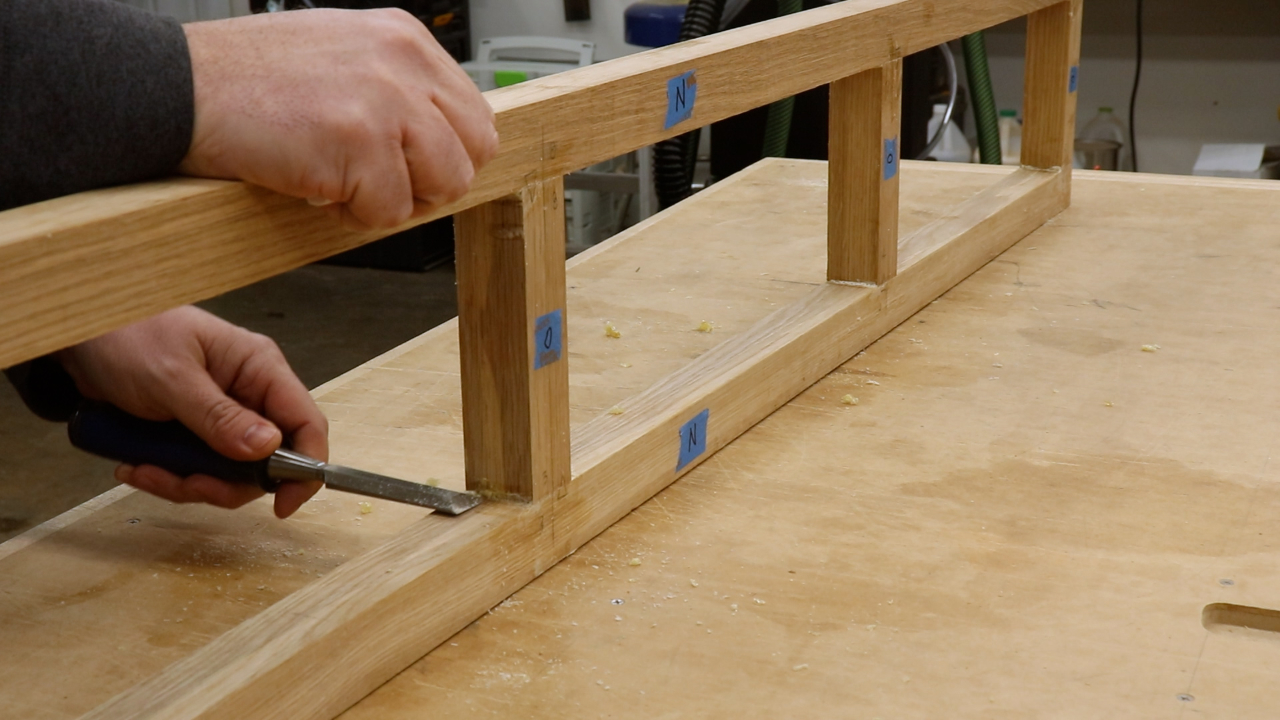
Dealing with glue squeeze out
Side Assembly Legs – Build a Potting Bench
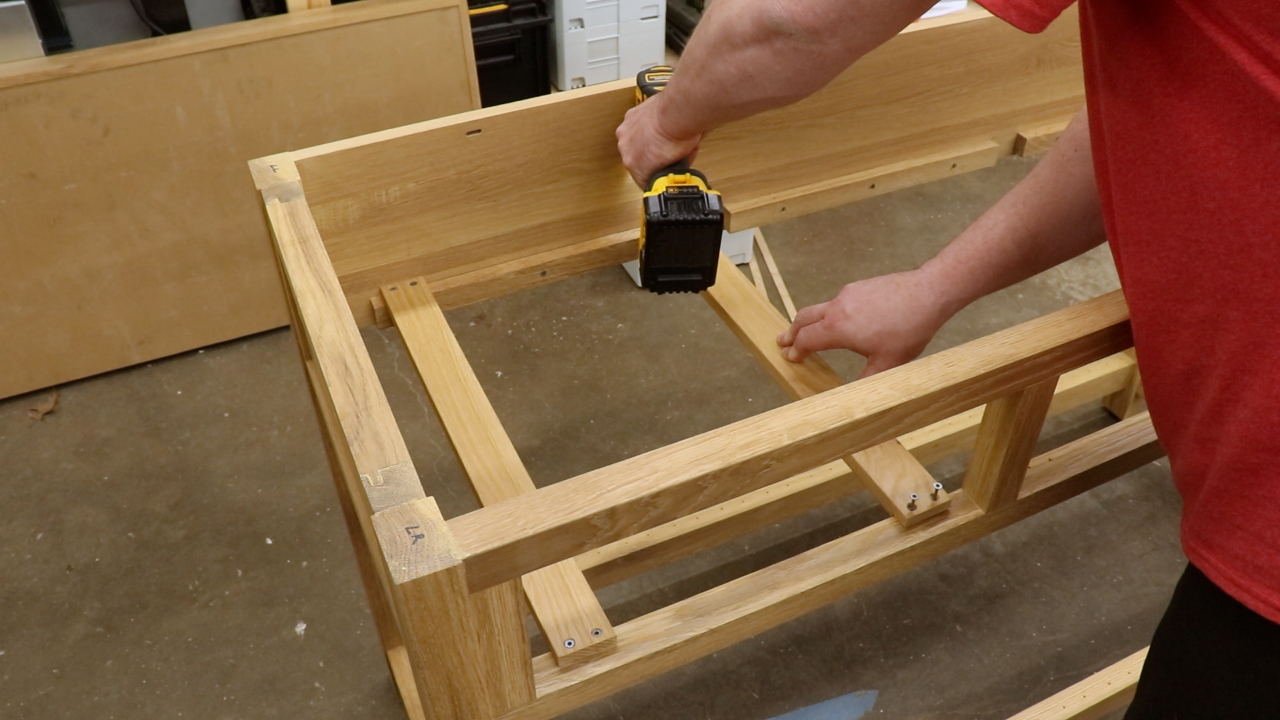
I moved on to finishing up the rest of the parts for the sides. I milled the legs and bottom stretcher to their final thickness and then cut them to length on my crosscut sled. All of these parts are attached with dominos so I cut all of the mortises I needed in the legs, the stretchers and the frame and panel. I then did a dry assembly to make sure everything was square and, in a somewhat out of character moment for me, they were dead on.
Cutting the legs to size using the crosscut sled
Cutting mortises in the legs
All square
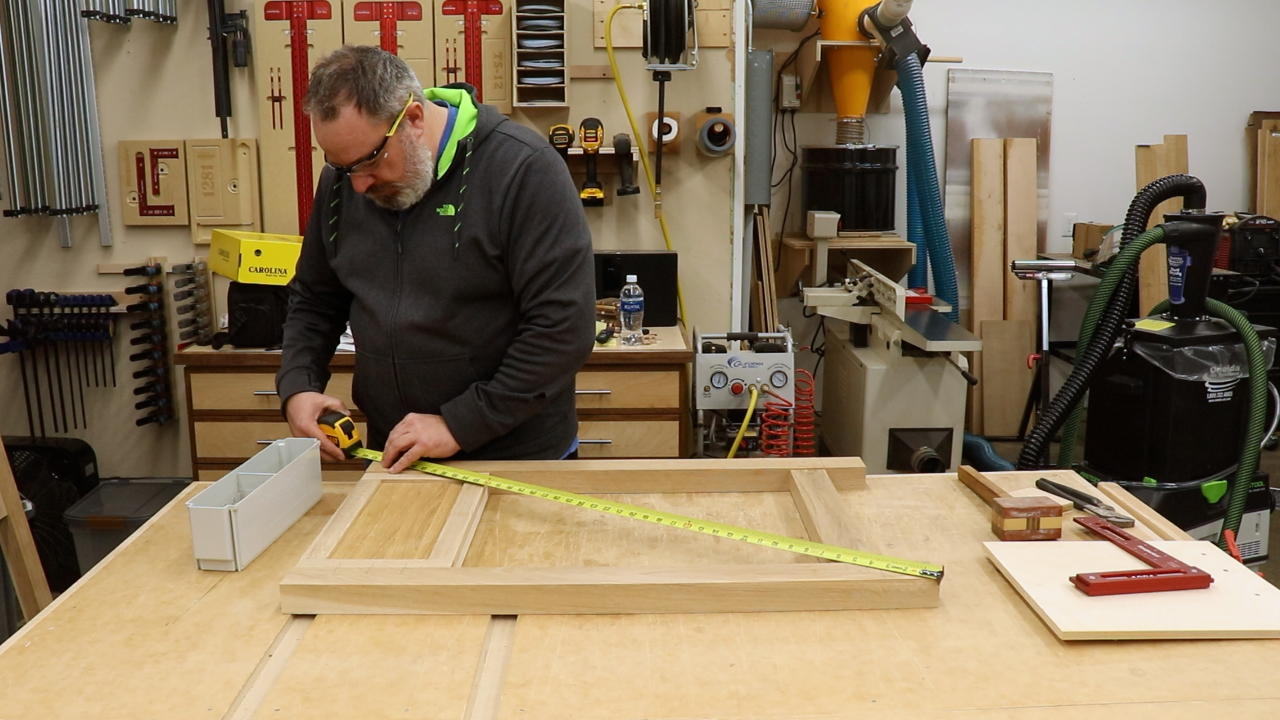
Case Assembly – Build a Potting Bench
Back
Before gluing up the sides I wanted to do a dry assembly of the whole base. Therefore, I needed to make the back and the long, bottom stretchers. For the back I just glued up some off cuts since its looks don’t really matter. I milled the bottom stretchers to their final thickness and cut them to length at the miter saw.
I then needed to cut the domino mortises in the back, stretchers and legs.
Cutting the back to size
More mortises for the case assembly
The dry assembly went well so I sanded all parts of the frame to 150 and then turned my attention to gluing up the sides.
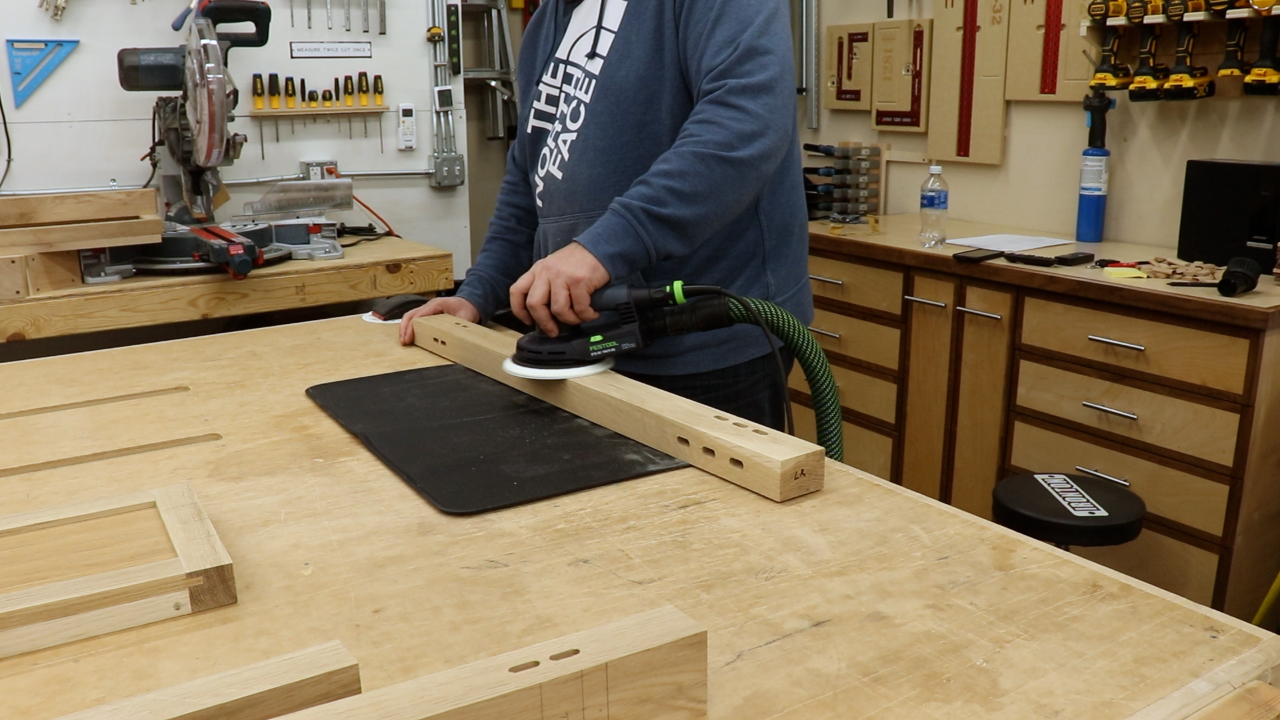
Sanding as I go
Side assembly glue up
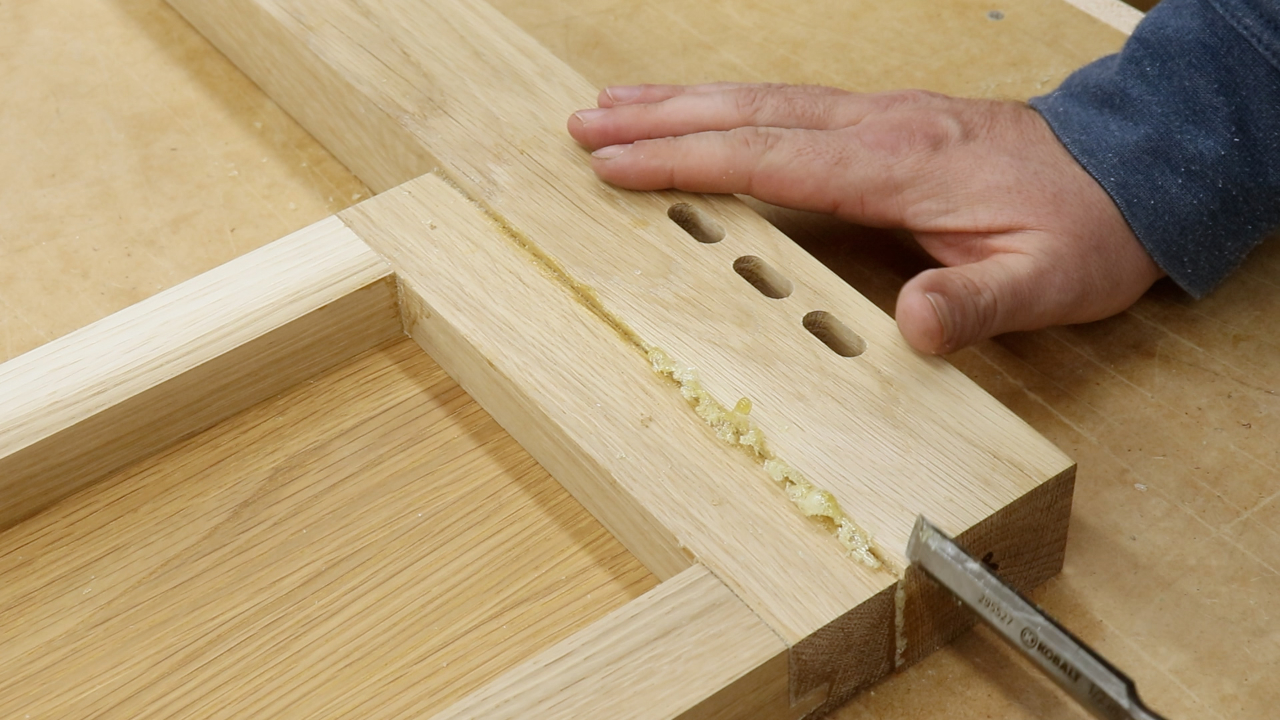
More Glue Problems
After the glue up debacle on the front frame I thought it would be a good idea to take preemptive measures. I wiped down any squeeze with mineral spirits. This worked…initially. This polyurethane glue just keeps squeezing out so I still had a lot of cleanup to do once everything cured. I would wipe spots down two or three times but it just kept oozing out. Very frustrating.
The big problem is in the corners and I found my best approach was using a card scraper. Unfortunately, I am not that great at sharpening my scrapers. So, while a noble effort, this didn’t fix the issue completely.
Never ending squeeze out
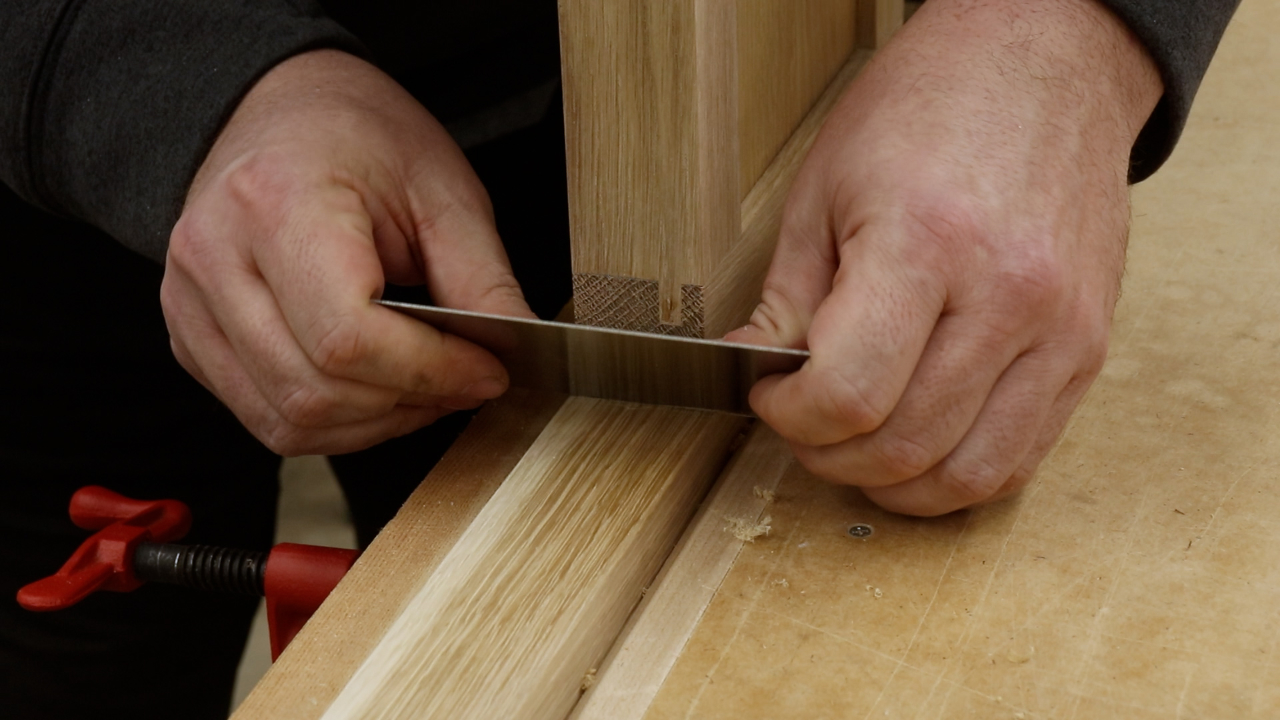
Trying to use a card scraper to clean up squeeze out
As you can see here I made a mistake in my domino location and ended up filling the mistakes by gluing in dominos and then cutting and sanding them flush.
Fixing a domino screw up
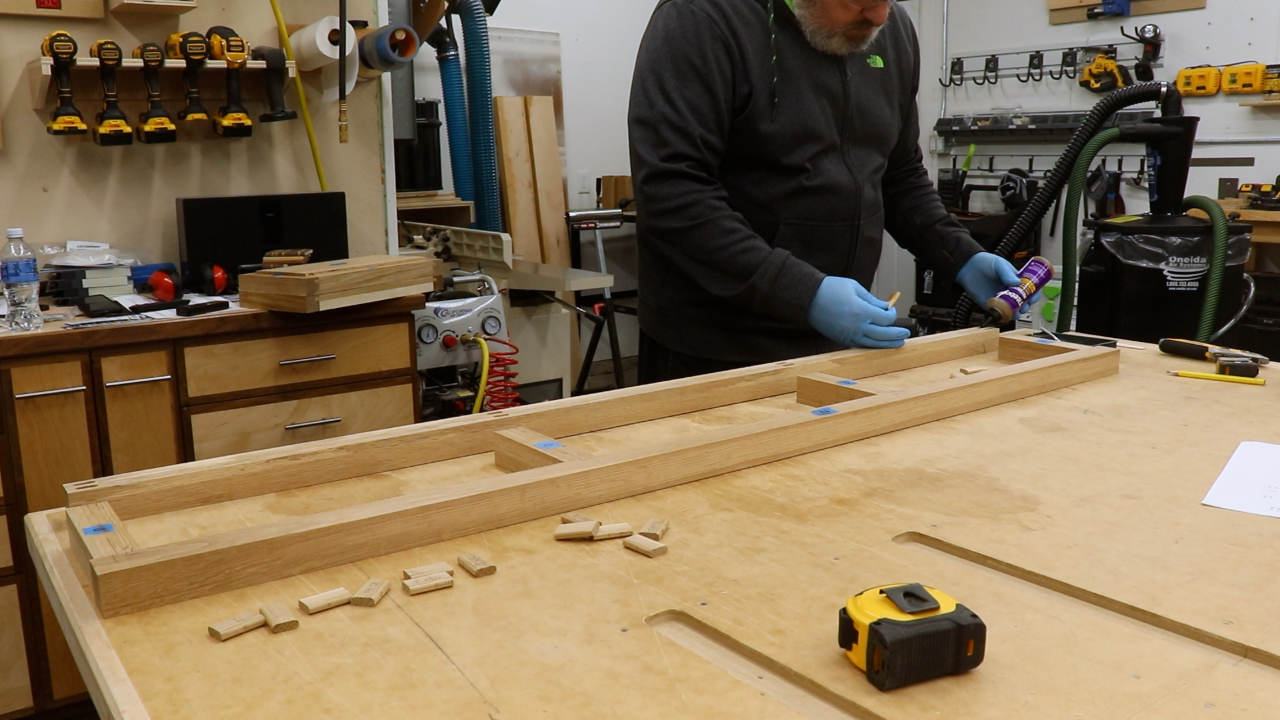
Case Assembly Glue Up – Build a Potting Bench
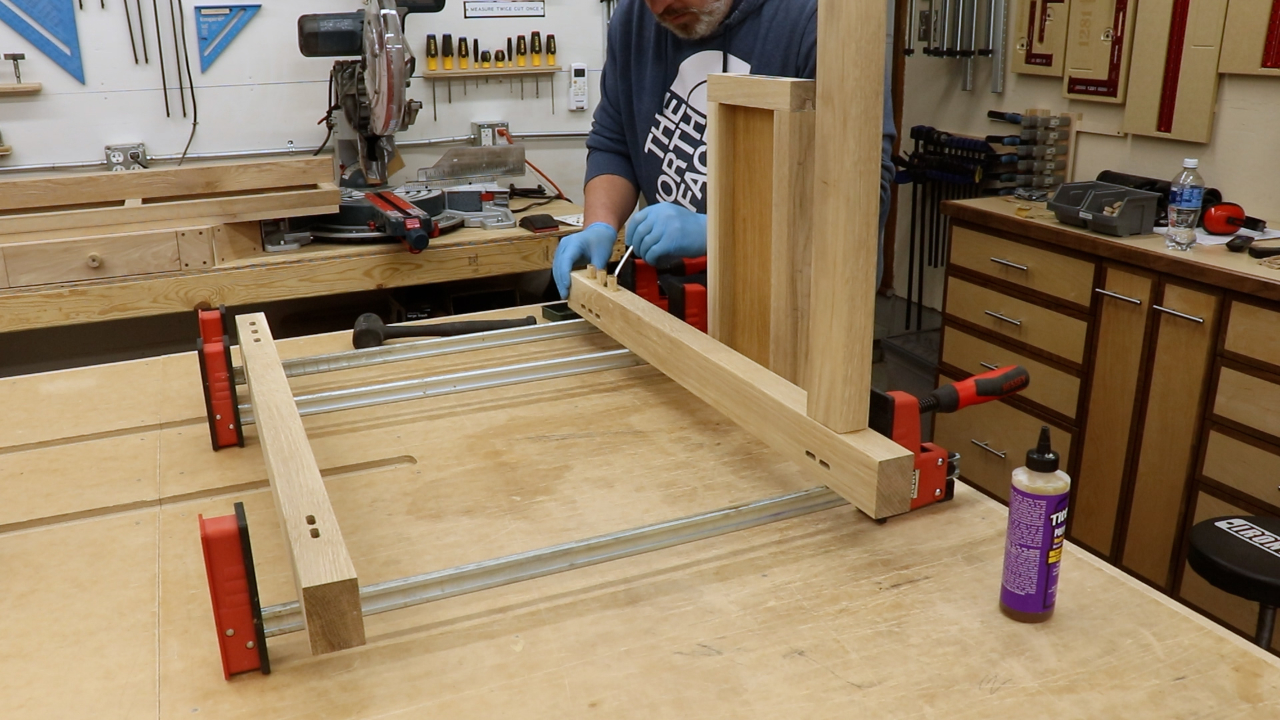
At this point I had the sides and front assembled and the rest of the parts ready to glue up the base. As I mentioned earlier, the poly glue can push apart the joints so it was going to be a difficult glue up. I enlisted the help of my friend Luke for an extra set of hands. It would have been more challenging to try and wrangle this thing around by myself with all of the joints wanting to pop open. This glue also seems to make a giant mess. It has the consistency of honey so it just gets all over the place.
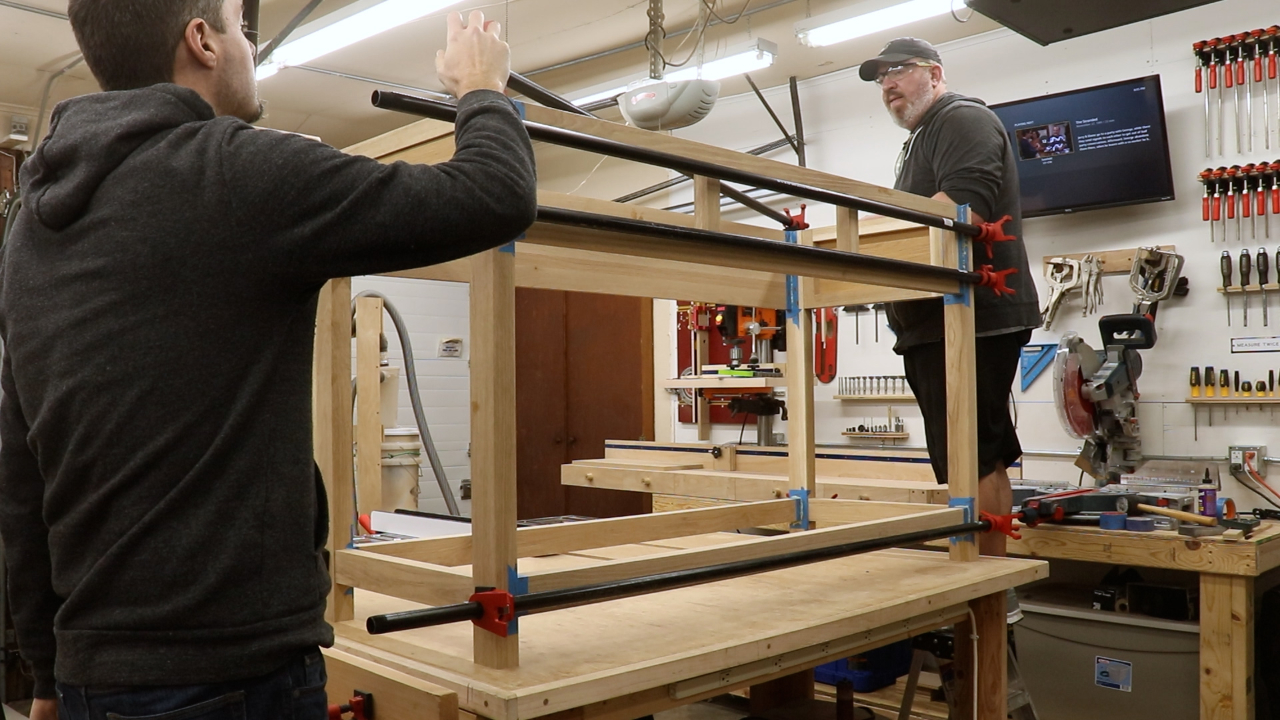
Gluing up the case assembly
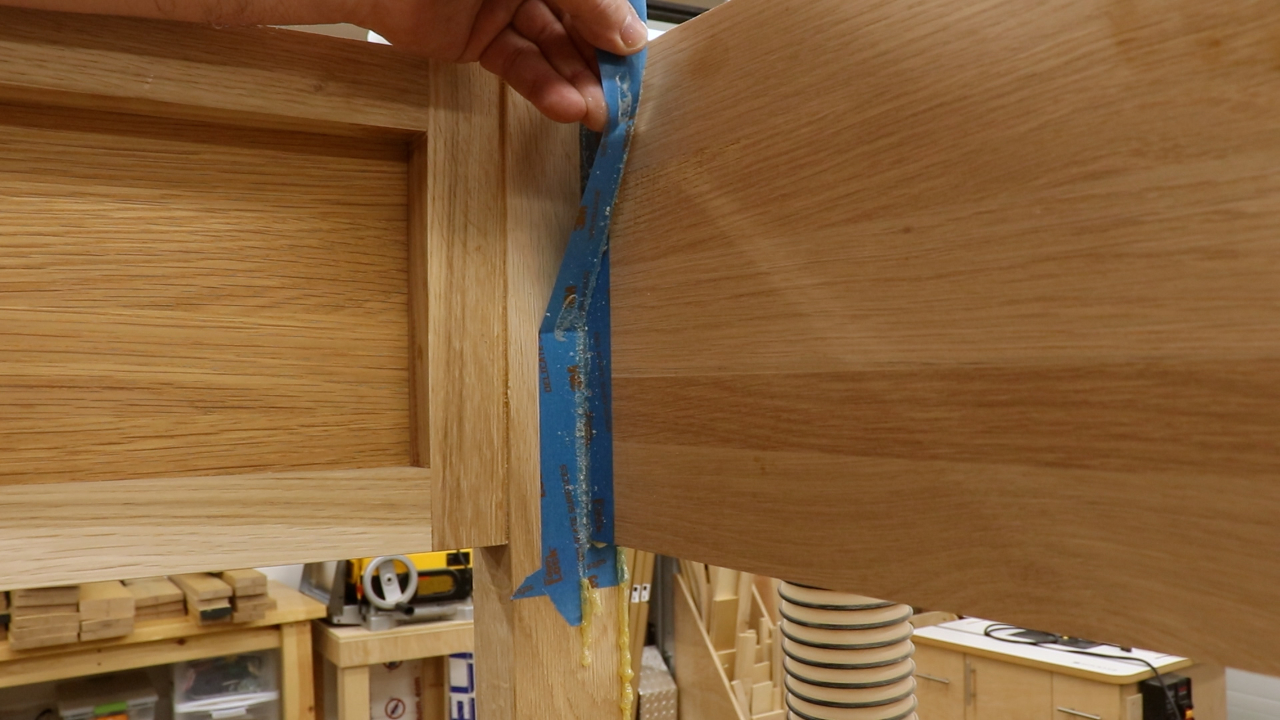
All of this painters tape is another attempt to mitigate the squeeze out problem. It did not work.
This is the step where I really needed that long open time. There were about 20 dominos in this glue up which meant there were 40 mortises that I had to spread glue into which took a fair bit of time. The whole glue up took about 30-45 minutes.
Glue Nightmare Continues
I let the glue cure overnight and took the clamps off the next evening and started to inspect the joints and remove the blue tape. Well, the tape basically just fused with the glue so now not only did I have a ton of glue squeeze out to address but it was all mixed in with blue painters tape. There were a couple of spots where the squeeze wasn’t too bad so the tape trick worked but the majority were a mess. I assaulted all of the joints with card scrapers, sanding blocks and chisels and finally got it somewhat respectable.
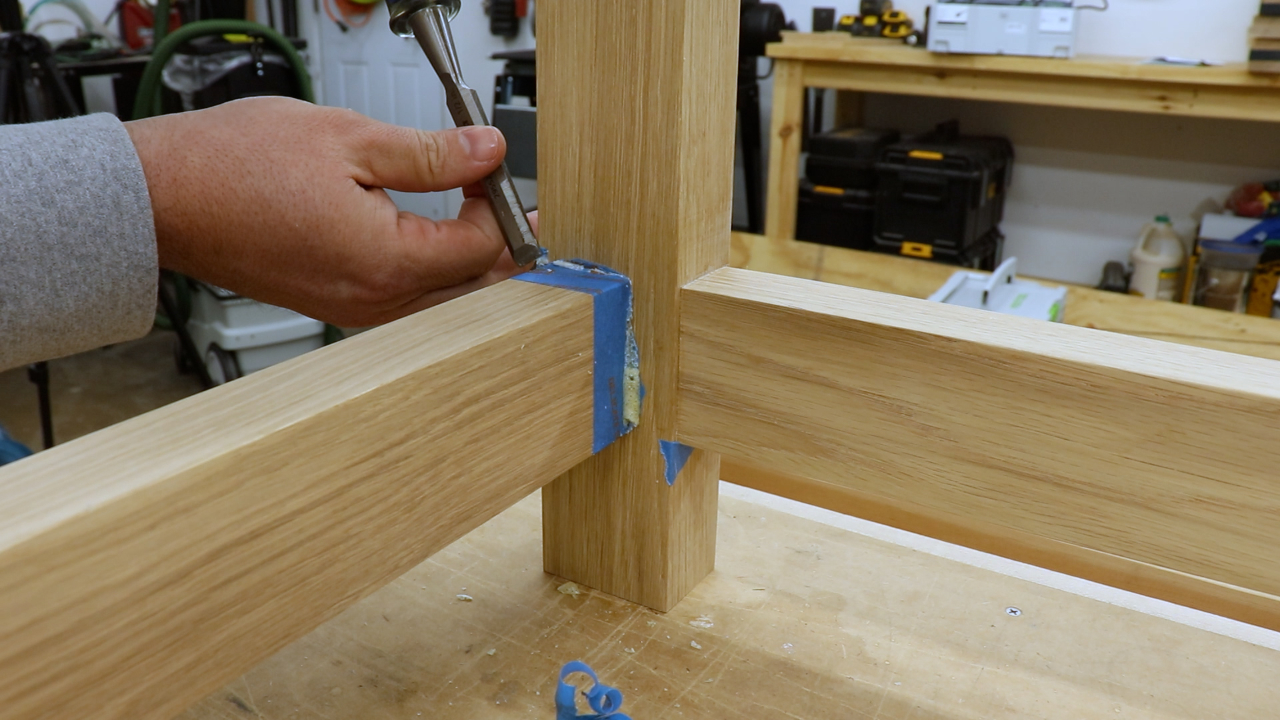
Squeeze out hell
More squeeze out problems
Drawer Assembly – Build a Potting Bench
Moving on to the drawers. I milled up the parts for the drawer boxes and glued up the drawer bottoms. Then, I then used my drum sander to get them to their final thickness as they wouldn’t fit in my planer. I then used my table saw to cut them to their final length and width.
Gluing up the drawer bottoms
For the drawer boxes I decided to go with reinforced rabbets. I first cut the drawer parts down to size at the table saw. Then, I used a dado blade to cut a 3/8” x 3/4” rabbet into each end of the drawer sides. I then used the dado blade to cut a 3/8” groove spaced a half inch from the bottom for the drawer bottoms.
Cutting rabbets in the drawer sides
Cutting grooves for the drawer bottoms
Before assembling the boxes I needed to cut out a notch on the backs for the drawer slides.
Nothing the drawer backs at the band saw
I then sent all of the drawer parts through the drum sander and then did a quick sanding with my hand held sander and it was time to assemble the drawers.
I applied glue to the rabbets on the sides and the ends of the fronts and backs. By this time in the project I had figured out that a little of this poly glue goes a long way so I brushed on a very light coating on the joints. This gave very little squeeze out so all in all the drawers went together much more smoothly than the previous parts.
Drawer box glue up
The bottoms float in the drawers so no glue in the grooves. I clamped up the drawers to hold everything in place while I drilled and countersunk some 1 1/4” screws to reinforce the rabbets.
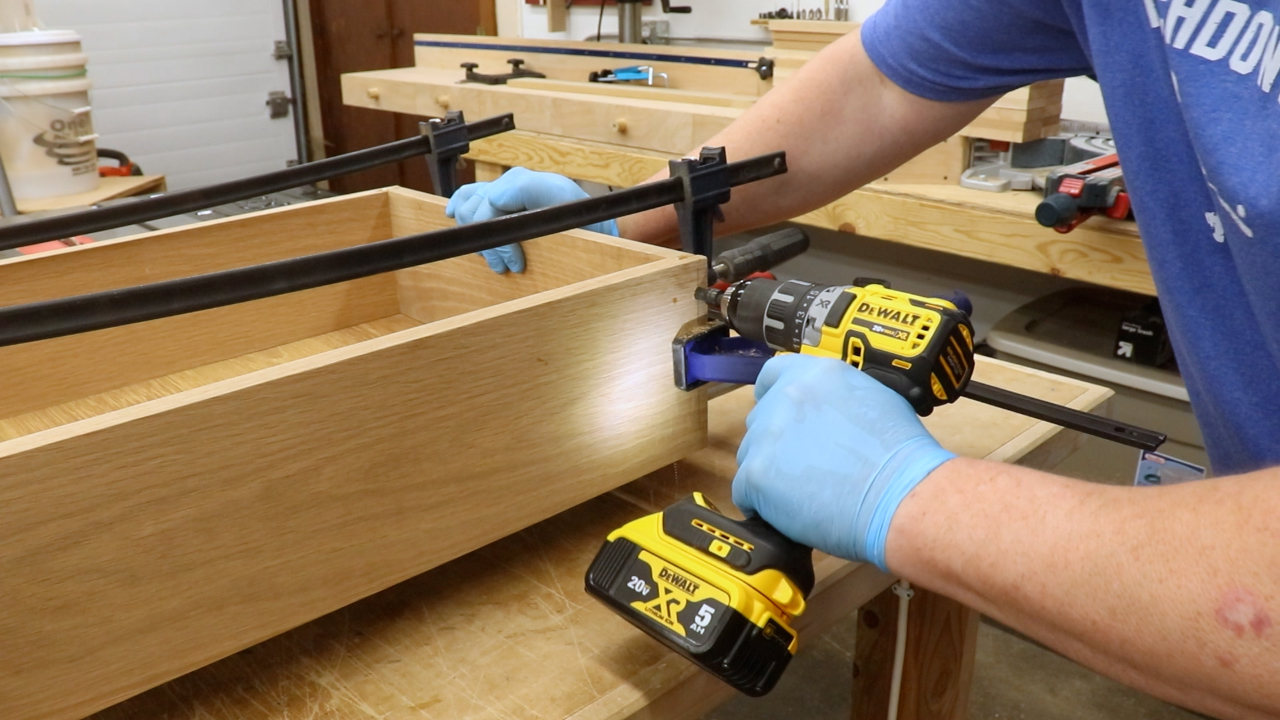
Drilling and countersinking screws for drawer reinforcement
I cleaned up the rabbets a bit using a flush trim bit in the router table. Next, I then gave the boxes a final sanding. I sand as I go for a couple of reasons. 1) it’s a lot easier to sand parts before they are glued up. 2) I really loathe sanding so this breaks it up a bit and saves me from an hours long sanding session at the end of the project.
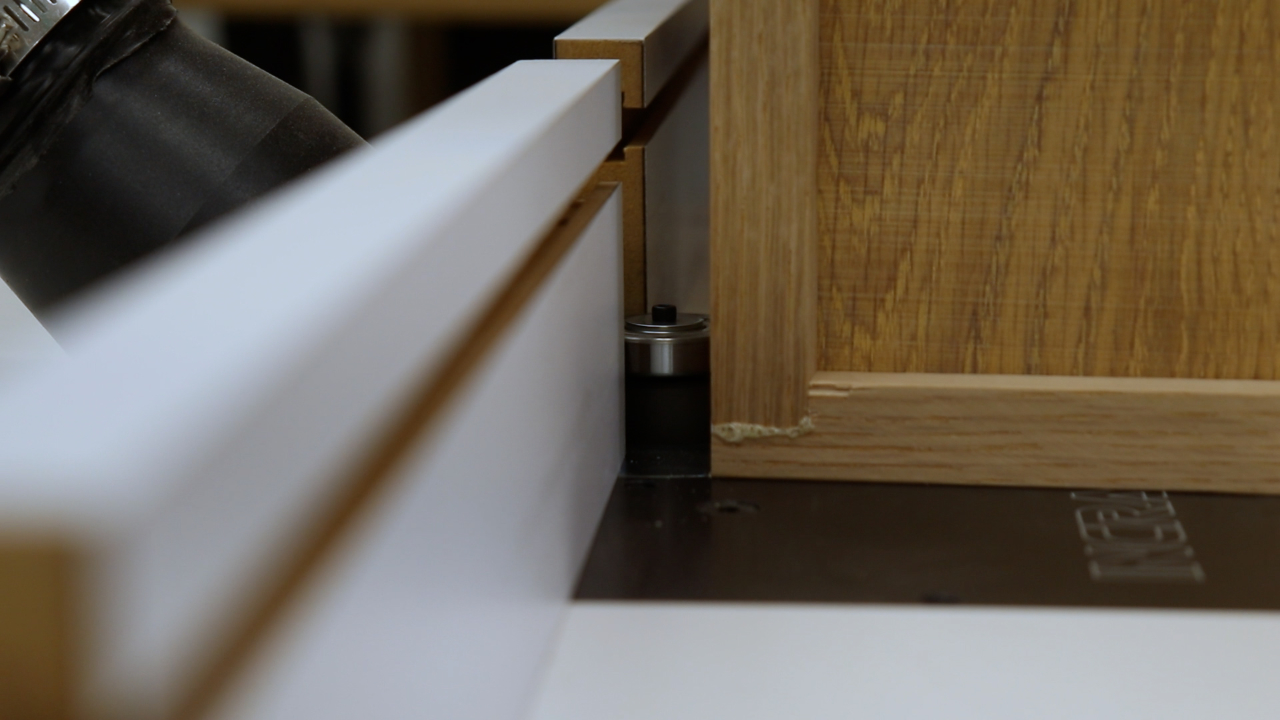
Flush trimming the rabbets at the router table
Drawer Slides – Build a Potting Bench
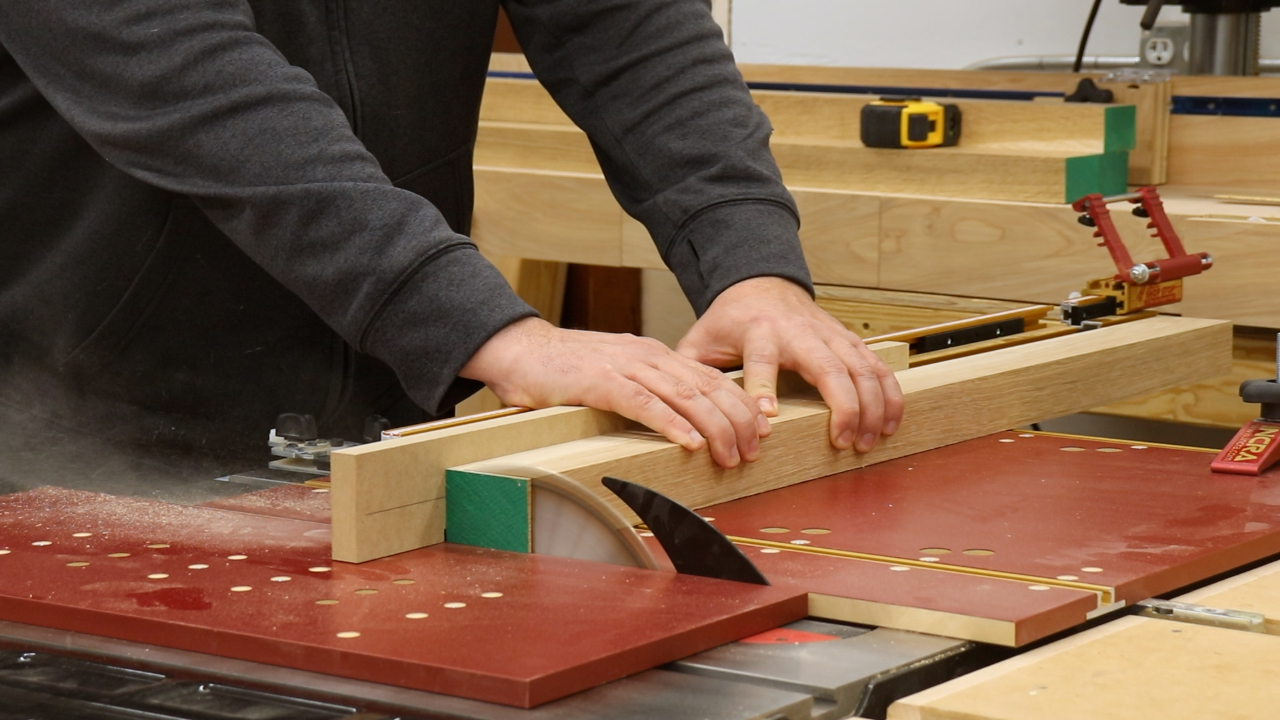
I turned my attention to the drawer slides by breaking down the parts I needed at the miter and table saw. The slides are 3/4” thick and rest on the front frame and a cleat attached to the back. I only have a 1/2” recess on my drawers so I needed to cut a notch in the front and back of the slides which I did at the table saw.
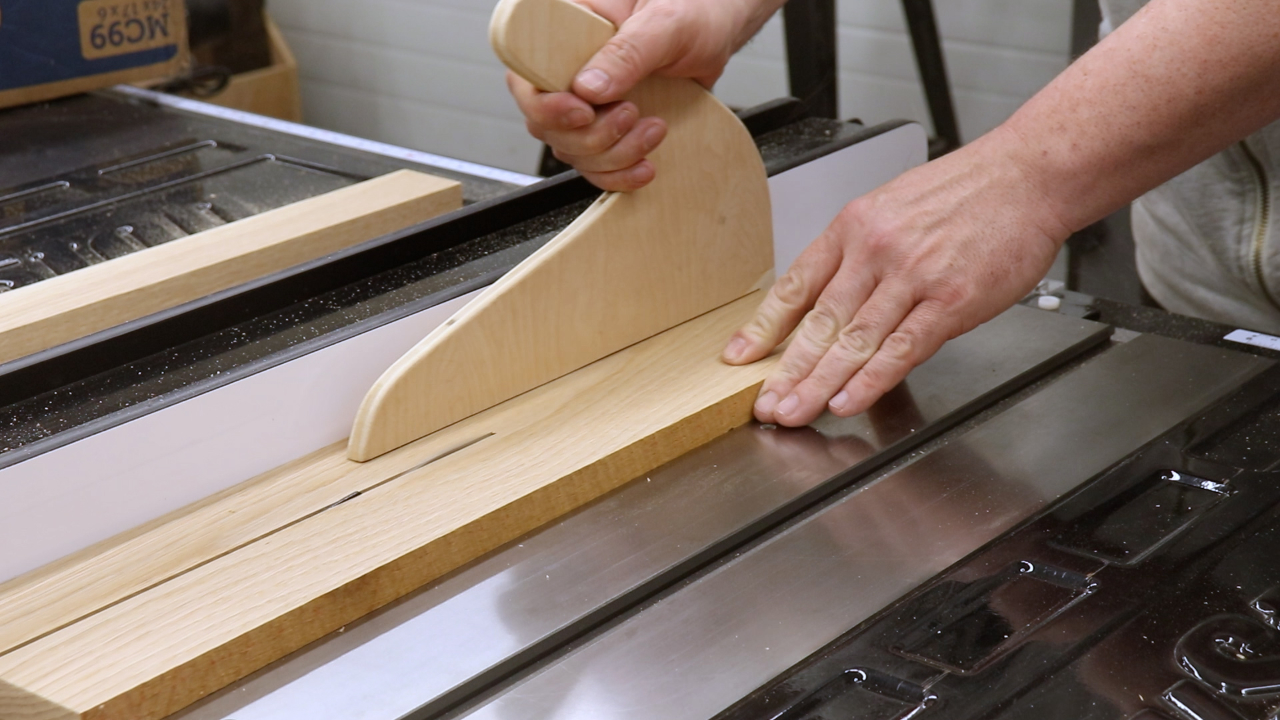
Breaking down the drawer slide parts
Attaching the drawer slide cleats
Nothing the drawer slides
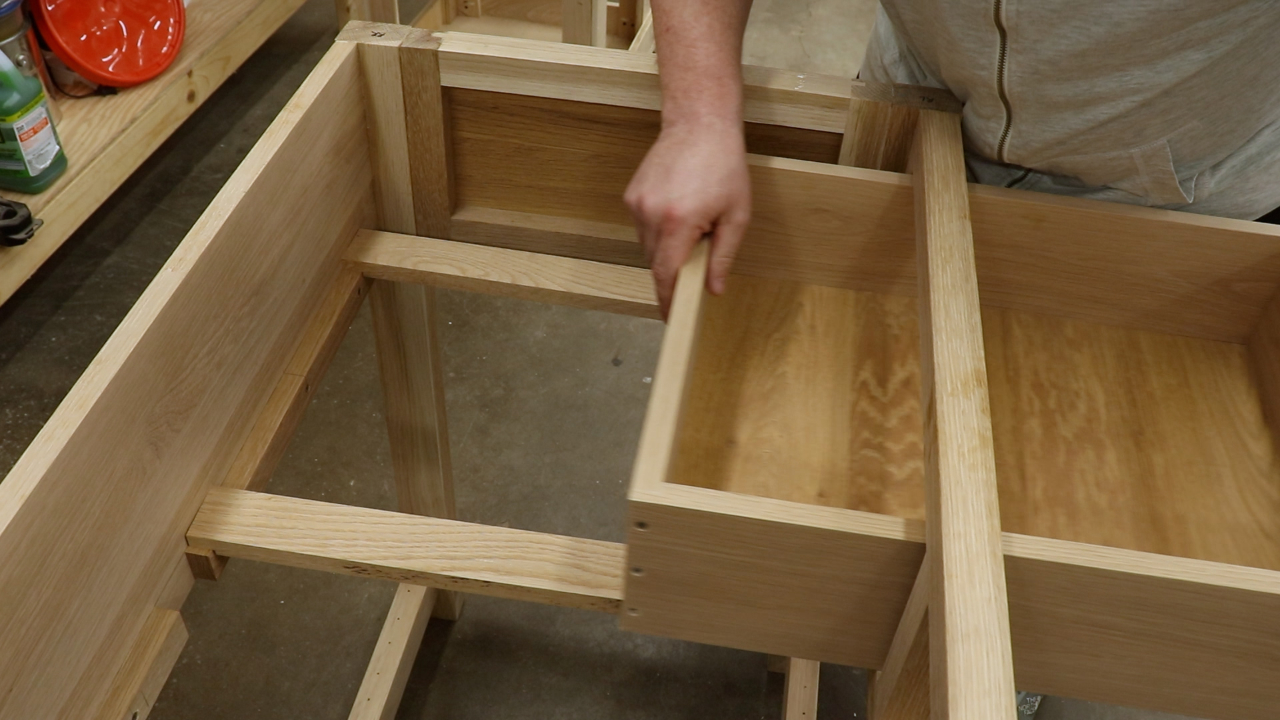
I tested out the slides by putting them in place and then positioning the drawer. Everything worked okay so I attached them to the cleats and the frame with 1 1/4” screws. It was a tight fit and this right angle attachment was perfect for drilling and driving the screws.
Aligning the drawer slides
Drilling the drawer slides in a tight space with a right angle drill attachment

Drawer boxes fit and slide perfectly
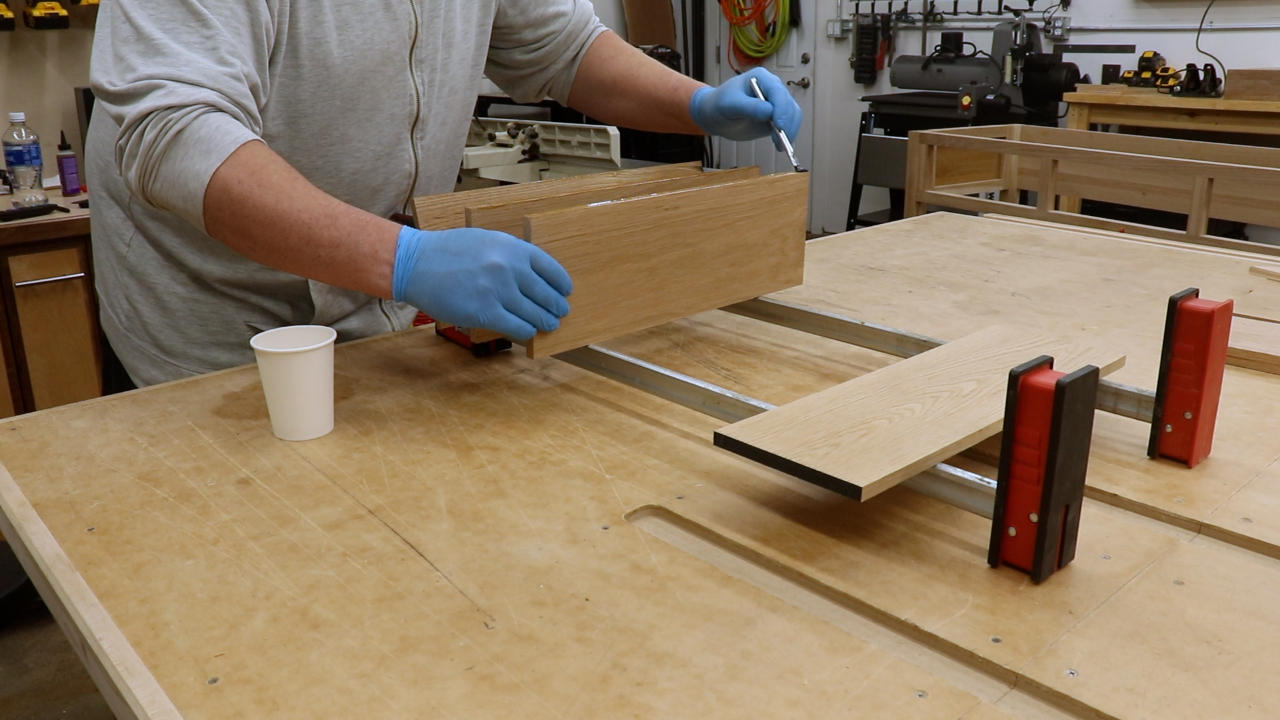
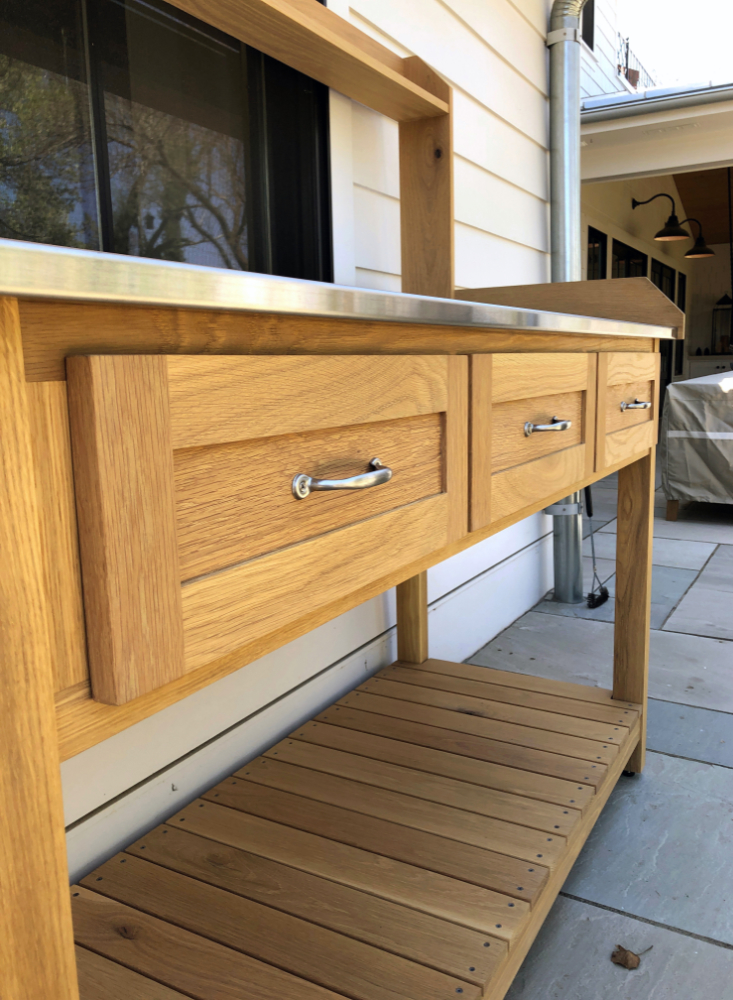
Drawer Fronts – Build a Potting Bench
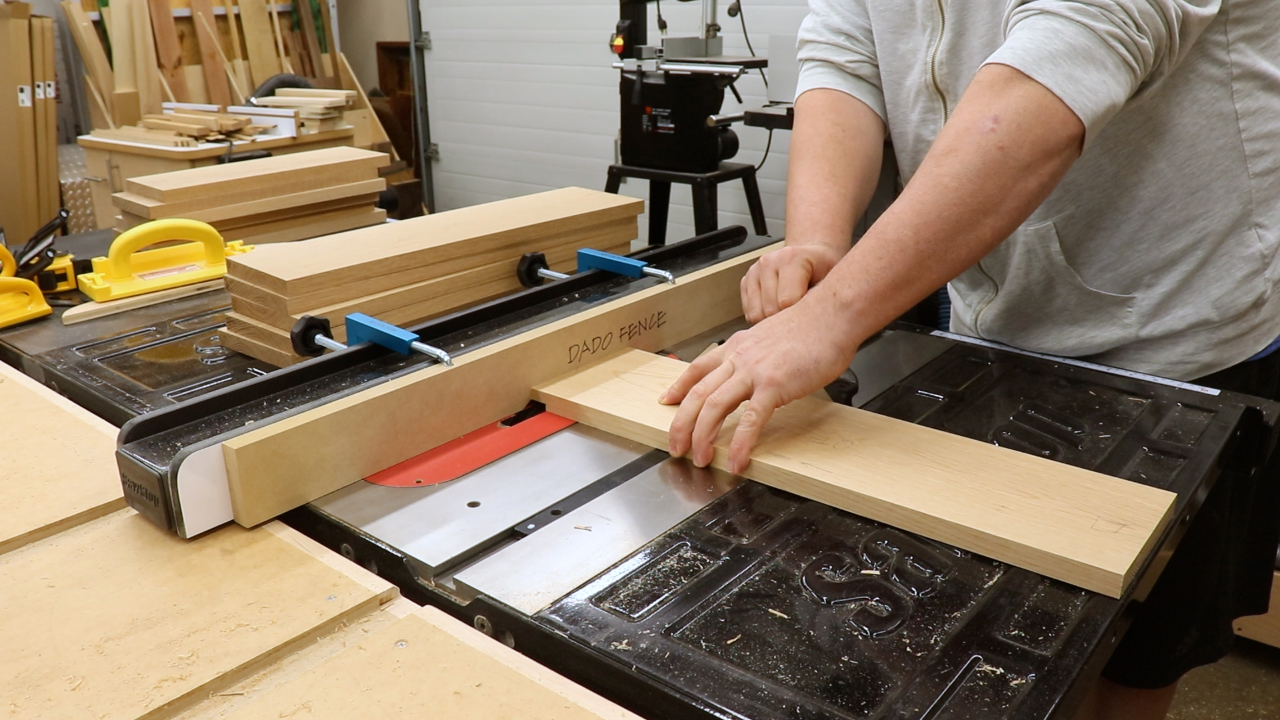
The drawer fronts are shaker style. Making them is much like the side panels I made earlier. This time it was much easier because the tongue and groove were centered in the stiles and rails. However, I still made a mistake which we’ll get to in a second.
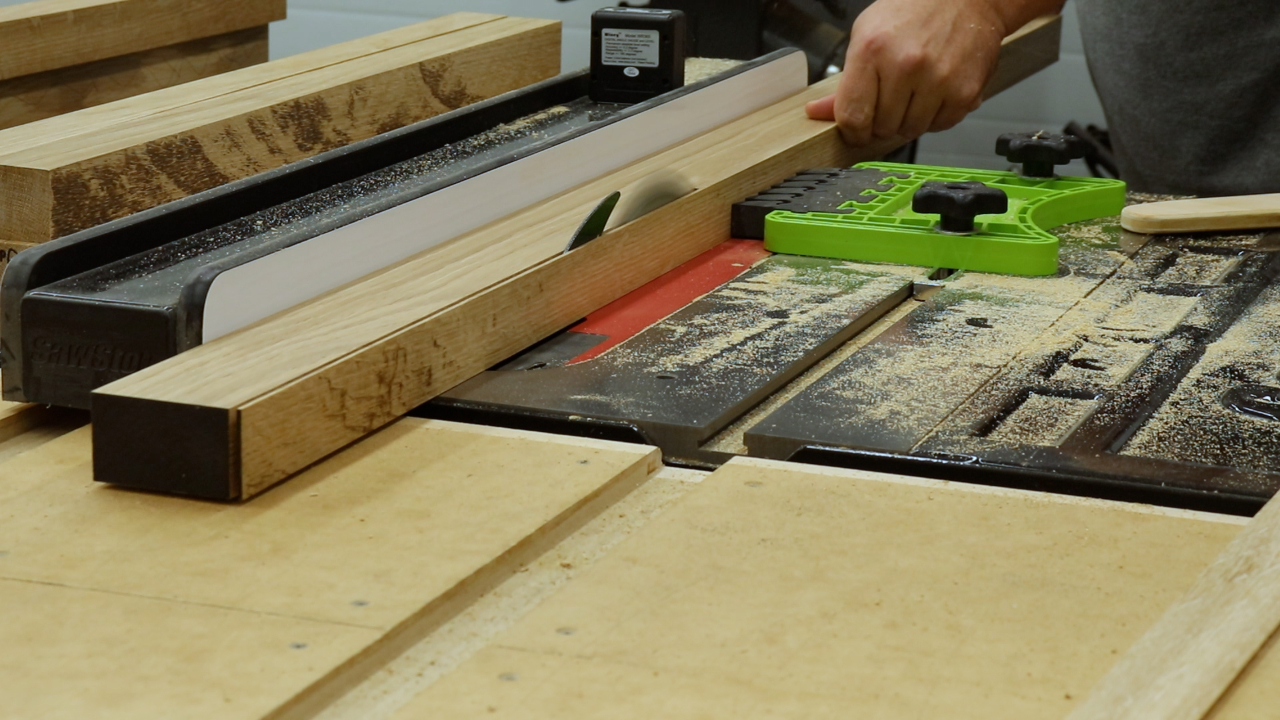
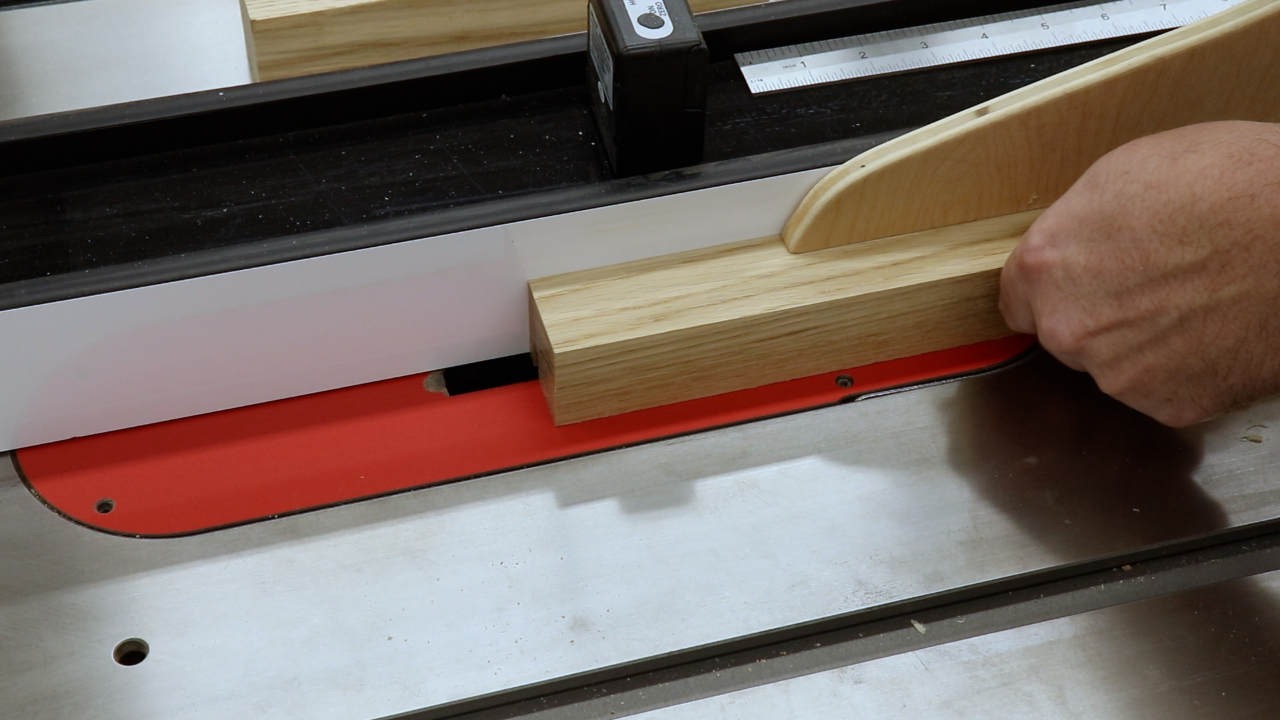
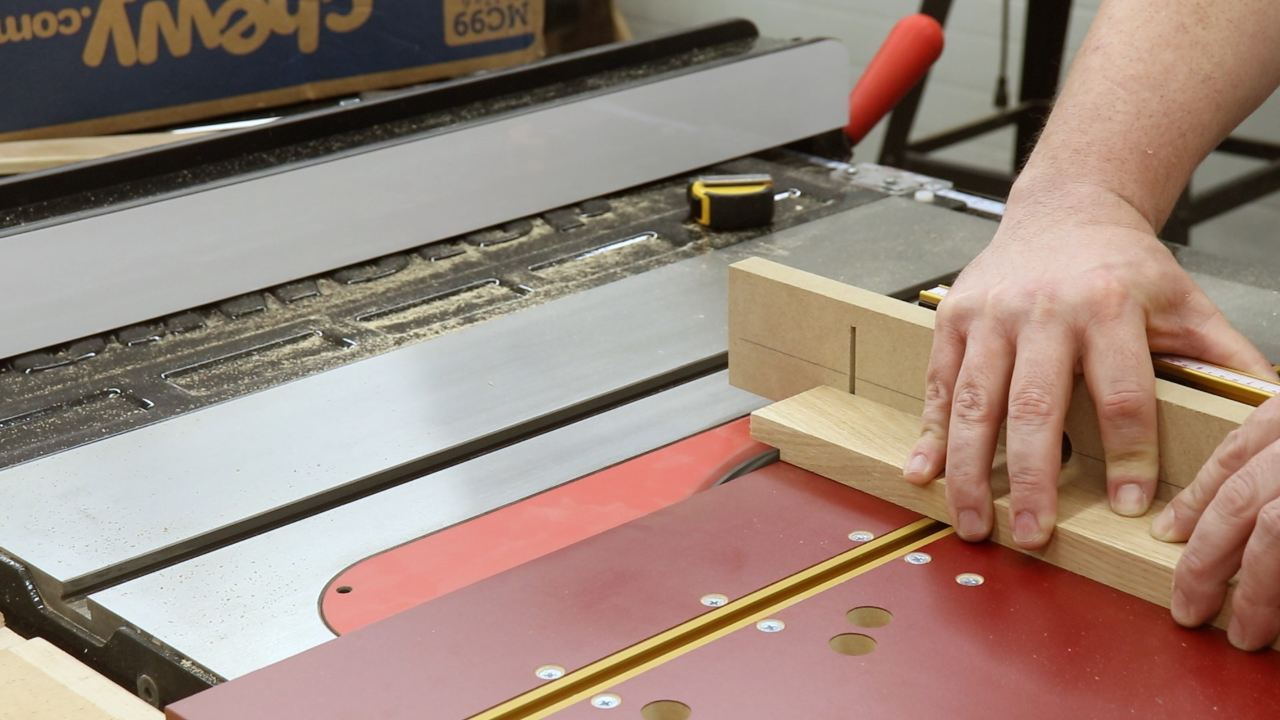
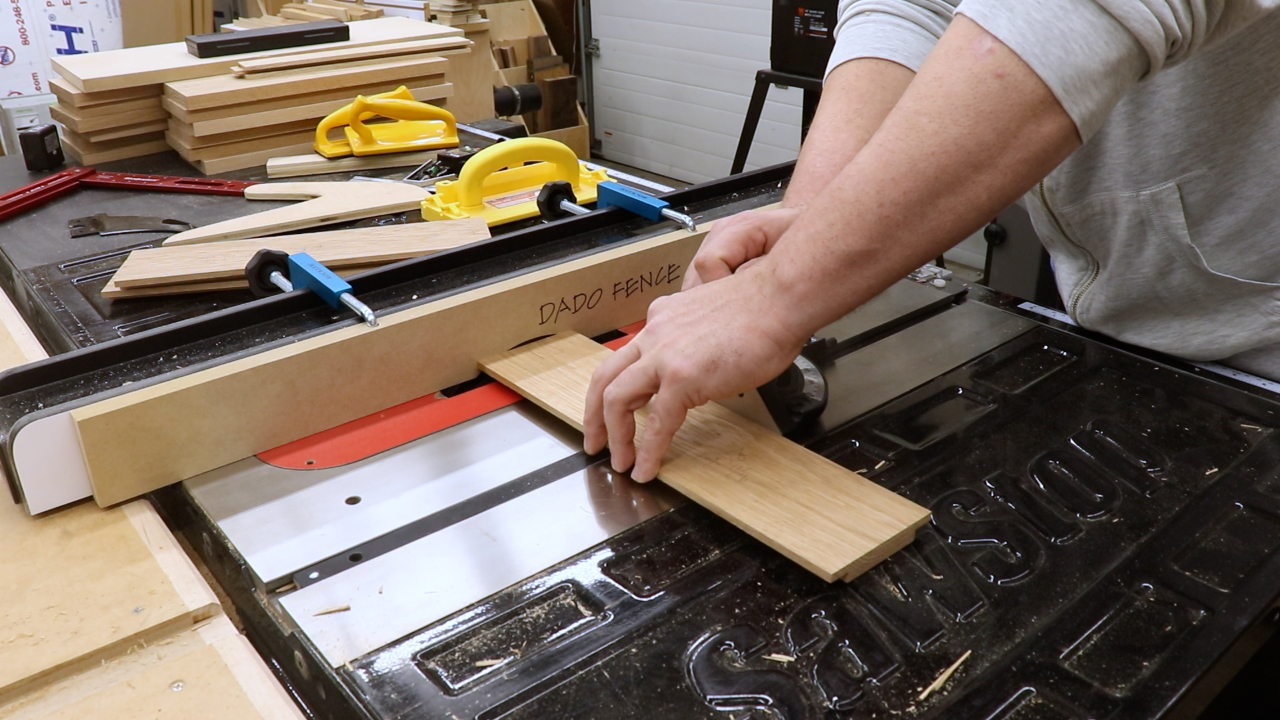
I first cut the grooves. Using my regular blade I cut a groove in the center of the piece and then flipped the piece around and cut the groove again. I then adjusted the fence out in very small increments and continued to cut the groove while flipping the piece until I had a 1/4” groove.
Cutting grooves in the stiles and rails for the drawer fronts
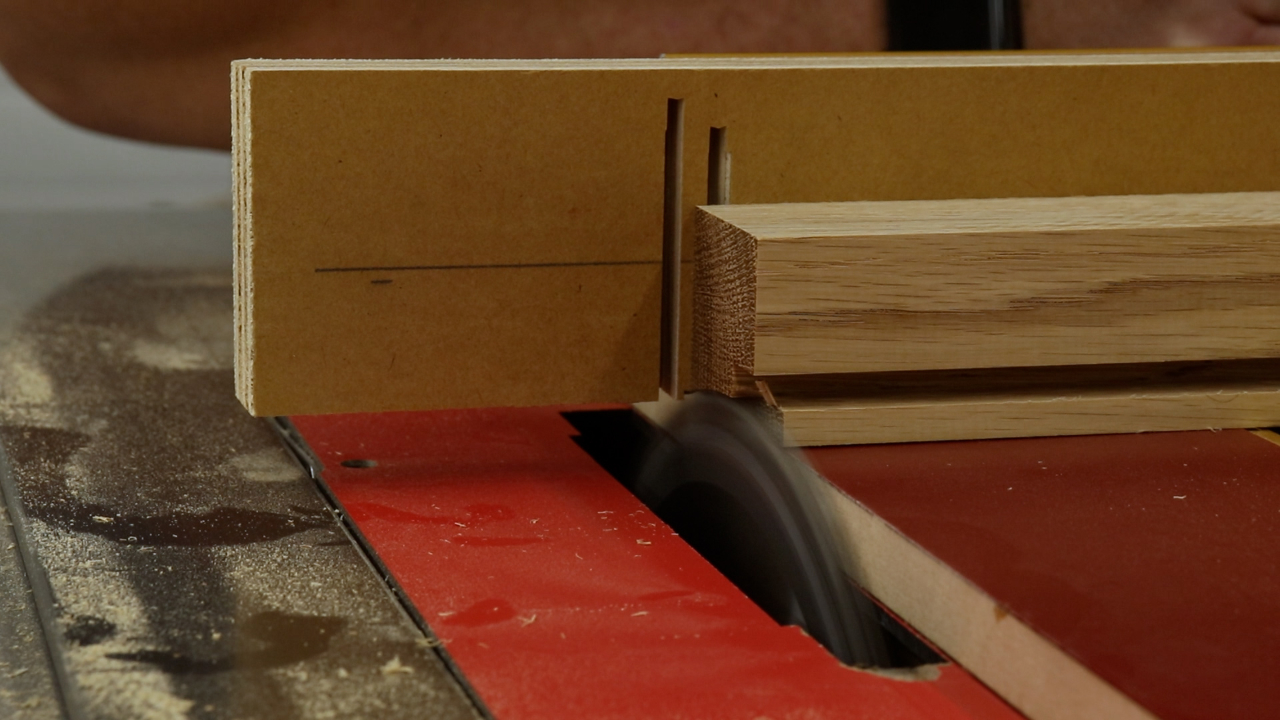
I then used a dado blade and my cross cut sled to cut the tongues. This was a mistake. I should have cut the tongues first and then cut the grooves. That way I could sneak up on the fit. I could still sneak up on the fit with my approach but I think it’s a lot easier the other way around. That goes against conventional woodworking wisdom but whatever. I actually cut the first tongue too small and had to CA glue a little strip onto it to make it fit okay. Look, there’s a reason I call myself the Average Craftsman.
Cutting the tongues for the drawer fronts
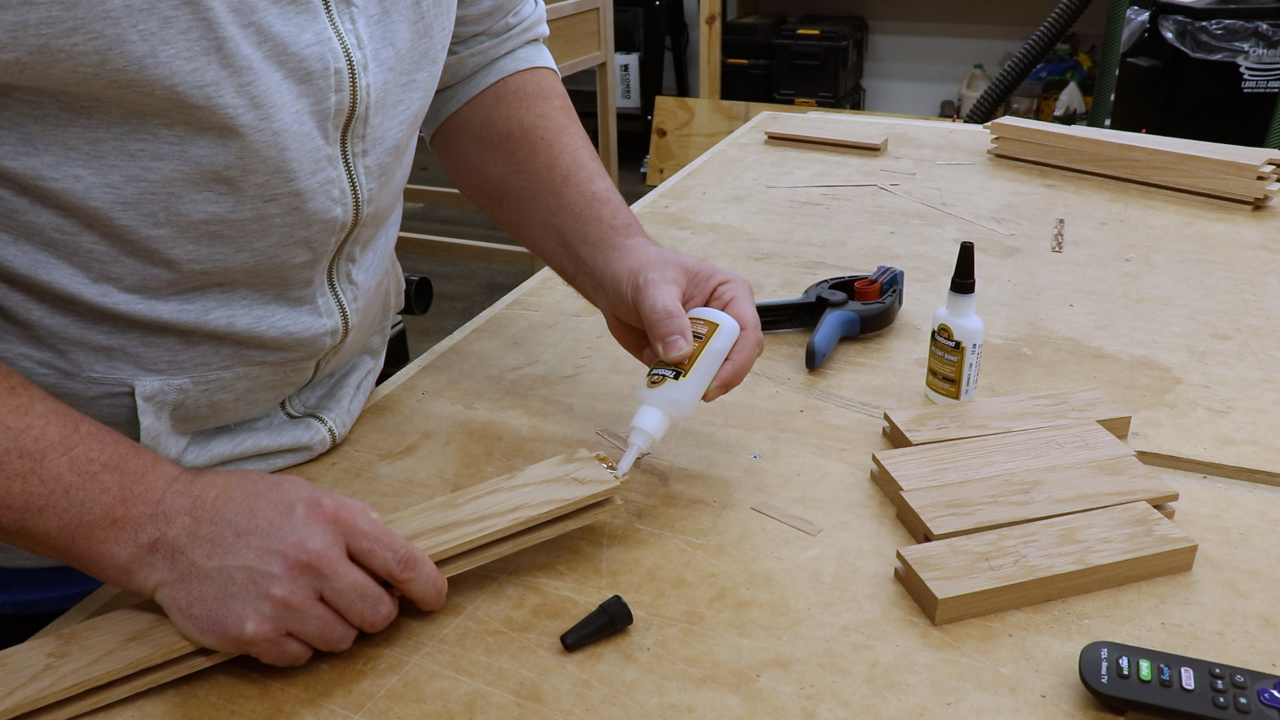
Fixing a mistake in the drawer front tongues
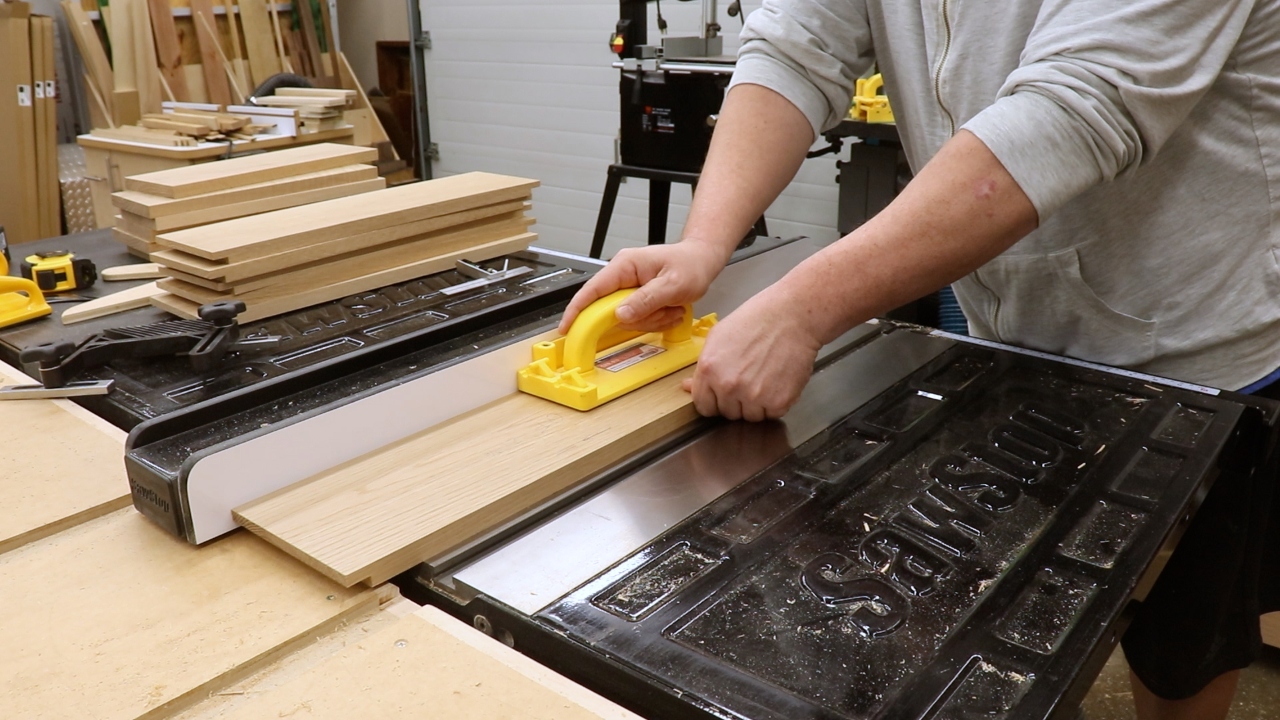
The panels needed to fit into the grooves but they also needed to sit flush with the back of the stiles and rails. I used the dado blade to cut a 1/4” rabbet around the back of the 1/2” panel.
Cutting rabbets in the drawer fronts
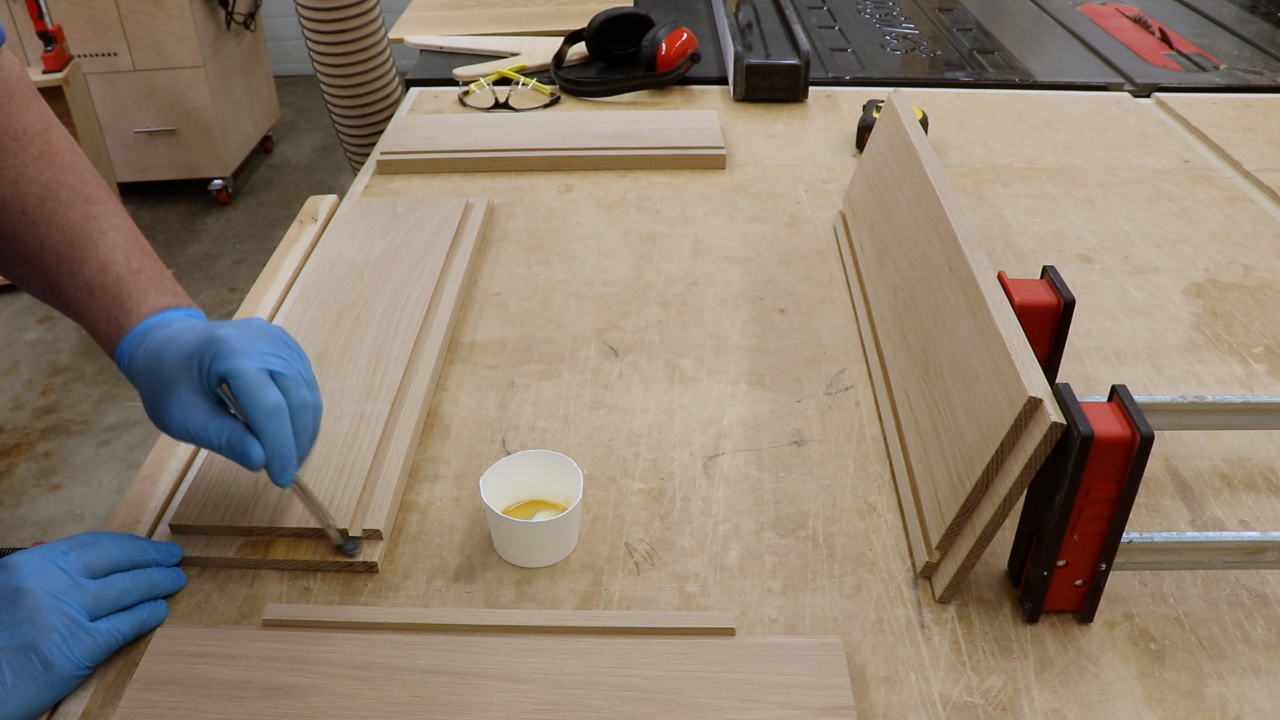
I could now glue up the drawer fronts. Like the side panels, I used spaceballs to center the panels and allow them to expand and contract a bit. Then I brushed on a very light amount of poly glue, assembled the parts and put them in clamps. I used some small clamps to help me flush up the stiles and rails. I then checked for square and put them aside while I focused on the top.
Drawer front assembly
Clamping up the drawer fronts
Top Assembly – Build a Potting Bench
Sub Top
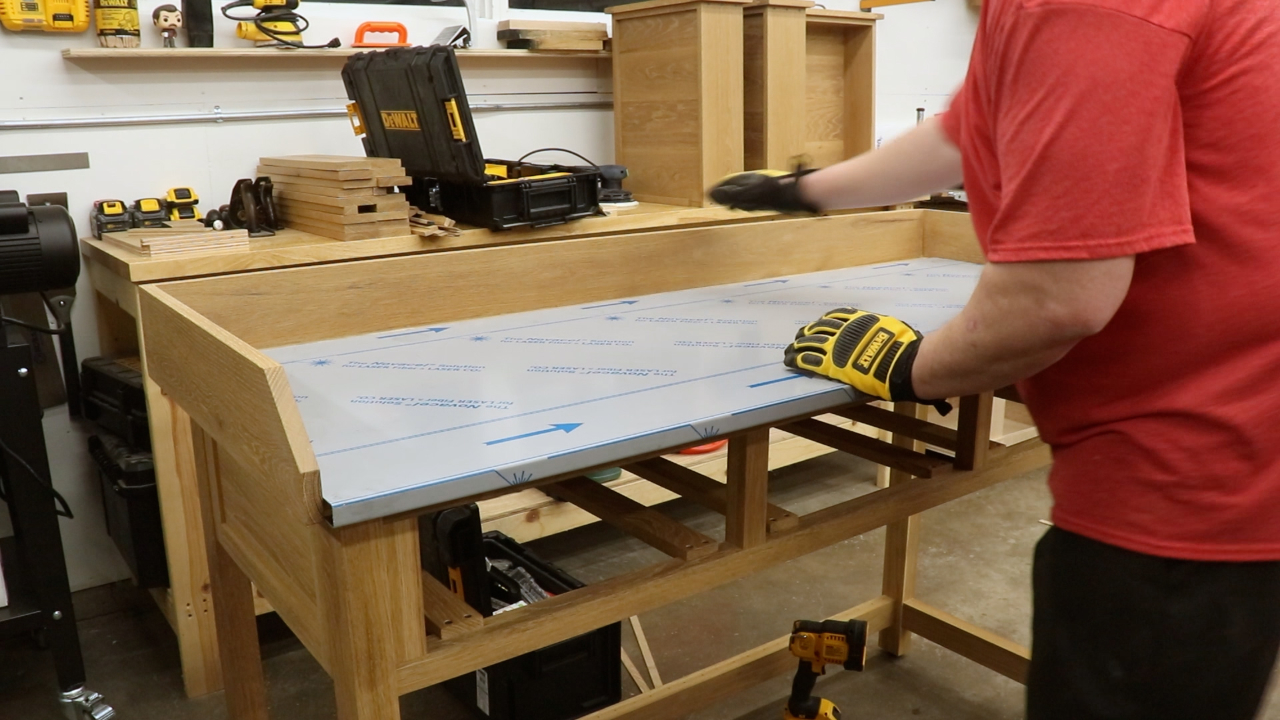
The top is made up of two parts, an MDO plywood sub top and a stainless cover that slides on over the sub top. I cut the top to length and rough cut to width with the track saw and then cut it to the final width at the table saw.
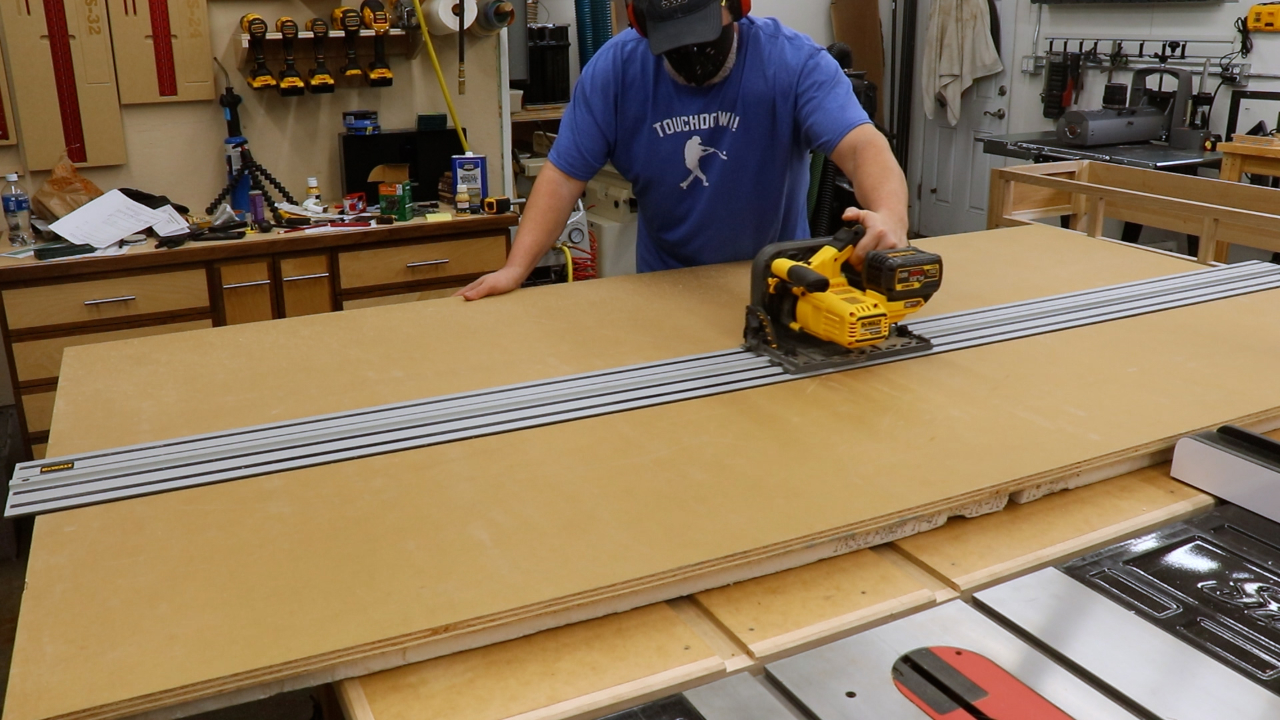
Rough cutting the sub top with the track saw
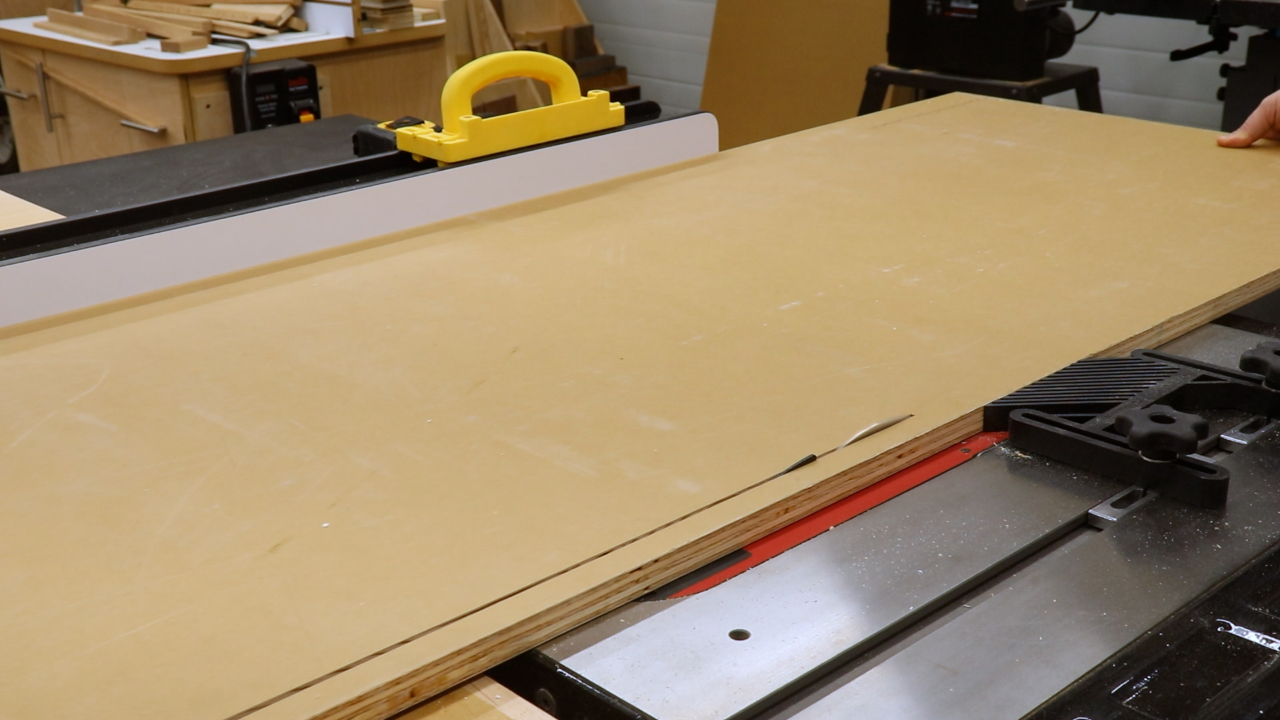
Cutting the sub top to final size
I decided to work on the sub top and how it attaches to the base because I didn’t want to be moving the base around and flipping it over after I applied the finish. The top is two pieces, a sub top made from MDO plywood which is then covered with stainless steel. The sub top needs to attach to the base and I went with table top z clips for fasteners. These z clips fit into slots on the base and then are screwed into the top. Z clips aren’t mechanically fastened to the base so they allow wood movement.
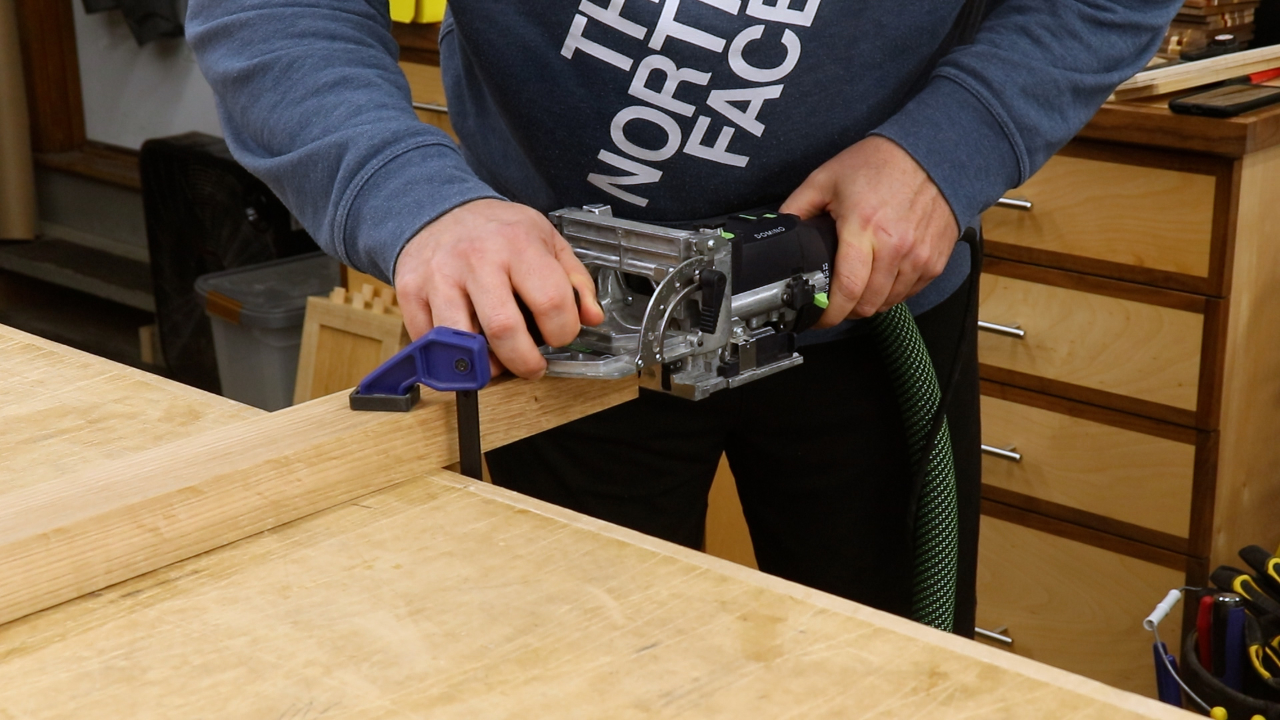
Sub Top Attachment
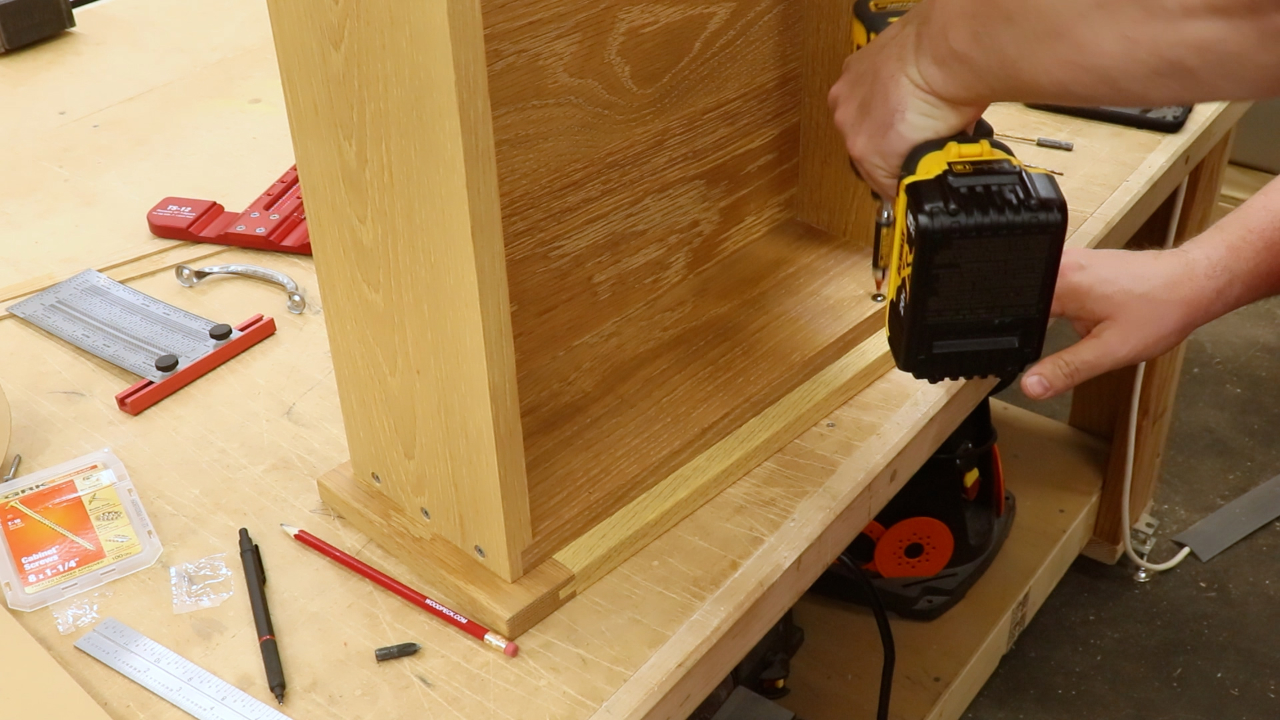
After cutting the sub top to size I used the domino to cut the slots. You can also cut these slots with a biscuit joiner or even by just drilling a bunch of holes next to each other. Precision is not needed here, just make sure they are spaced down correctly. I then placed the base upside down on the top so I could easily line it up and drive in the screws. I then removed the top so I could start building the backsplash and the hutch.
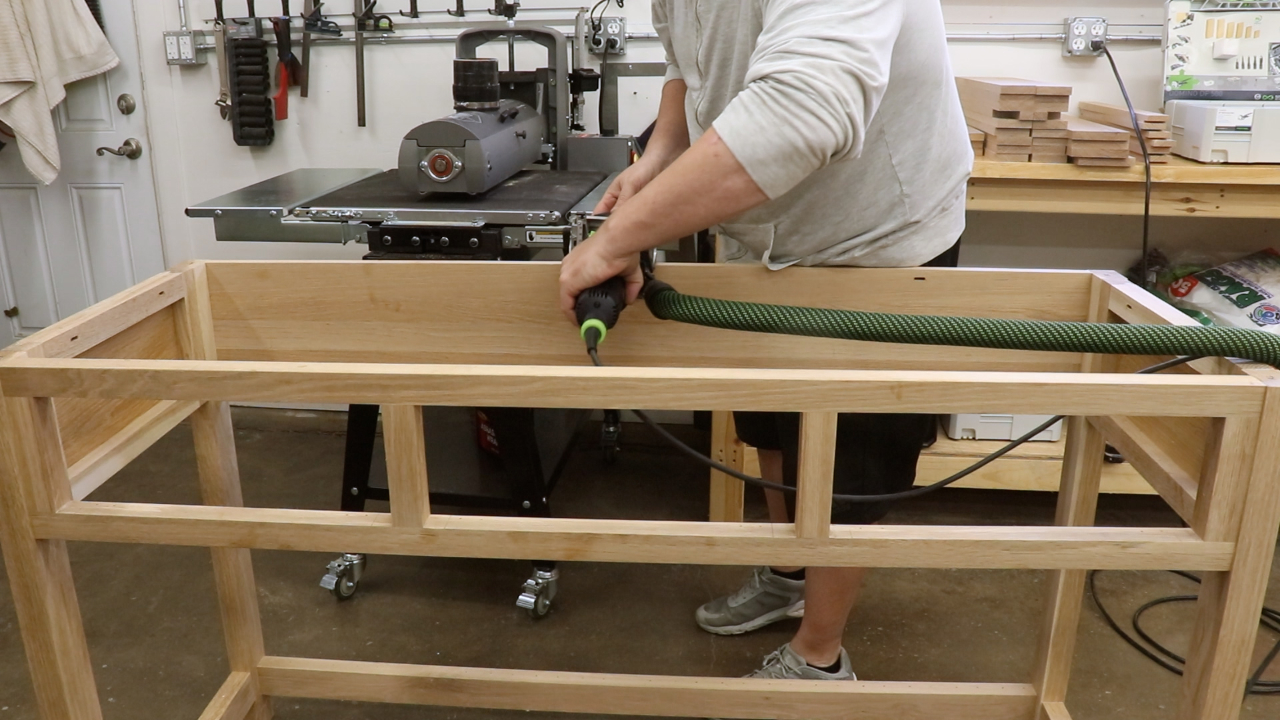
Cutting slots for z clips
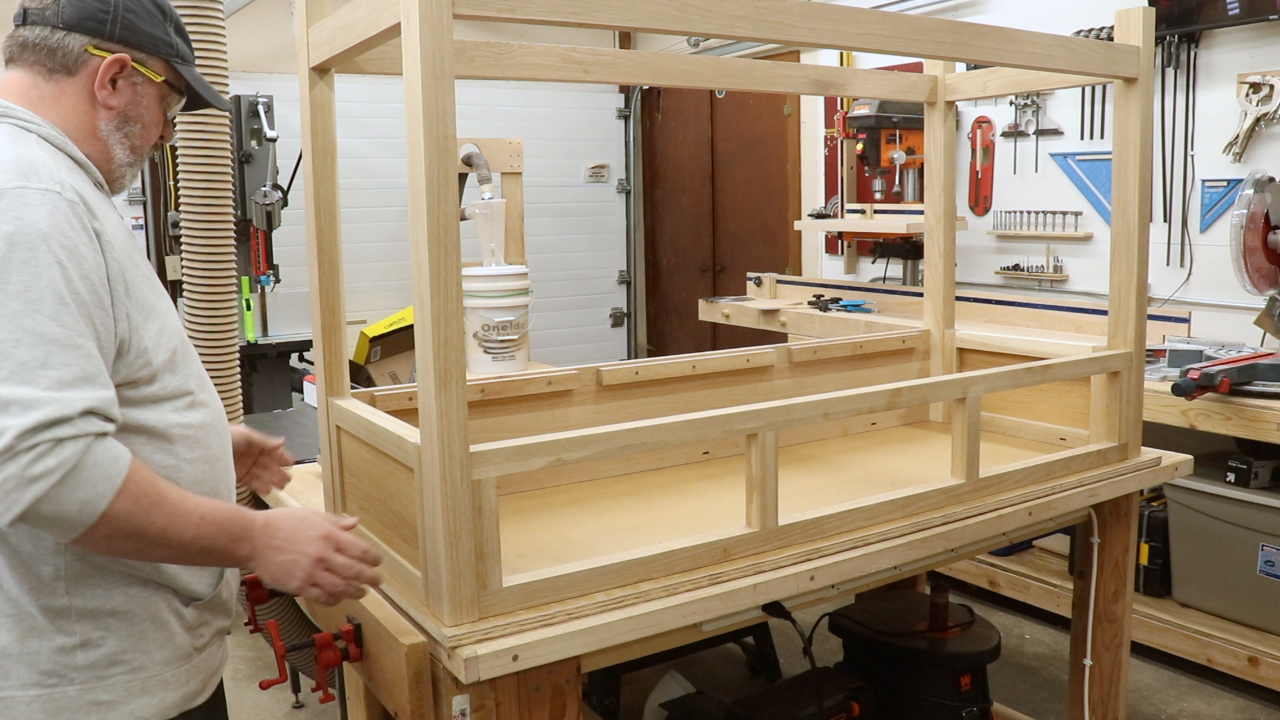
Aligning the sub top with the case
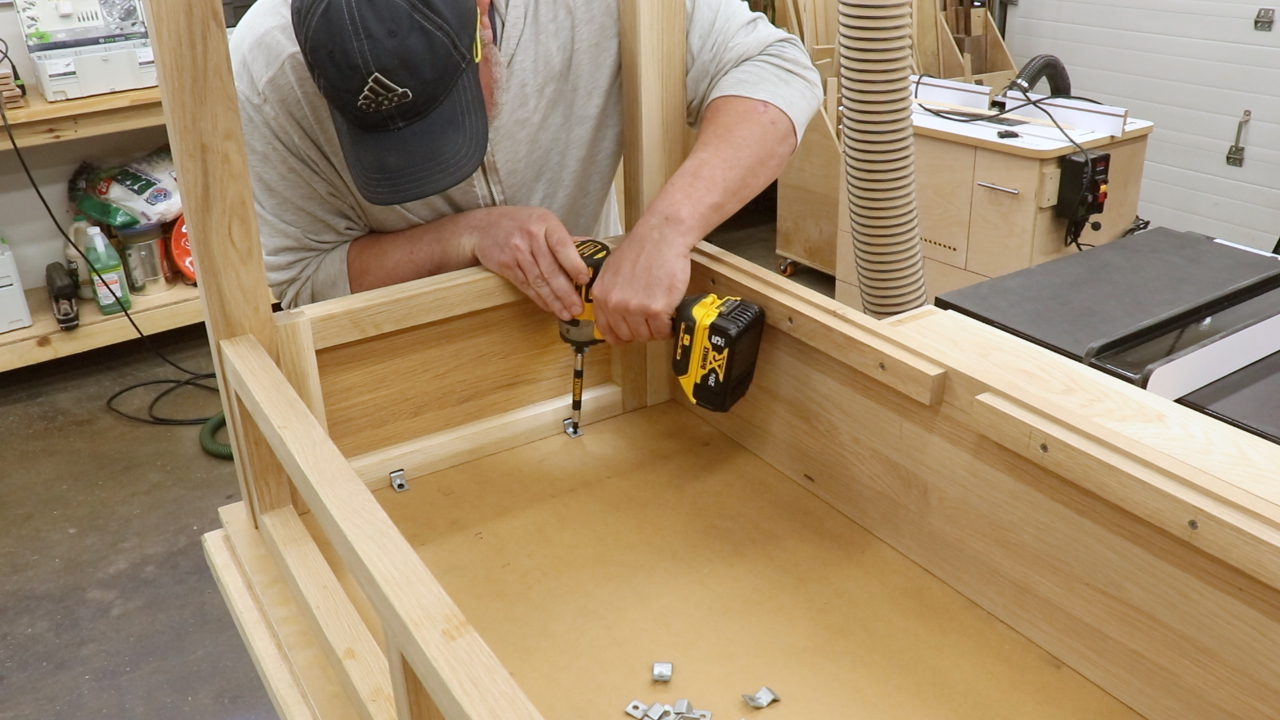
Attaching the sub top to the case with z clips
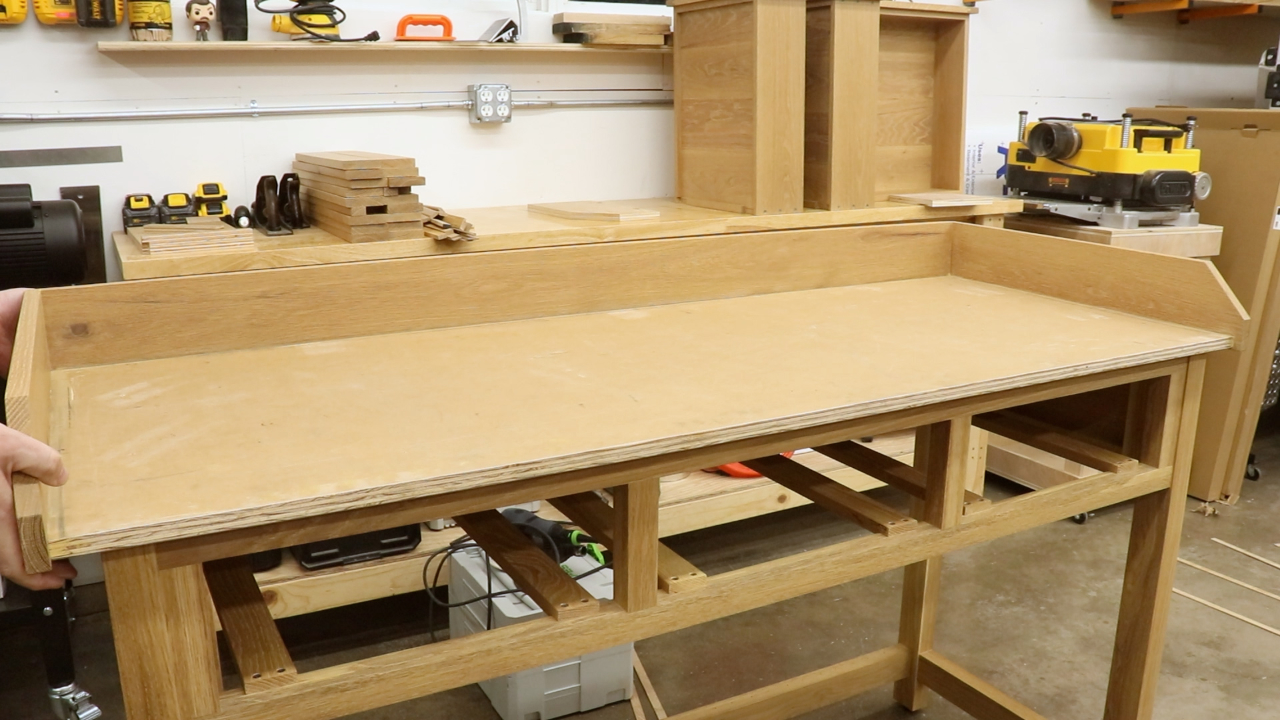
Backsplash
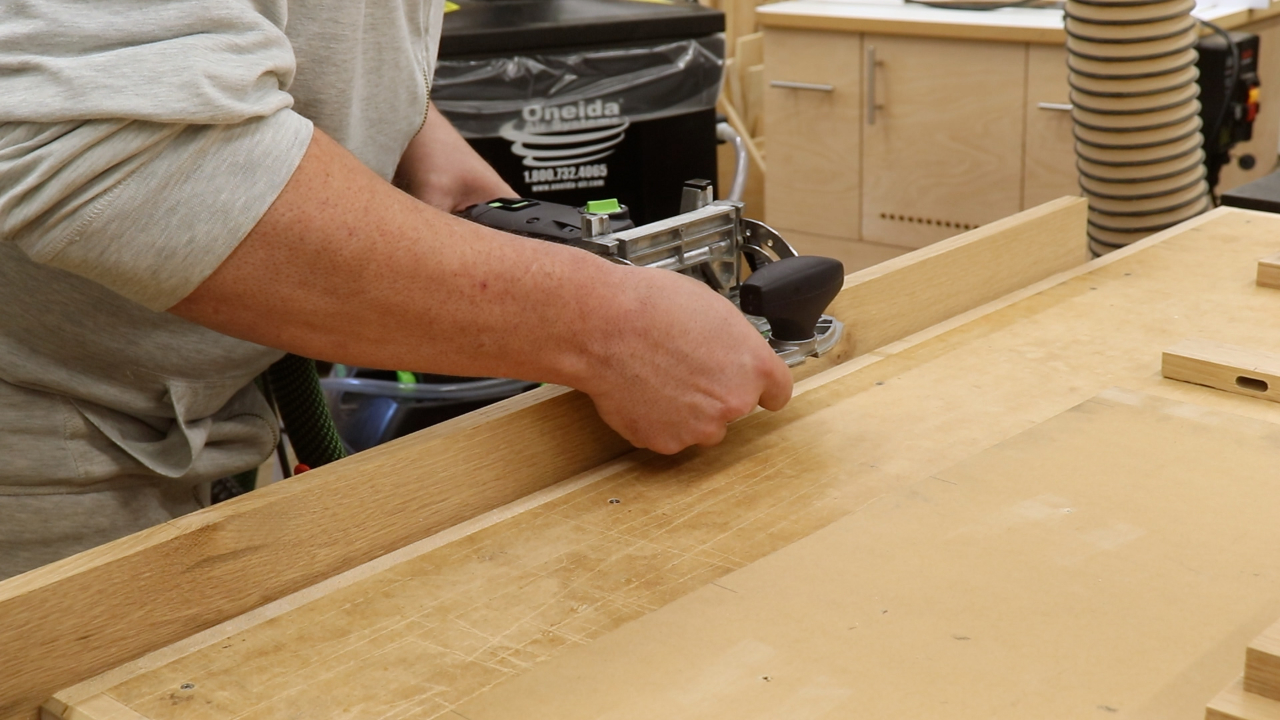
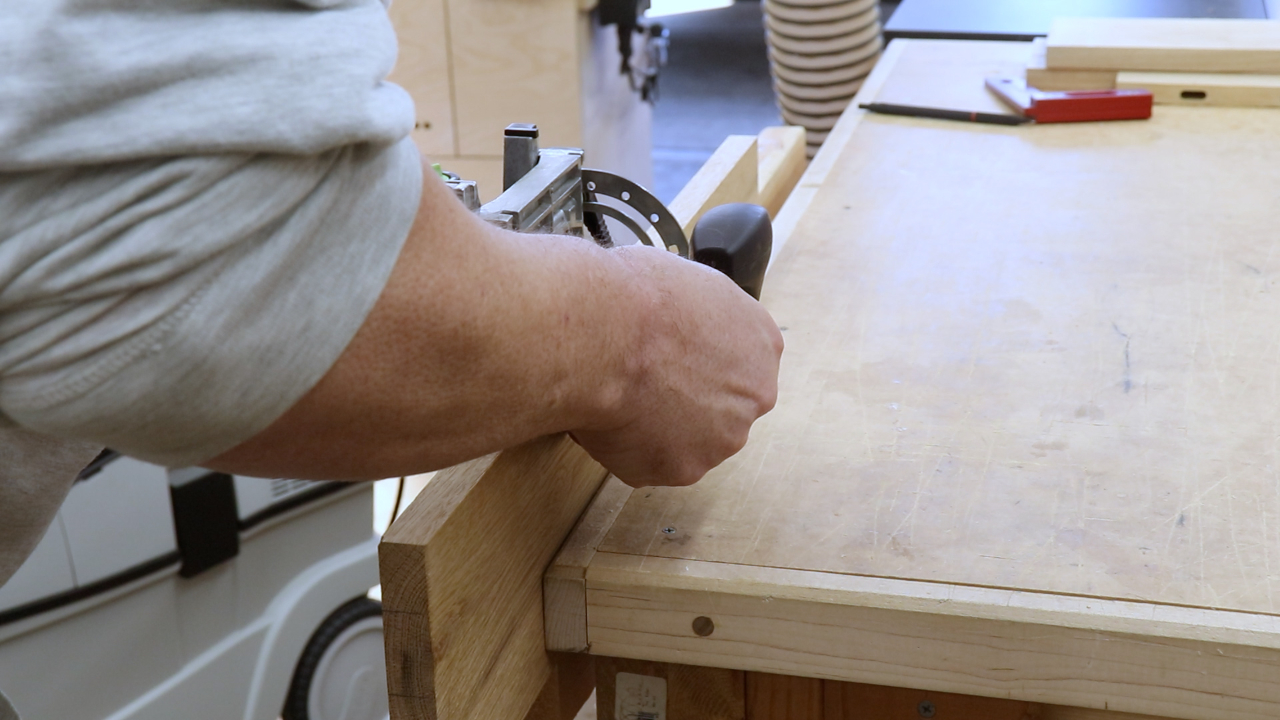
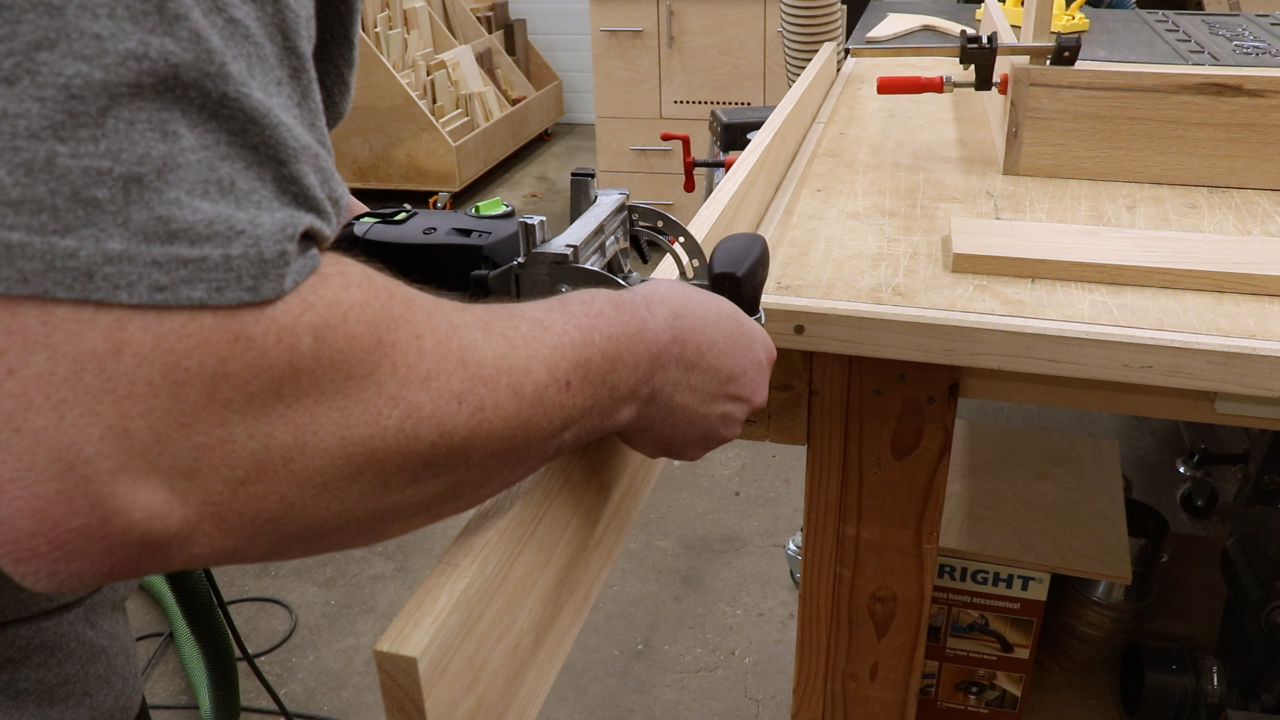
First, I focused on the backsplash. I used the domino for all of the joinery. I could have done this with dowels or a combination of dowels and pocket screws. Then I cut mortises around the sides and back of the plywood subtop. Layout of the dominos was critical here so I really took my time to make sure everything matched up correctly. I then cut the mortises in the backsplash and sidesplash parts, ran them through the drum sander and then did a final sanding with the orbital sander.
Cutting the mortises for the back and sides
More mortises
…and more mortises
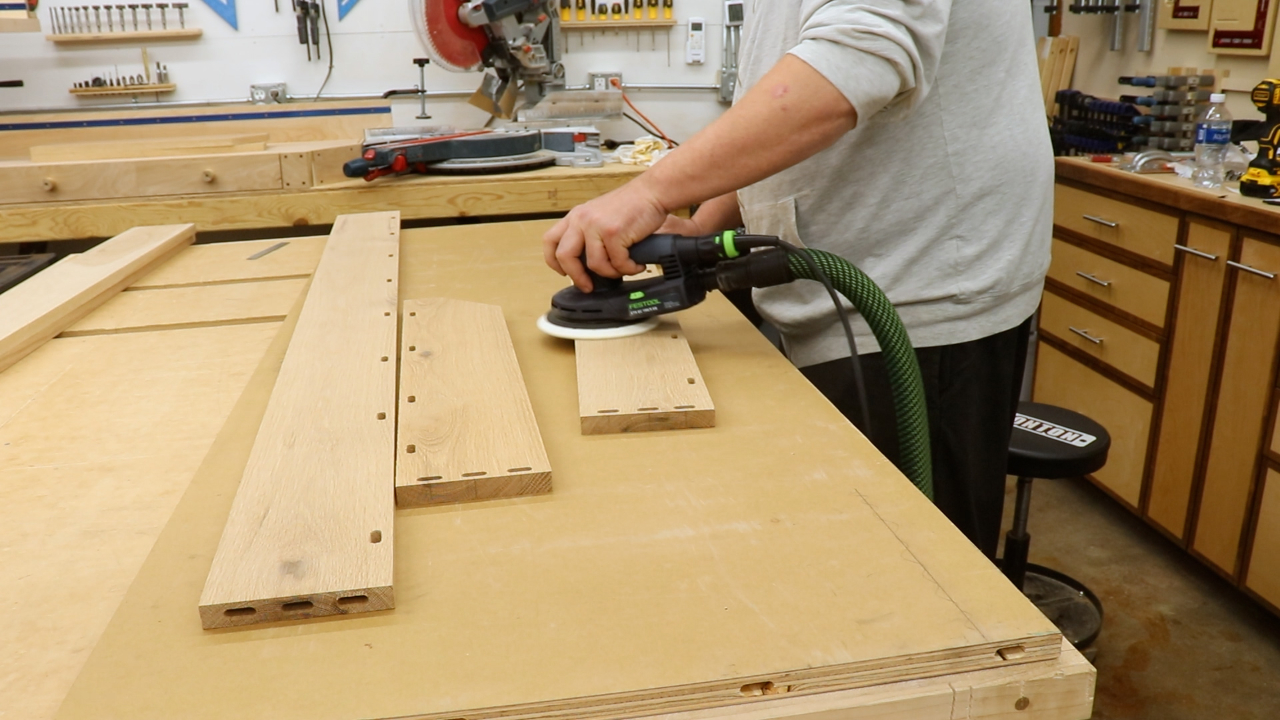
More pre sanding
Top Glue Up
Once everything was sanded down I moved on to more fun with the poly glue. I had a decent handle on the squeezeout at this point but any amount I did have was very problematic when it came to sanding.
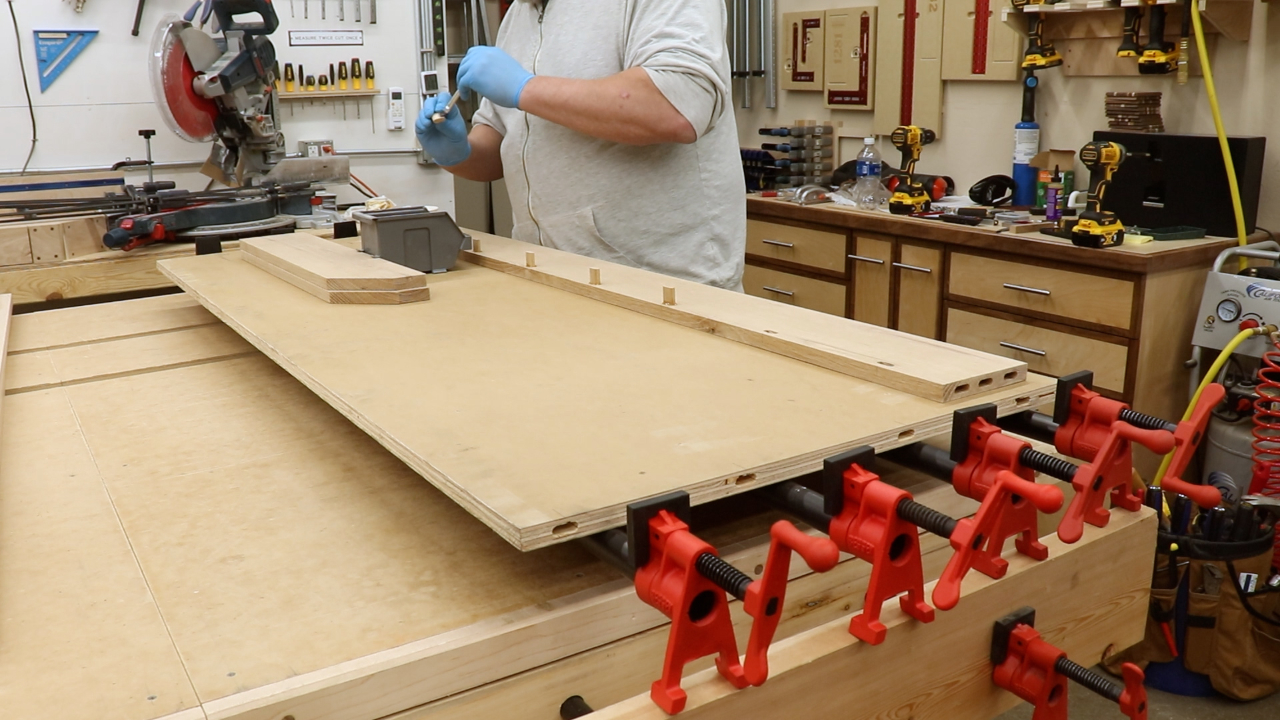
Gluing up the top
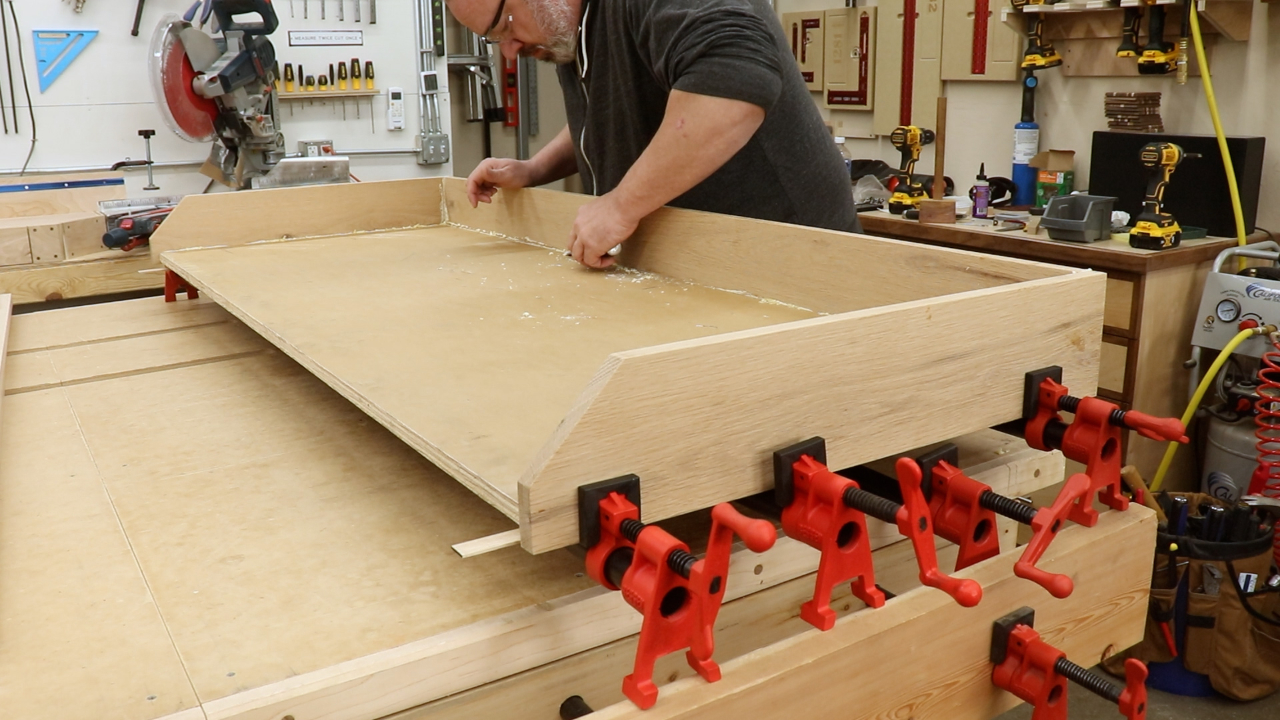
More squeeze out hell
Hutch Assembly – Build a Potting Bench
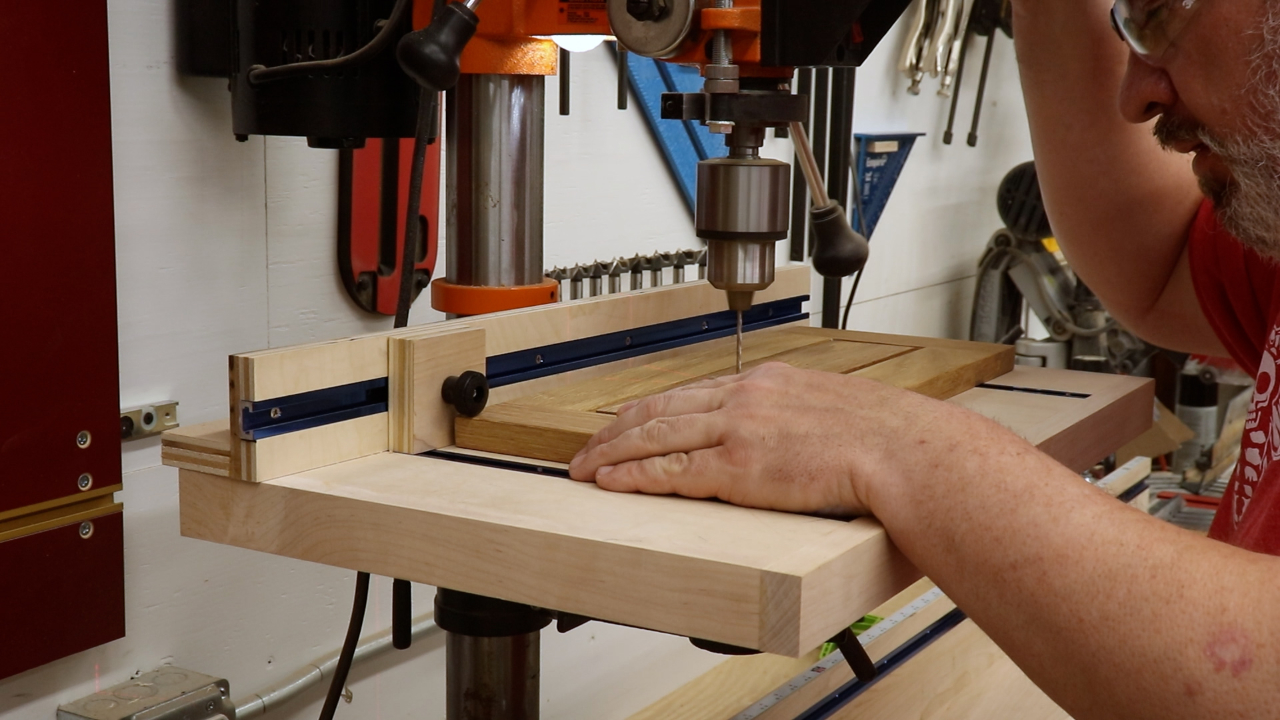
With the top assembly finished I cut all of the hutch parts to size. I then cut all of the required domino mortises. The hutch is made up of two sides with an upper shelf and back. I attached the hutch to the sidesplash with screws so I could easily remove it for transport. I predrilled all of the holes for the screws on the drill press and then cut some more dominos.
Cutting back and side parts at the miter saw
Cutting a lot of mortises for the back and side of the top
Drilling and countersinking the hutch supports
Cutting mortises for the hutch parts
Hutch Glue Up
Before glue up I again sanded down all of the parts while the sanding was easy. I again used too much poly glue and was left with all kinds of squeeze out.

Hutch glueup
Slats – Build a Potting Bench
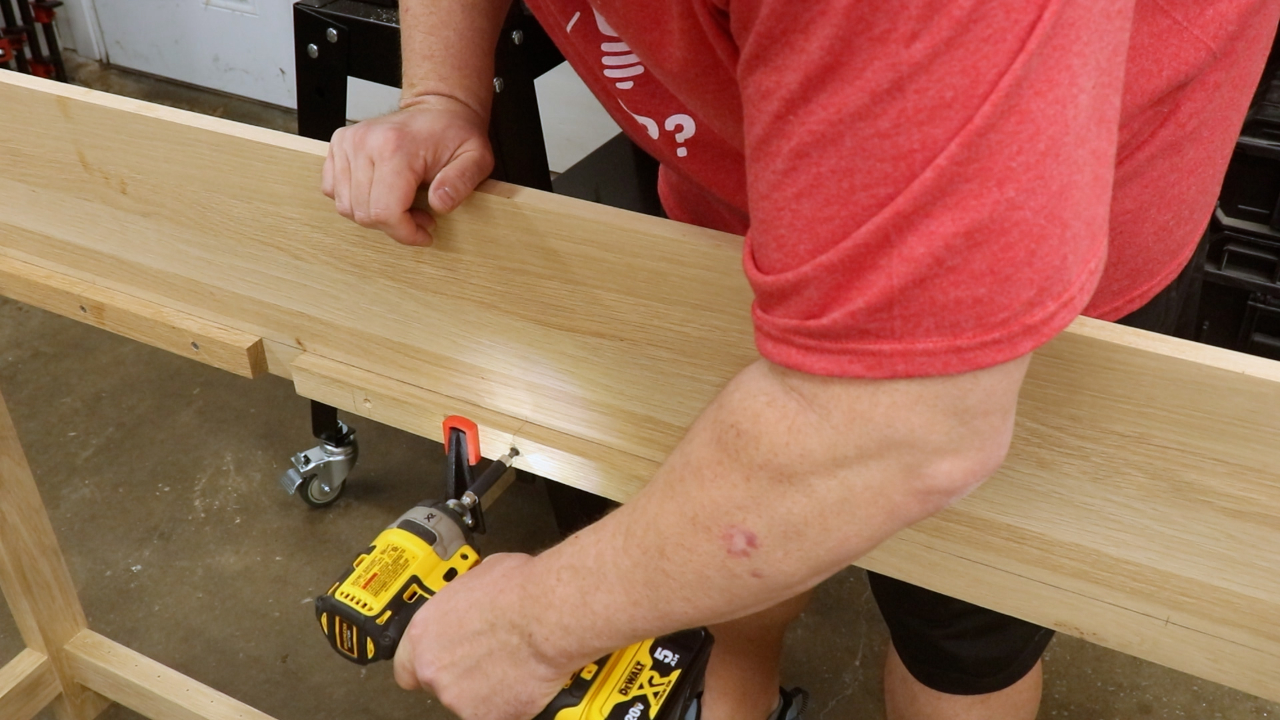
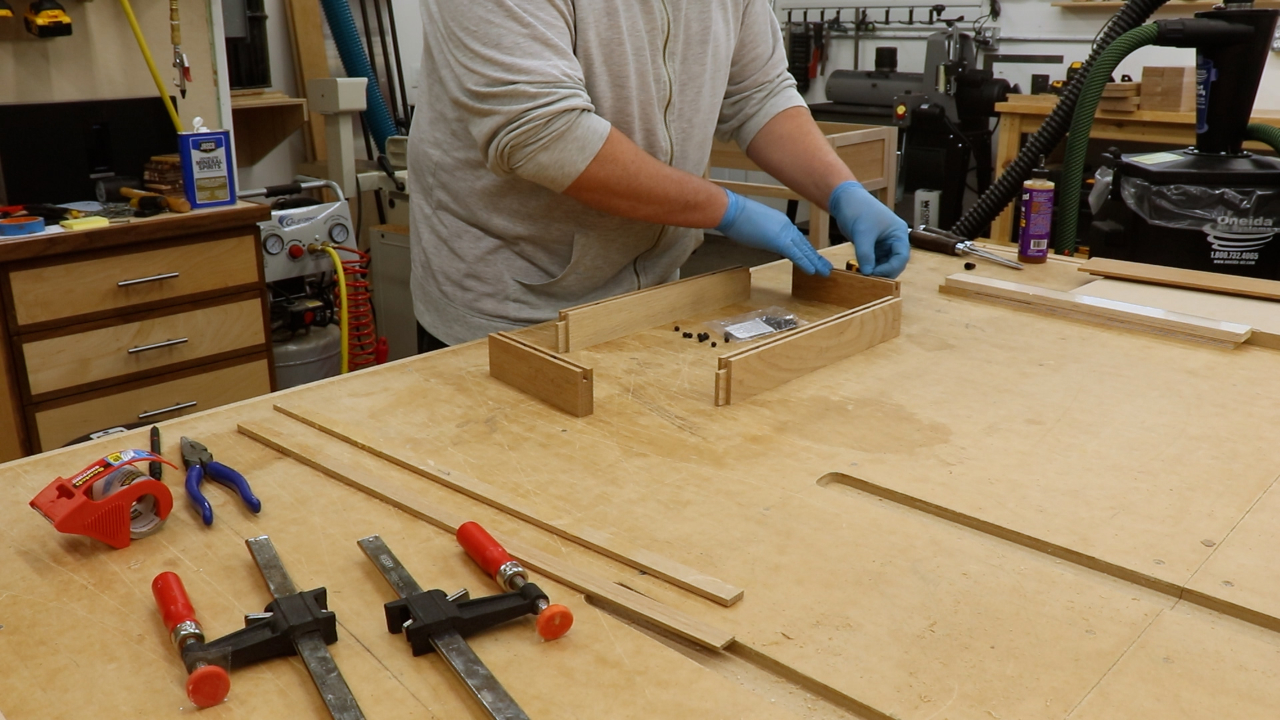
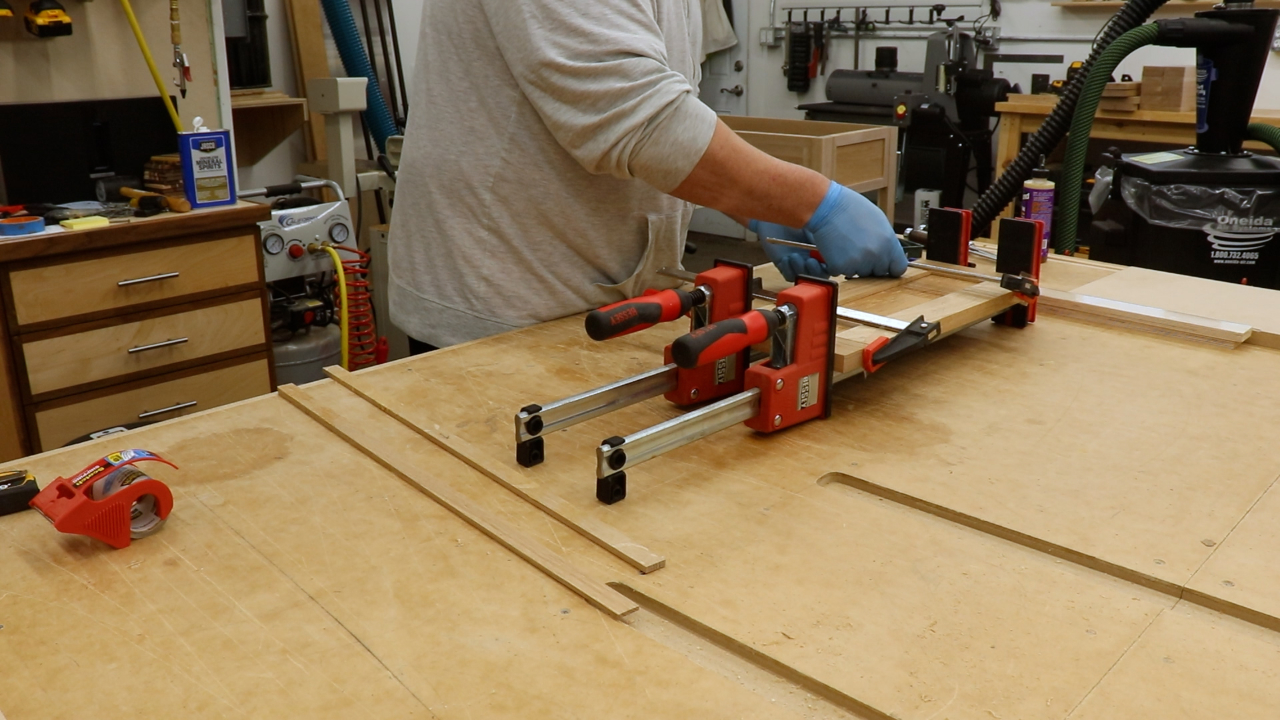
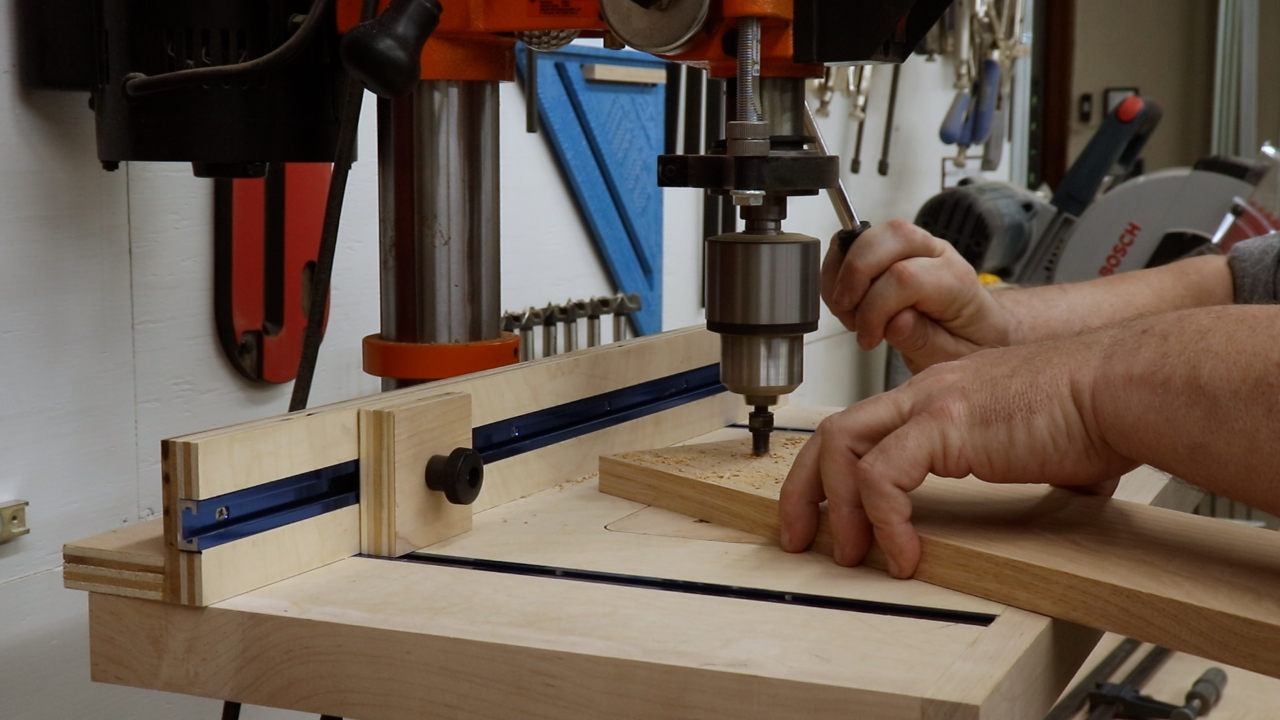
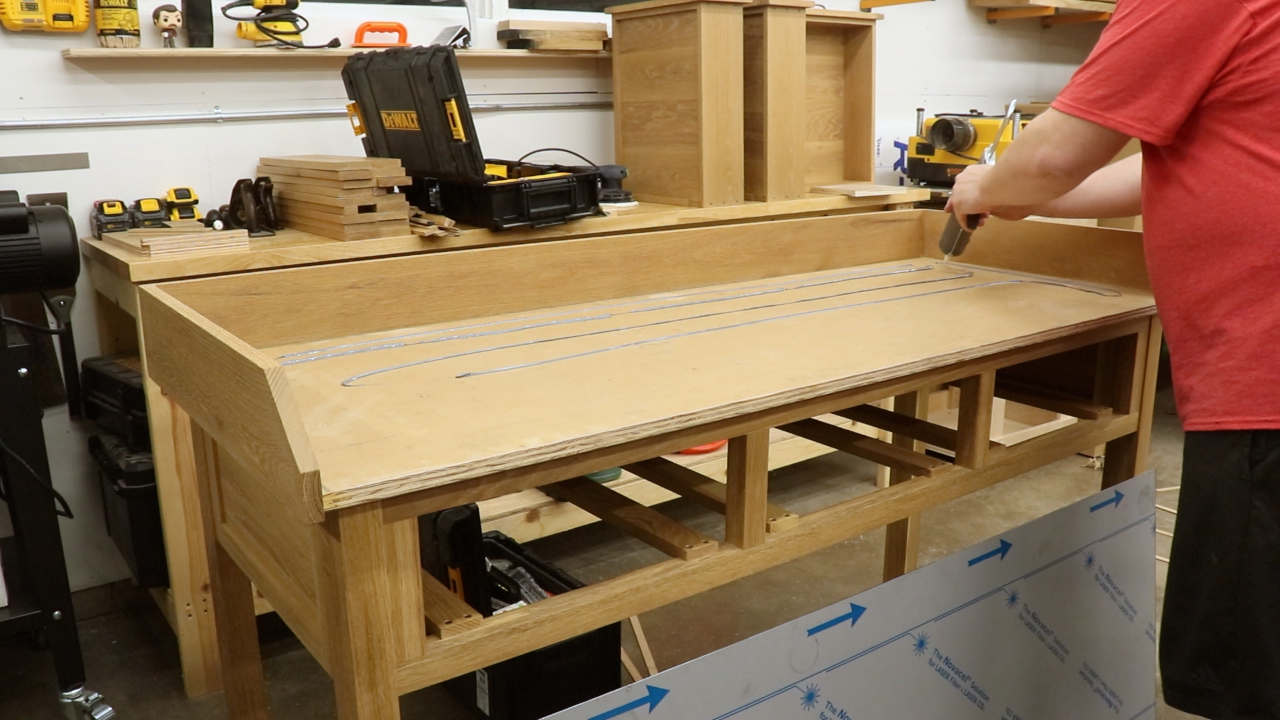
Moving now to the slats. Each slat had two screws at each end. To make sure all of the screws were in the exact same position I made a little jig. This jig me to accurately and repeatedly mark the spots for the screws with a brad point bit. I then took the slats over to the drill press and drilled countersunk holes.
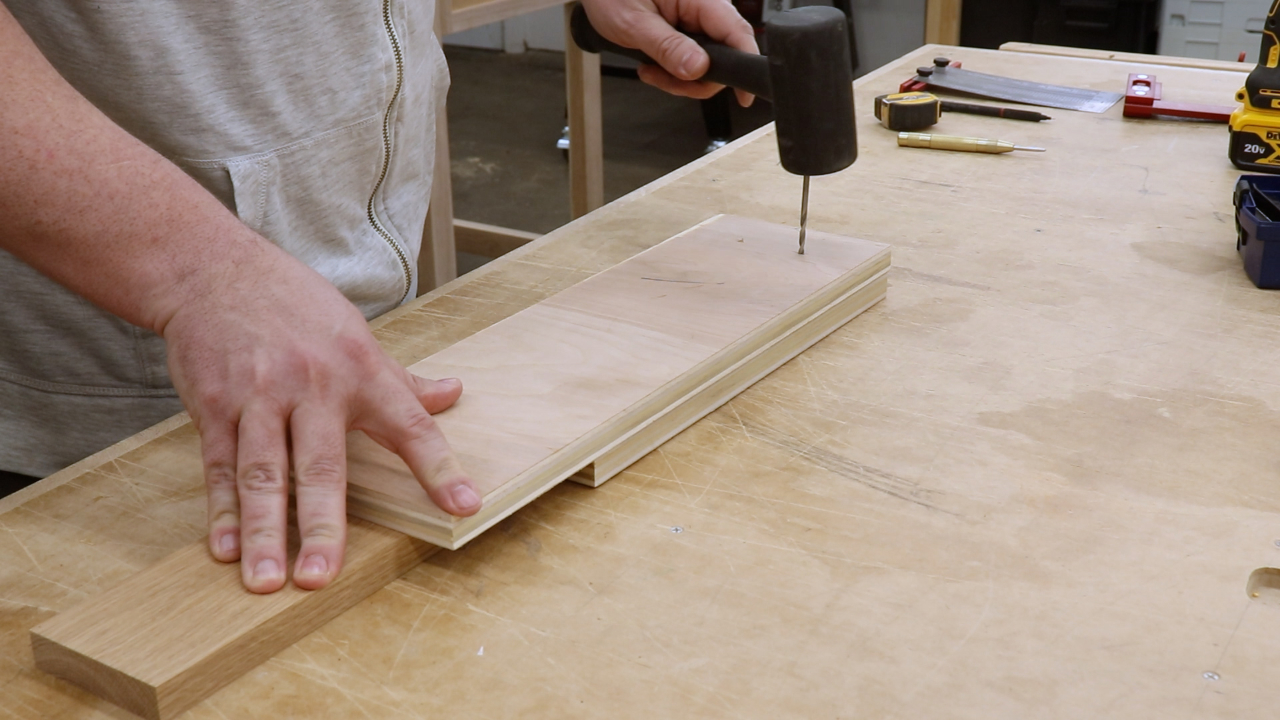
Using a jig to locate all of the holes in the slats
Drilling and countersinking holes in the slats
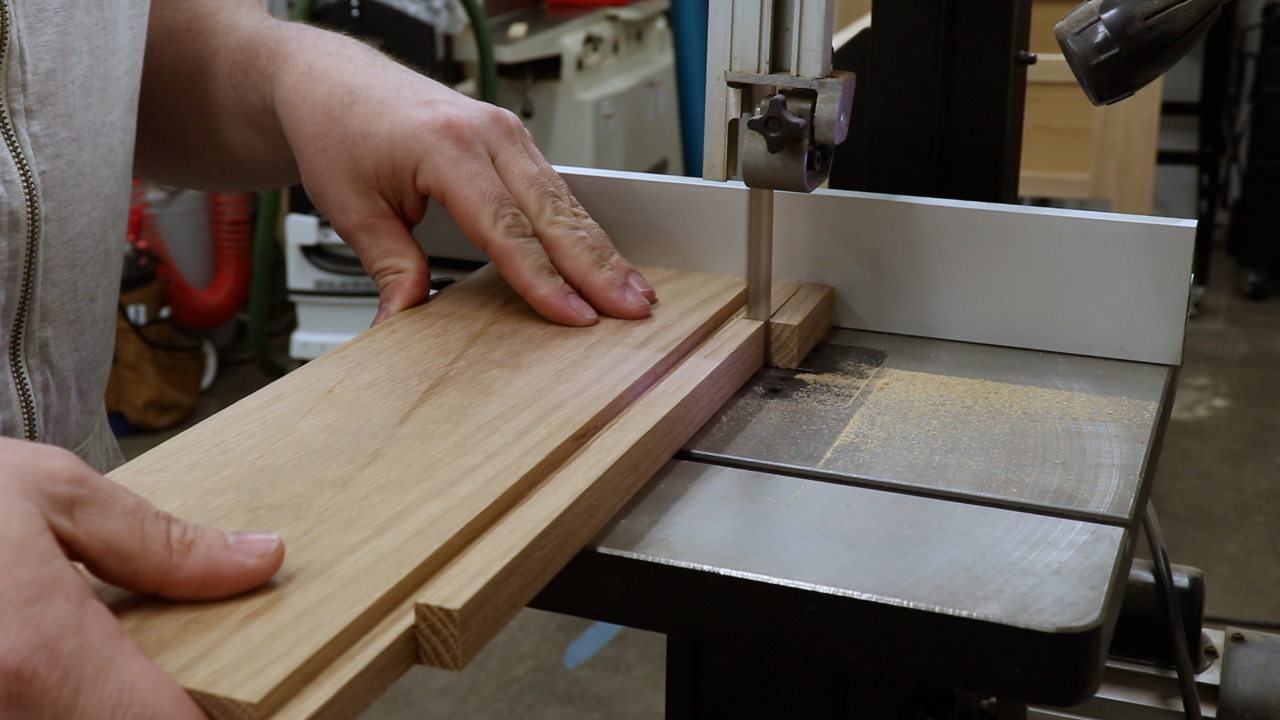
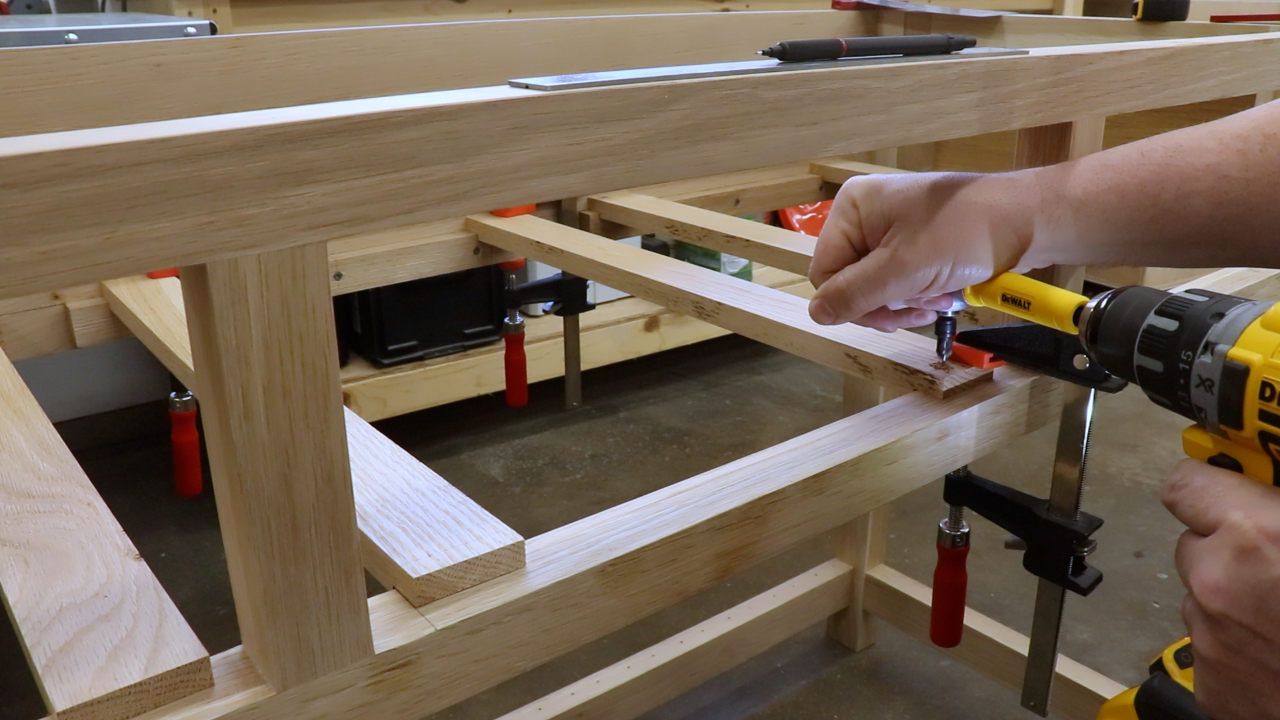
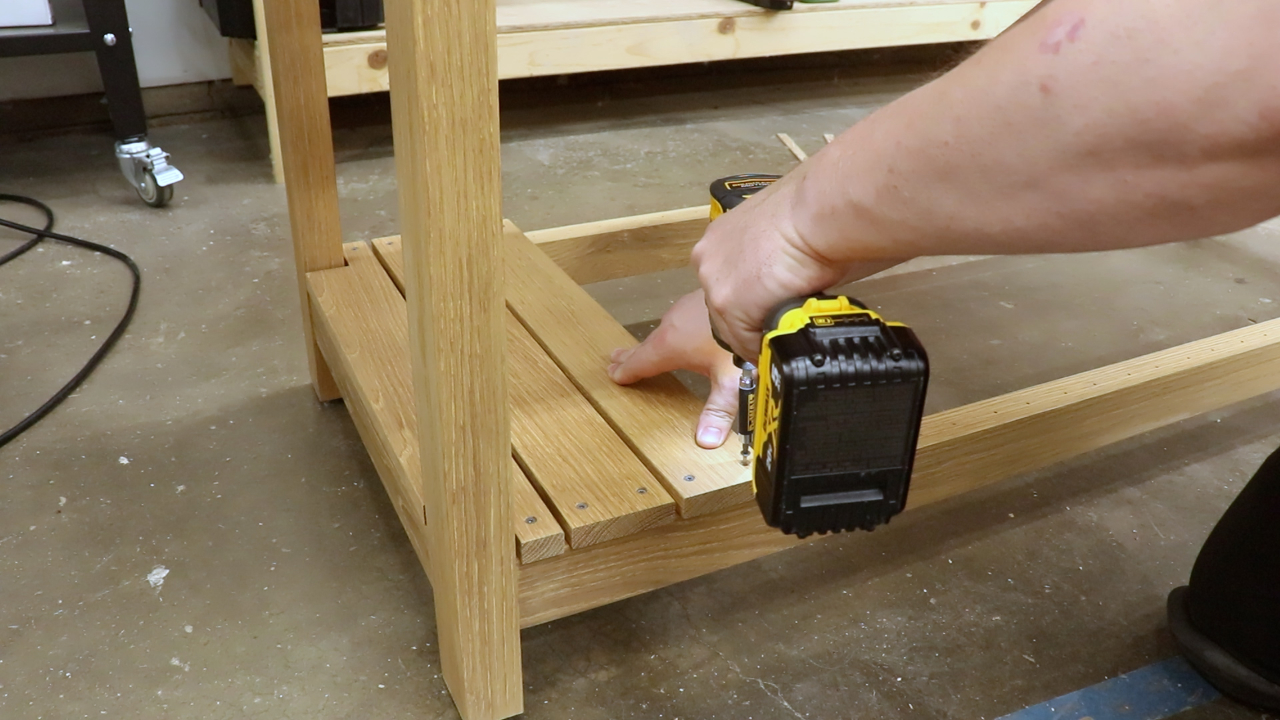
The slats at the ends needed notches cut in them so they could fit around the legs. The mighty little Wen that could handled this task. I clamped the two slats at the ends in place and then used some spacers I made to position the rest of the slats. The spacers were just a little bit too small so I used a folded piece of paper to close the gap. Once the spacing was correct I screwed down the end slats. Each slat was screwed into place through the predrilled holes with 1 1/4” screws.
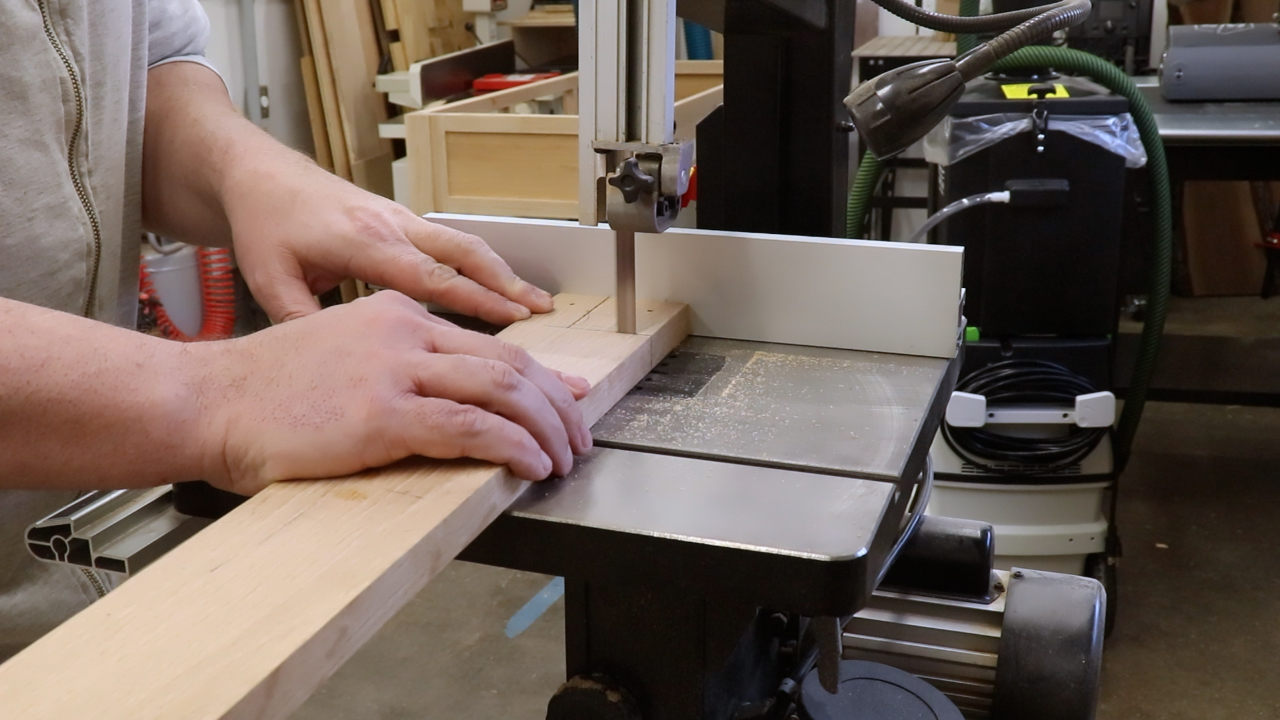
Notching the end slats on the band saw
Aligning the end slats
Attaching the end slats
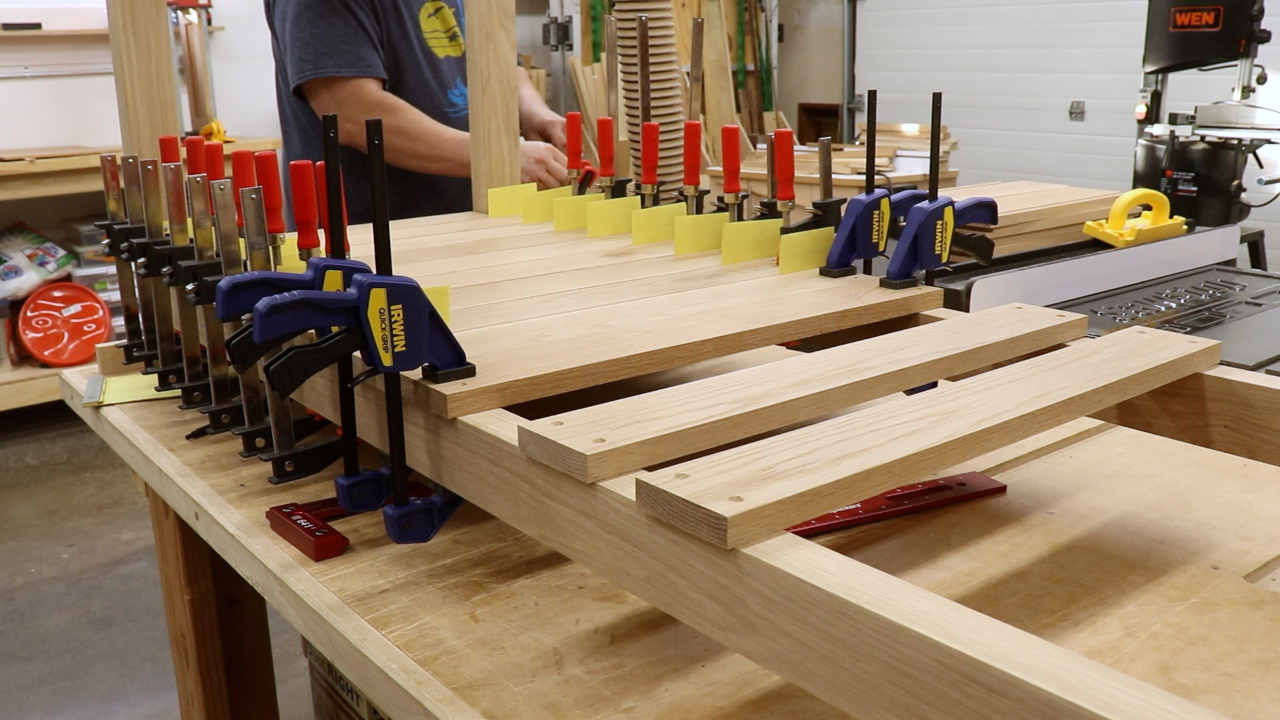
Using paper and wooden spacers to space out the slats
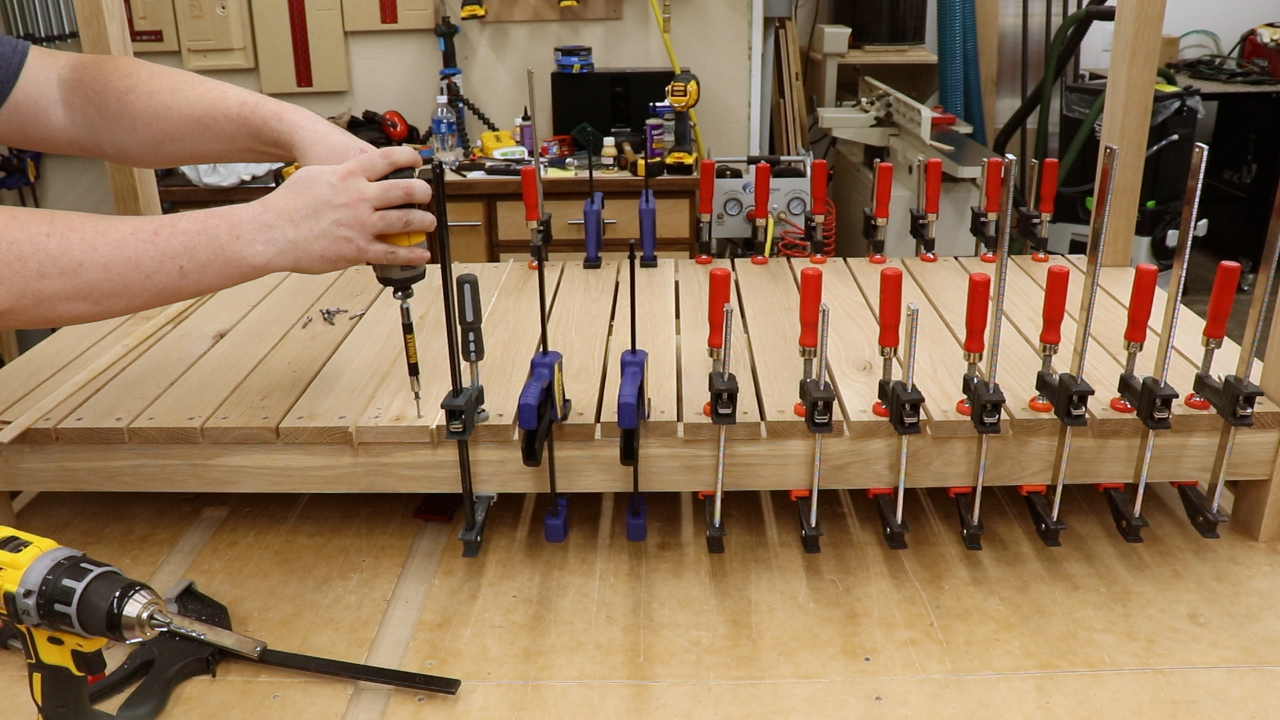
Attaching remaining slats
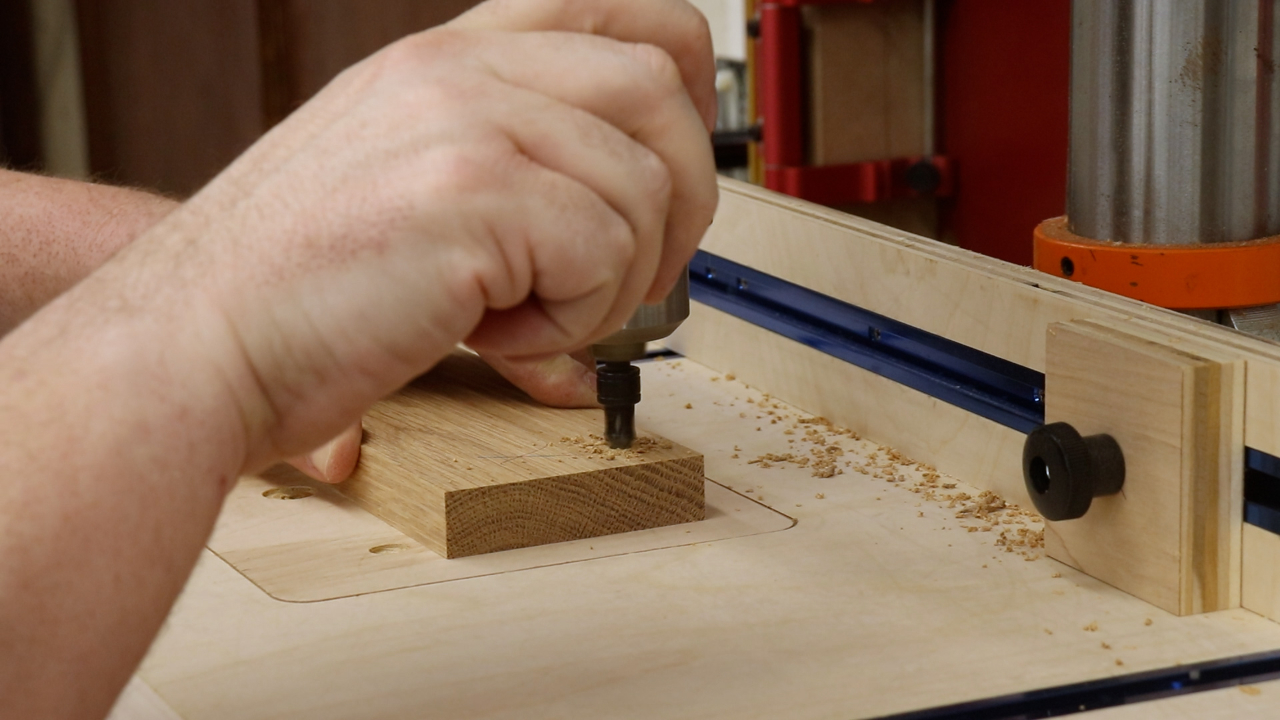
Leg Levelers – Build a Potting Bench
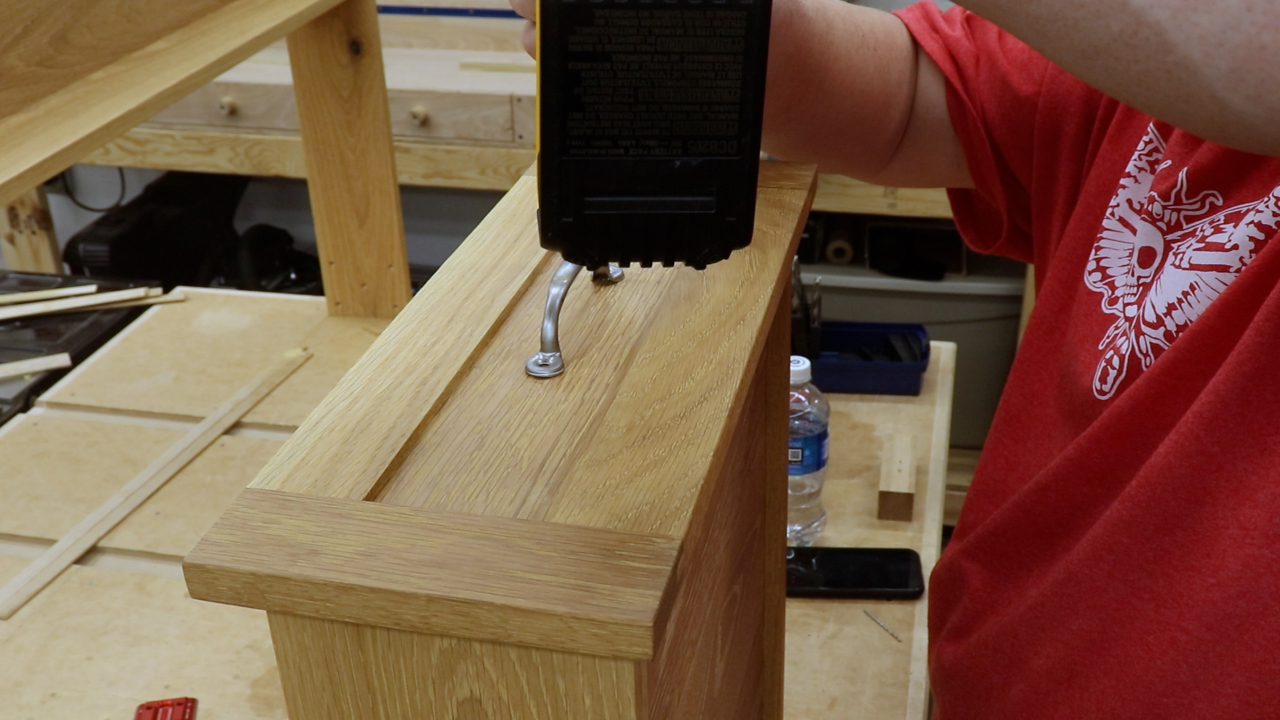
Before moving on to finishing I wanted to install some leg levelers. I used a dowel jig to drill a hole in the center of the leg and then insert a T nut and threaded in some levelers I picked up at Home Depot. This will help prevent the legs from absorbing water.
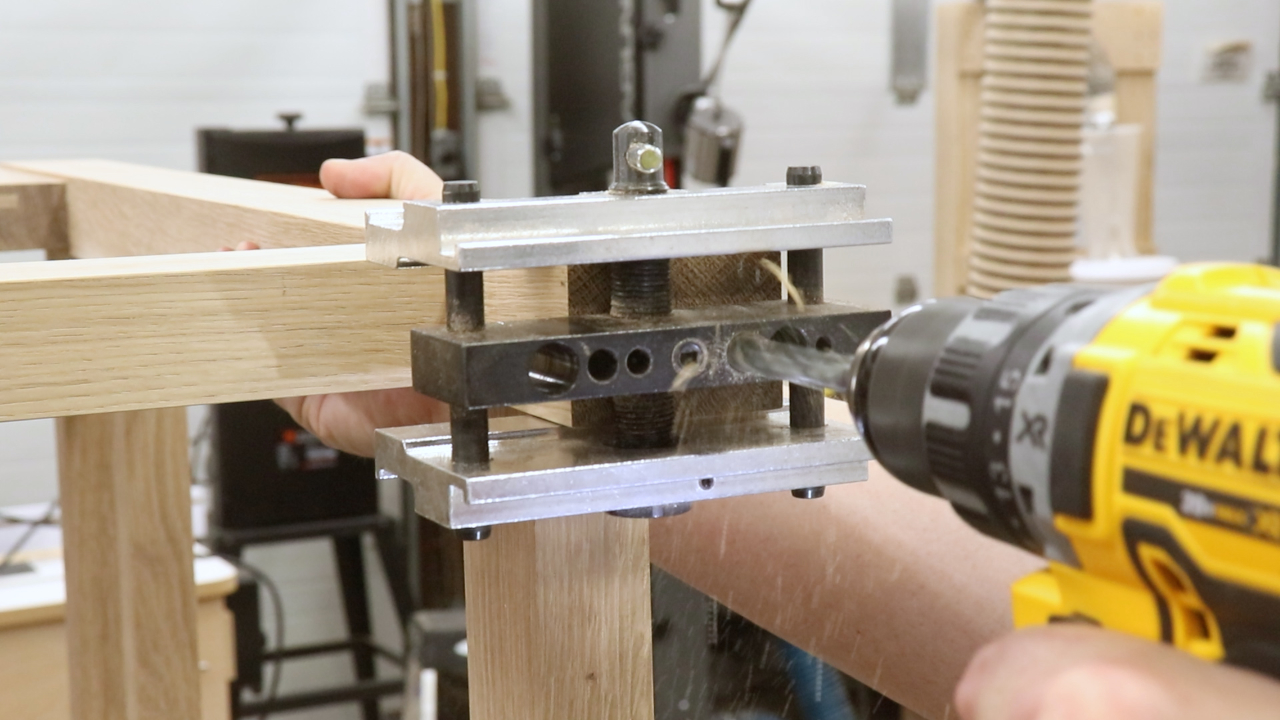
Using a dowel jig to drill for T nuts
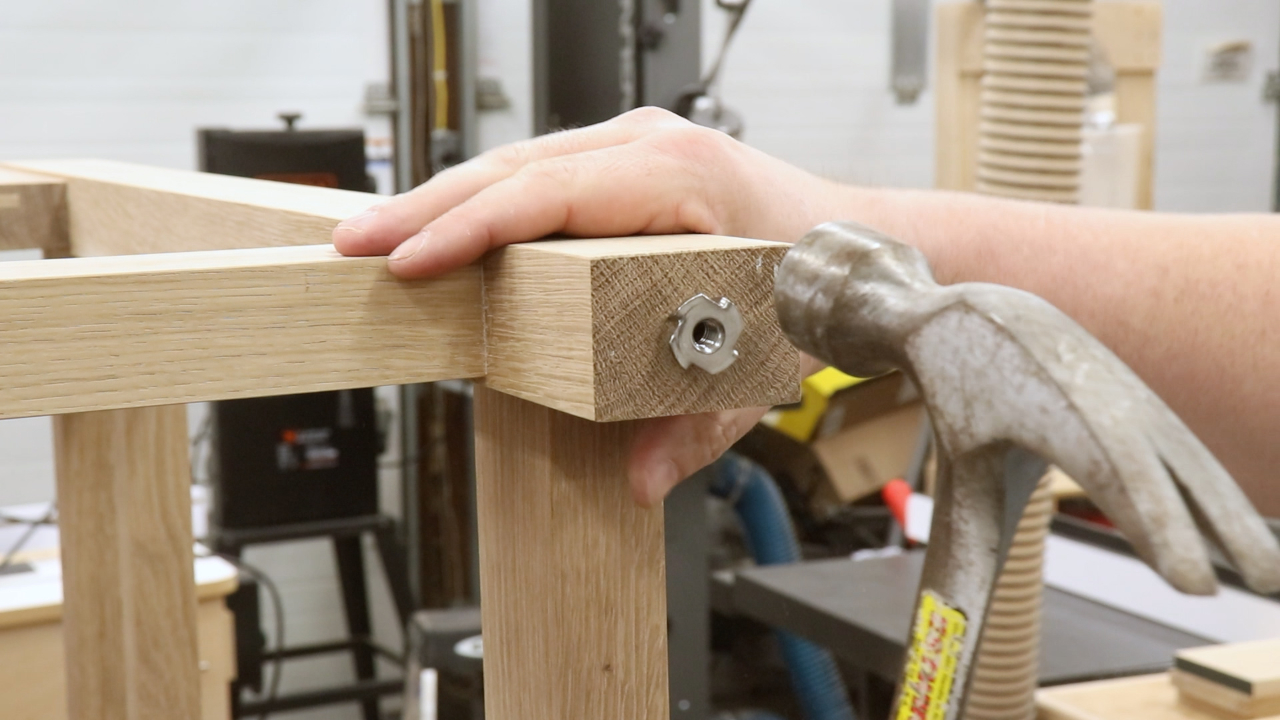
Installing T nuts for the levelers
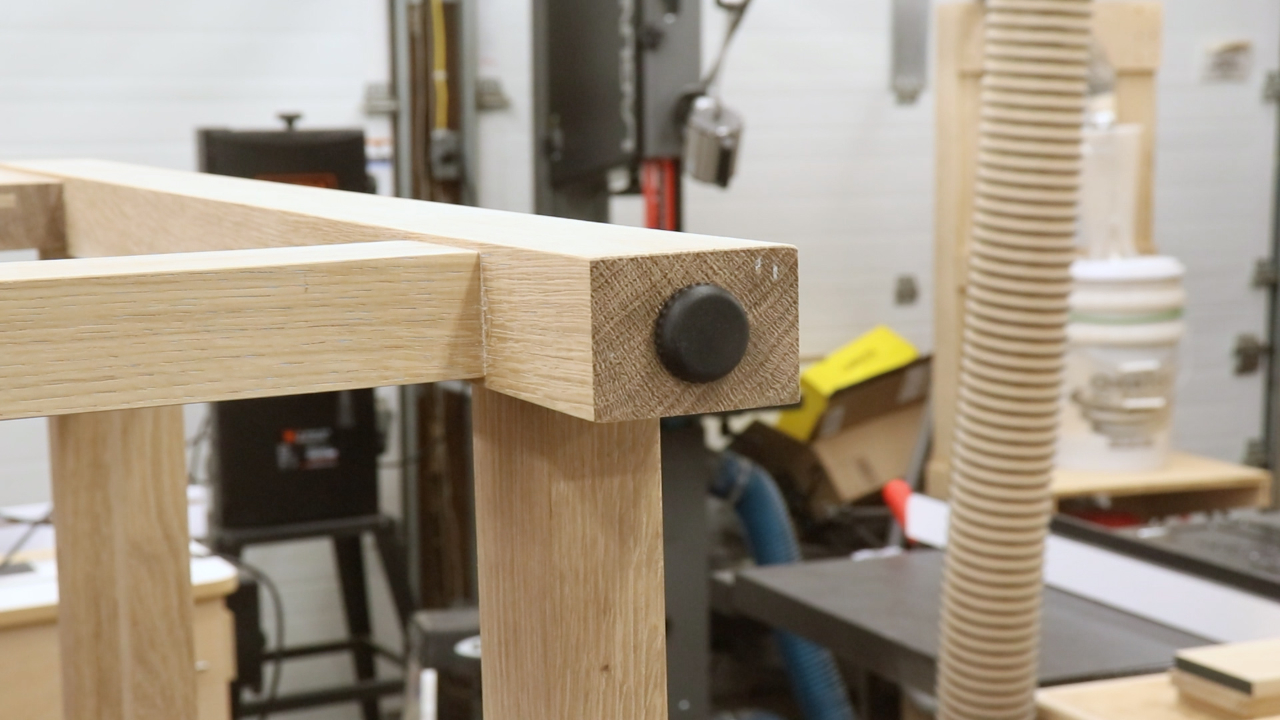
Installing the levelers
Finish – Build a Potting Bench
Time for finish. I removed the slats and sent them through the drum sander and finished them with the orbital sander. Then I hit the rest of the bench with one final quick sanding to 150. I decided to use Rubion Monocoat’s Hybrid Wood Protector to finish the potting bench. They recommend cleaning the wood with their cleaner before finishing. Given the cost of the cleaner, I can see why they push it however other folks seem to get by just using mineral spirits.
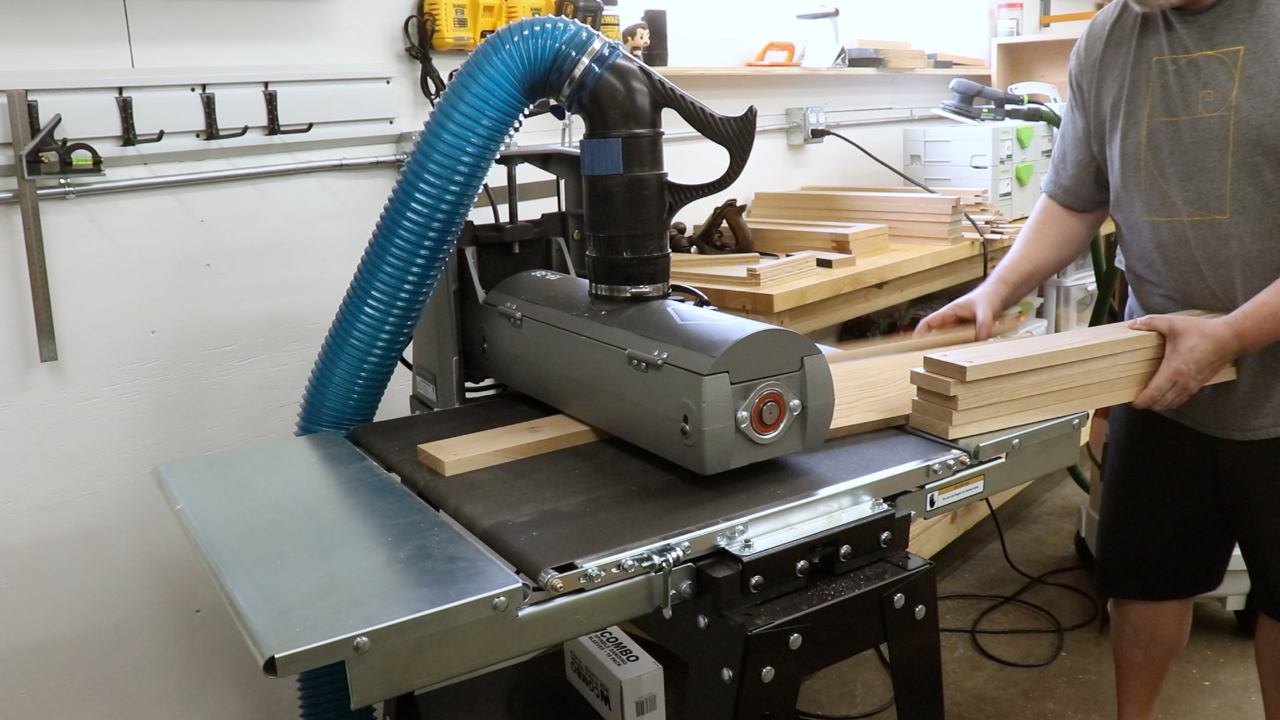
Sending the slats through the drum sander
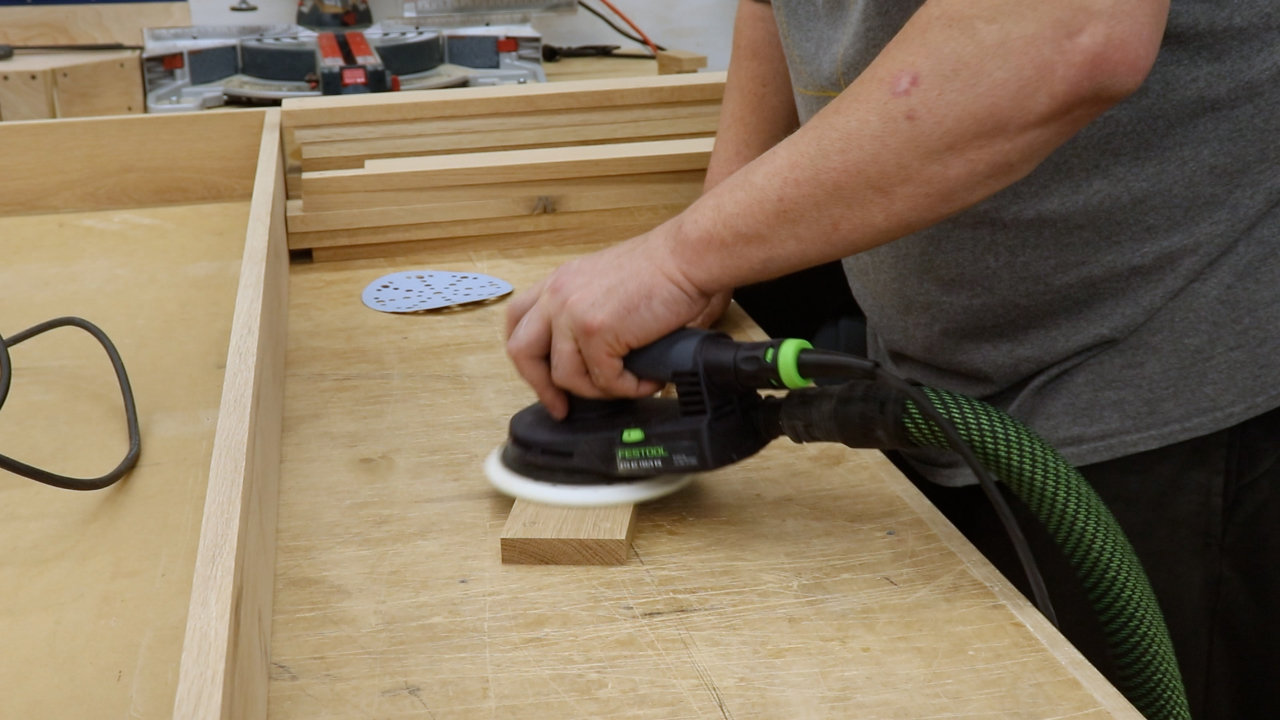
Final sanding to 150
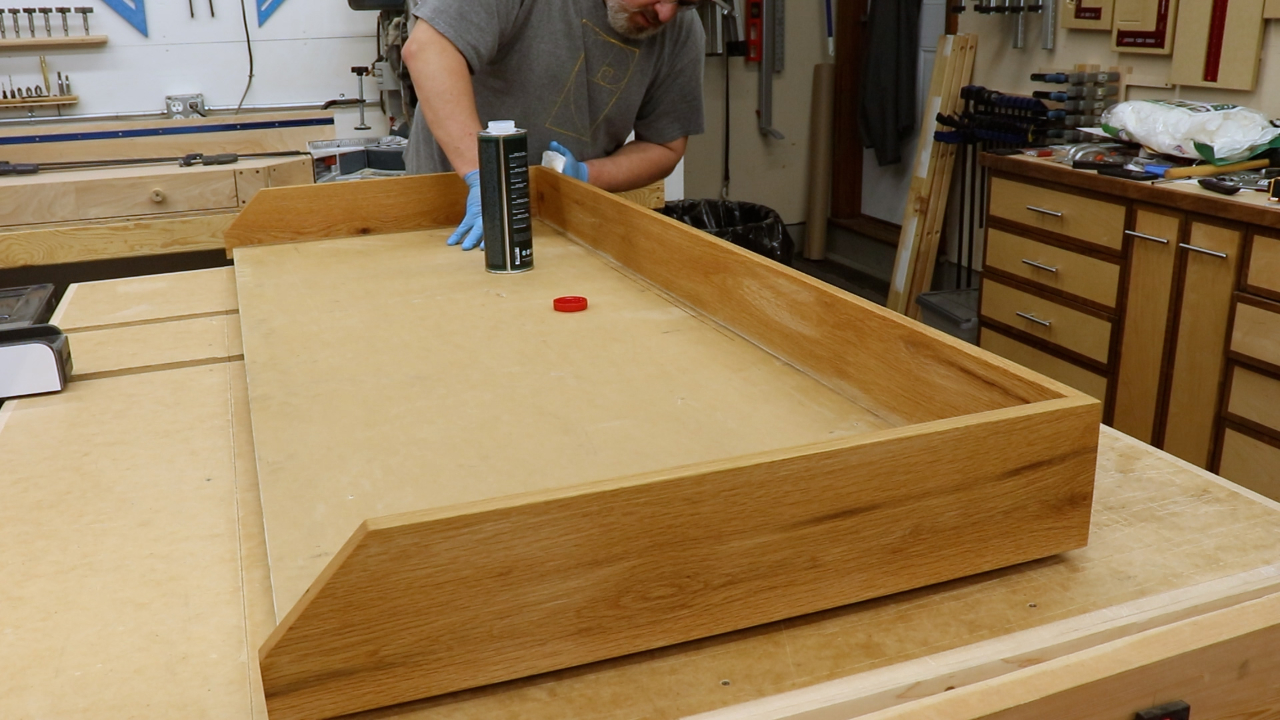
Cleaning with Rubio Raw Wood Cleaner
Applying Rubio Monocoat
Once everything was cleaned it was time to finish. I wiped on the finish with t shirt rags. This application isn’t listed on their site or on the can. I emailed Rubio and asked if this was a good way to apply the finish and they said you can roll it, brush it, wipe it…whatever really. You just need to keep a wet edge on the applicator and then go back and even it out with no finish on the same type of applicator. I lathered it on there pretty good and then went back and wiped up any excess. Overall, this was a very easy finish to apply and, as the name suggests, it only requires one coat. It’s definitely pricey but I’d give an appendage to reduce finishing time so it was money well spent as far as I’m concerned.
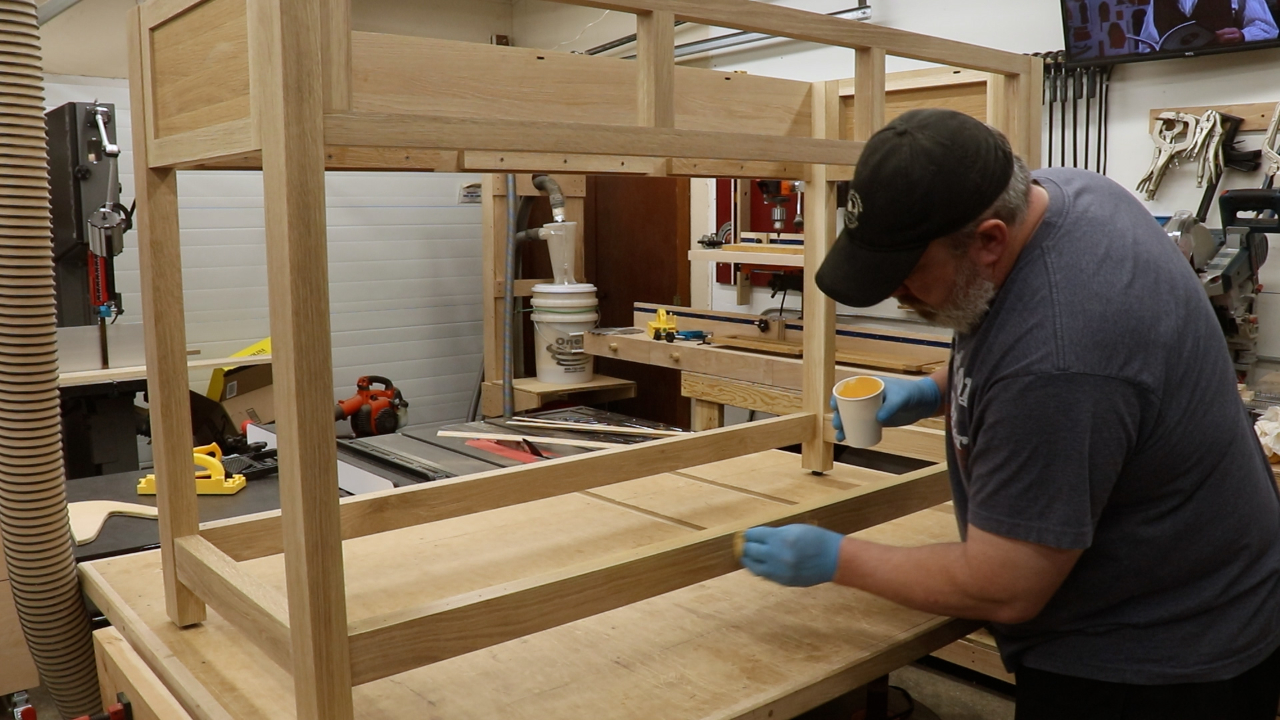
Applying the Rubio Monocoat Hybrid Wood Protector
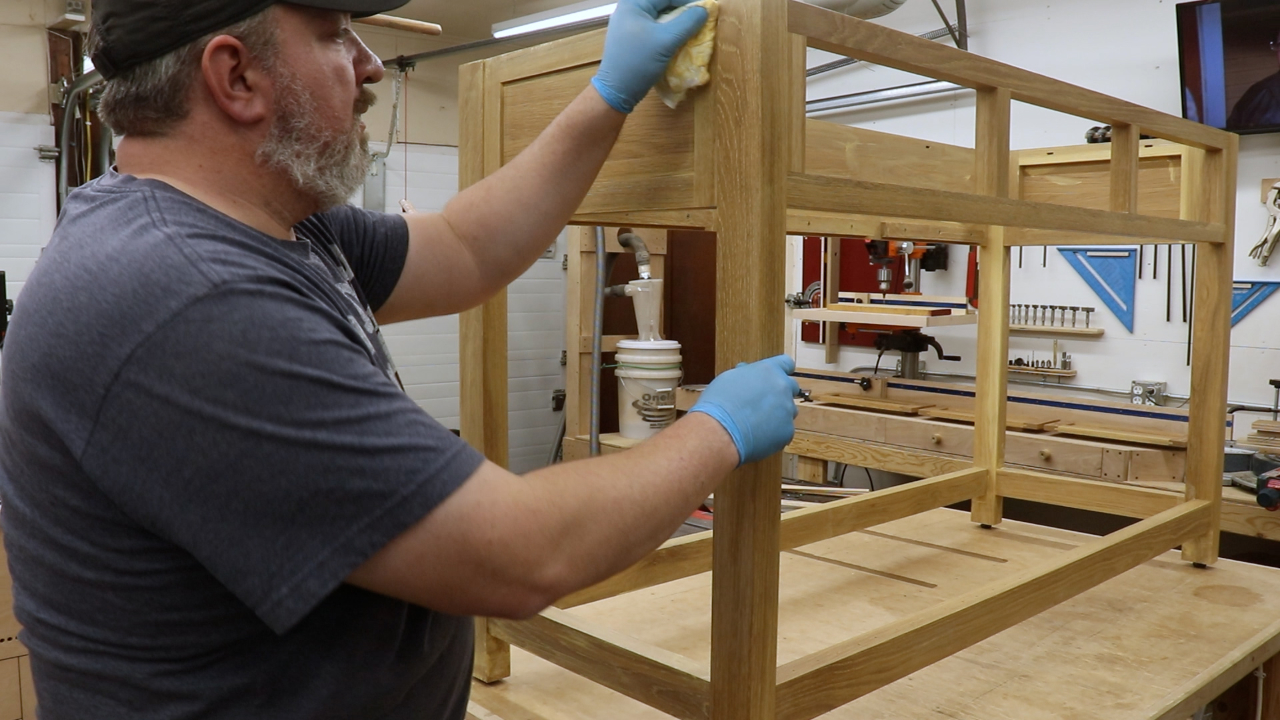
More finish application
Final Assembly – Build a Potting Bench
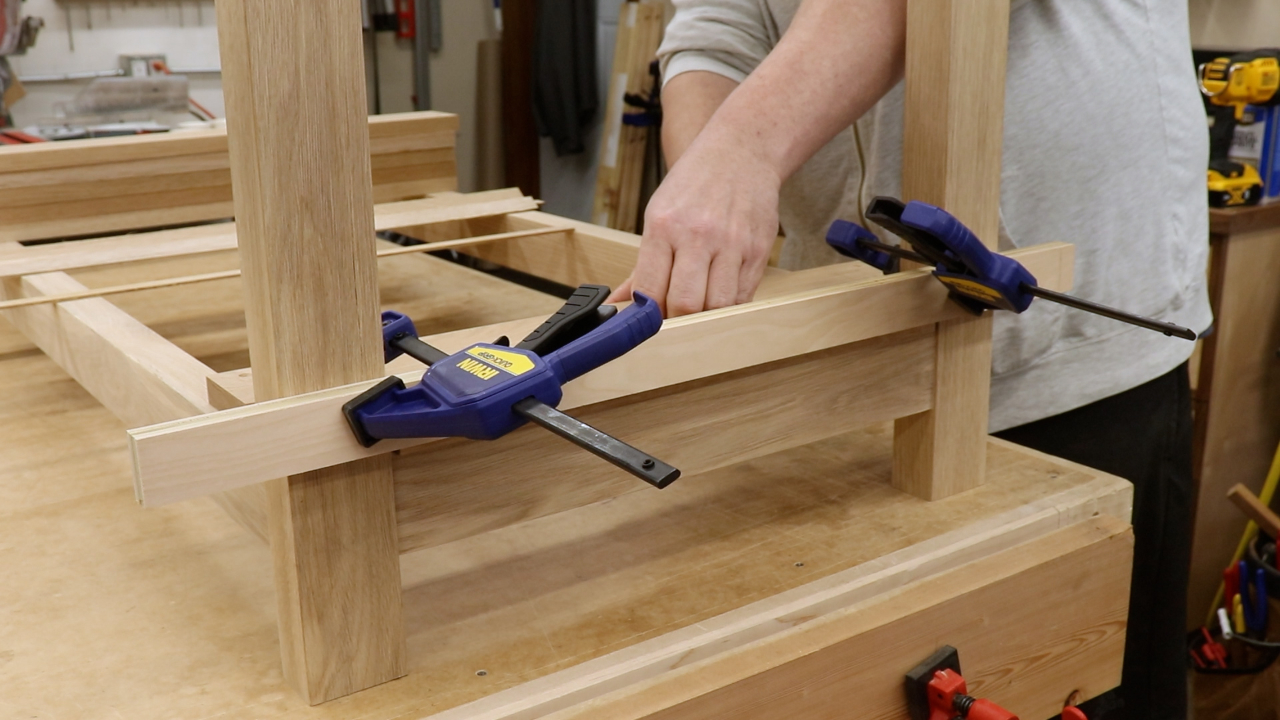
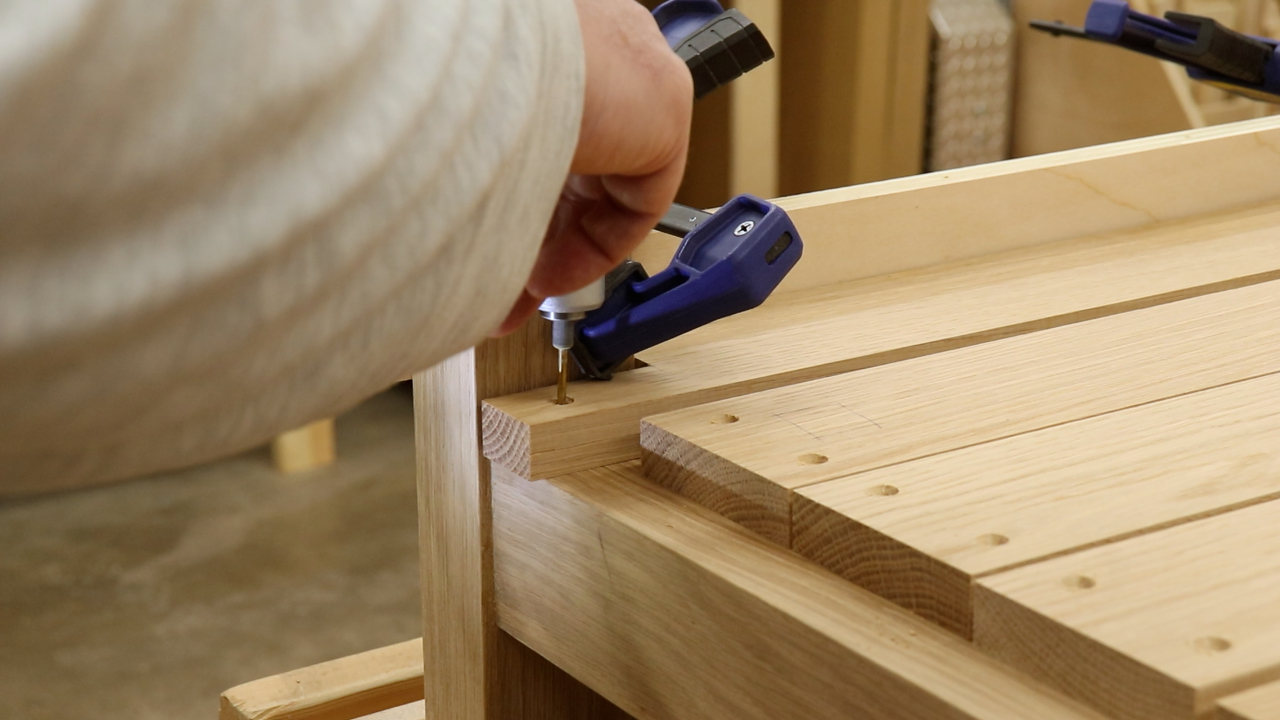
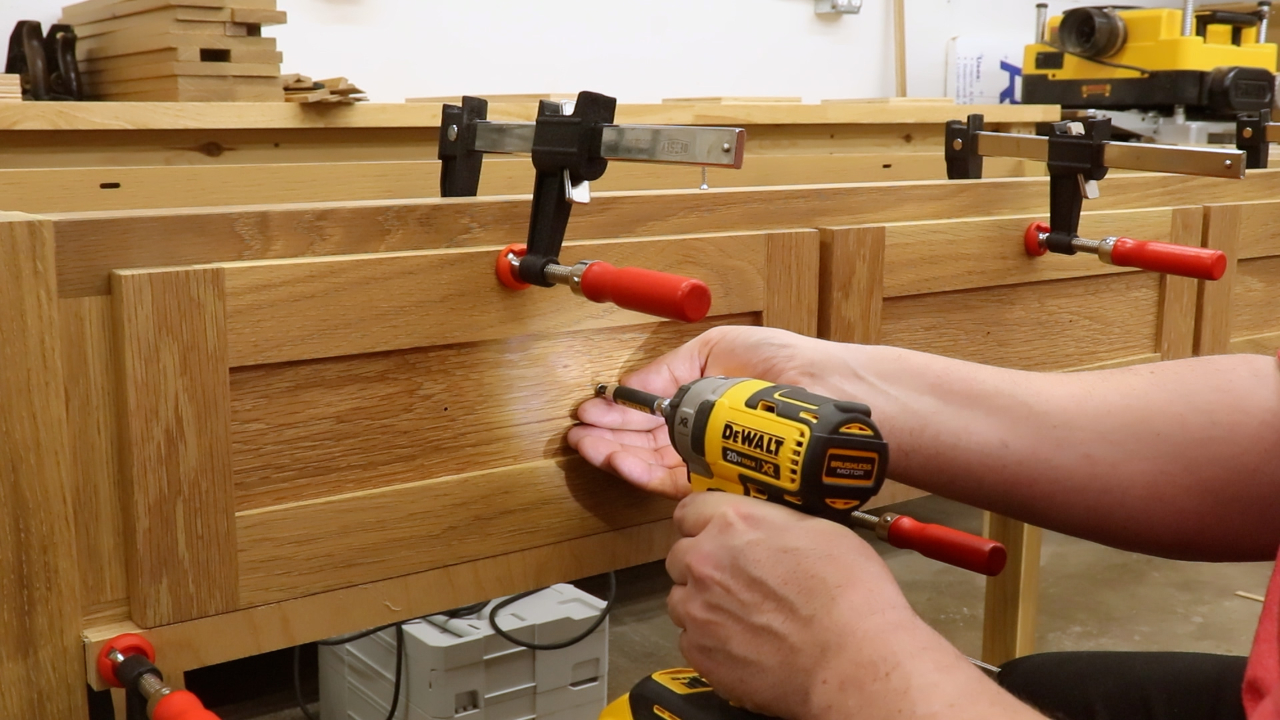
Once the finish cured I proceeded to the final assembly steps. First I reattached the drawer slides. I then attached the drawer fronts by first drilling out the holes for the drawer pulls. Next, I clamped a straight edge in place to align the bottoms, spaced out the fronts and clamped them in place and then temporarily attached the fronts to the boxes with a couple of screws. I then removed the drawers and permanently attached them with some 1 1/4” screws. I removed the temporary screws and attached the pulls.
Drawer slide attachment
Drilling for drawer hardware
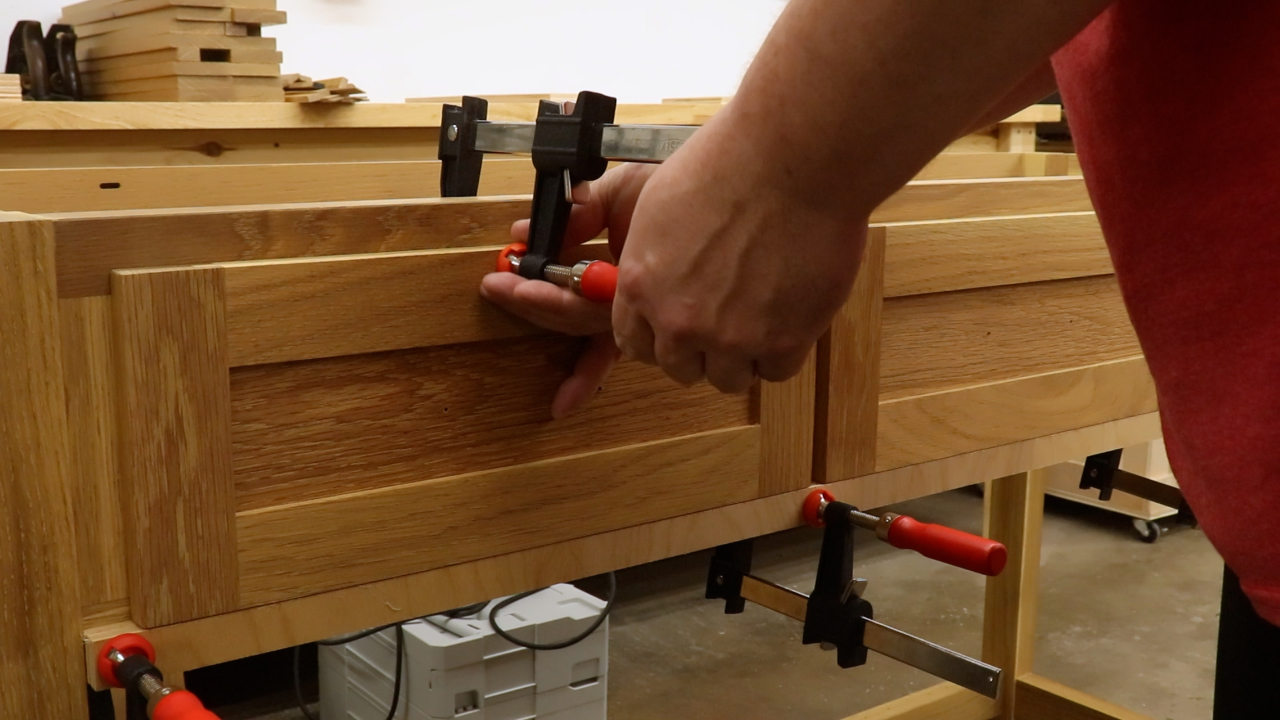
Clamping drawer fronts in place
Using pull holes for temporary attachment
Attaching the drawer fronts
Attaching the drawer pulls
Stainless Steel Top
We are now at the part of the project for which I had been waiting so long with anticipation…attaching the stainless steel top. I got the top from a local metal fabricator. It was designed to just slip on over the front and be secured with some adhesive which the fabricator recommended. The test fit was perfect and I really don’t even think it needed the adhesive. I also had the owner of the potting bench apply caulking where the stainless top met the backsplash. I didn’t do this step in the shop. The bench was going to travel a few hours and I didn’t want the hutch attached for transport.
Reattaching the top
Using construction adhesive to attach the stainless steel top
Installing the stainless steel top
The final step in this project was to reattach all of the slats.
Reattaching the slats
Done!
Building the potting bench is now complete and it turned out awesome! The client loved it as did I. I made a lot of mistakes with this one but they were all just learning experiences. They will just make me better for the next project. I removed the hutch and packed it into a trailer and it made the 3 hour journey westward to my friend’s house. Here it is in its final resting place.
Thank you so much reading this build article. If you are interest in building this potting bench, plans are available! You made it all the way to the end of this article! Enjoy 50% off the plans by using the coupon code POLYGLUESUCKS.


0 Comment