How to Make/DIY Floating Shelves
A few weeks back a friend from work asked me if I could make her some floating shelves for her kitchen. She sent me a few pictures of shelves that she liked and most were dark so I decided to go with solid walnut. There’s not a whole lot to shelves so we’ll go ahead and jump right into the build.
Materials and Tools
Lumber
- 3 – 6/4 walnut 96″ x 6″
Hardware and Fasteners
- 3 – Blind Shelf Supports – https://amzn.to/2ydTFvc
- 6 – 2″ Wood Screws – https://amzn.to/2t1e5To
Finishing Supplies
- Waterlox Original Sealer/Finish – https://amzn.to/2t45JdC
Tools I will be using in this build
- DeWalt 20V Max Drill and Impact Driver – http://amzn.to/2mt5nJj
- Torpedo Level – http://amzn.to/2EmdYcp
- Dewalt Random Orbital Sander – https://amzn.to/2GHssoy
- Bosch Glide 12″ Miter Saw – http://amzn.to/2F061Wk
- Dewalt 9ft. Magnetic Pocket Tape Measure – https://amzn.to/2JvlTTK
- Bessey 12-Inch Clutch Style Bar Clamp – https://amzn.to/2Jvn71i
- SawStop CNS Contractor Table saw – http://amzn.to/2mr6Lw2
- Microjig GRR-RIPPER – http://amzn.to/2ruNUWM
- Steelex 8″ Jointer – https://tinyurl.com/y9m75a4u
- Dewalt 735 13″ Planer – http://amzn.to/2GnfOYd
- Bessey 24″ K Body Revo Parallel Clamp – http://amzn.to/2DPPd7H
- Silicone Glue Roller – http://amzn.to/2nkEx6r
- Bosch MRC23EVSK Router – https://amzn.to/2MyjfOQ
- Bosch Deluxe Router Edge Guide – https://amzn.to/2ydV1pM
- Oneida Mini Gorilla 1.5 HP Dust Collector – https://amzn.to/2tdEwEs
- DeWalt Plate Jointer – https://amzn.to/2lcMWIz
- Dowel Jig – https://amzn.to/2MzAu1V
- 7 Piece Extra Long 12″ Brad Point Set – https://amzn.to/2JU4lnx
theaveragecraftsman.com is a participant in the Amazon Services LLC Associates Program, an affiliate advertising program designed to provide a means for sites to earn advertising fees by advertising and linking to amazon.com
Let’s start building!
Milling the Rough Lumber
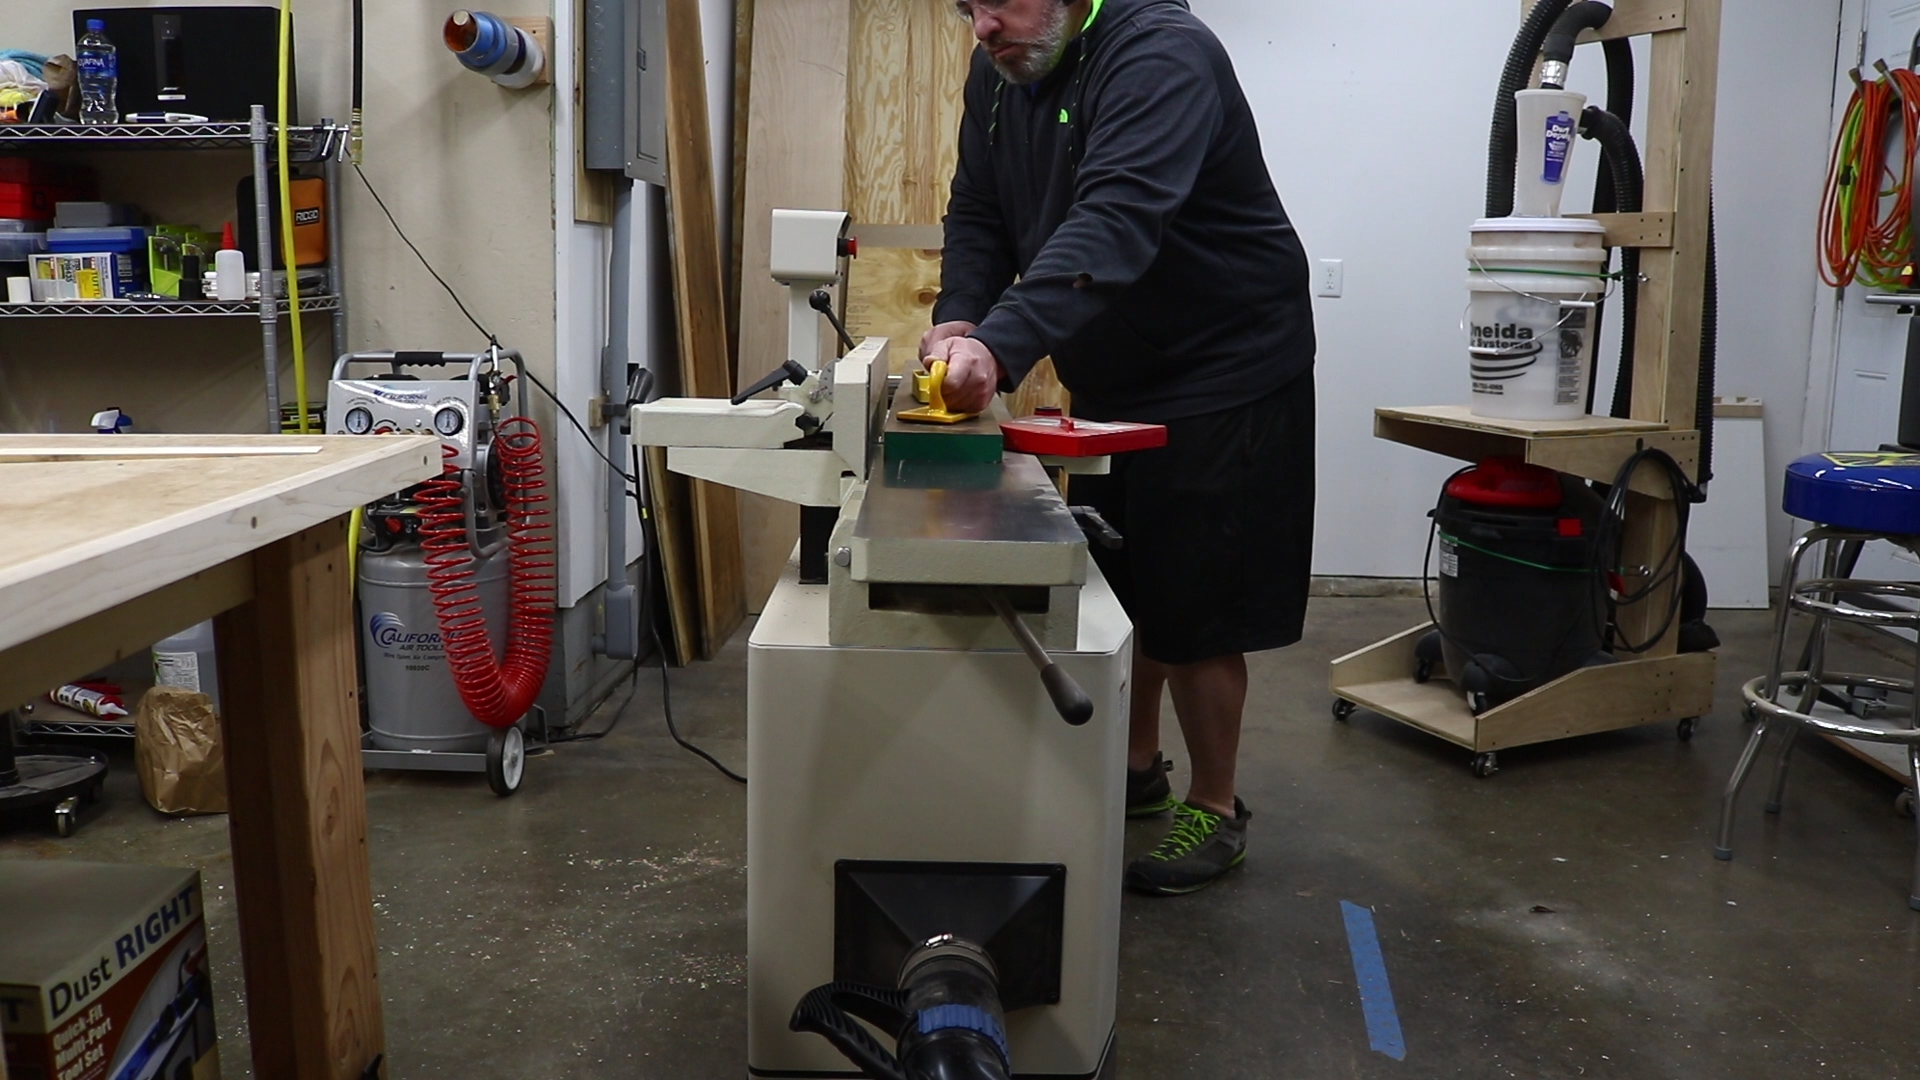
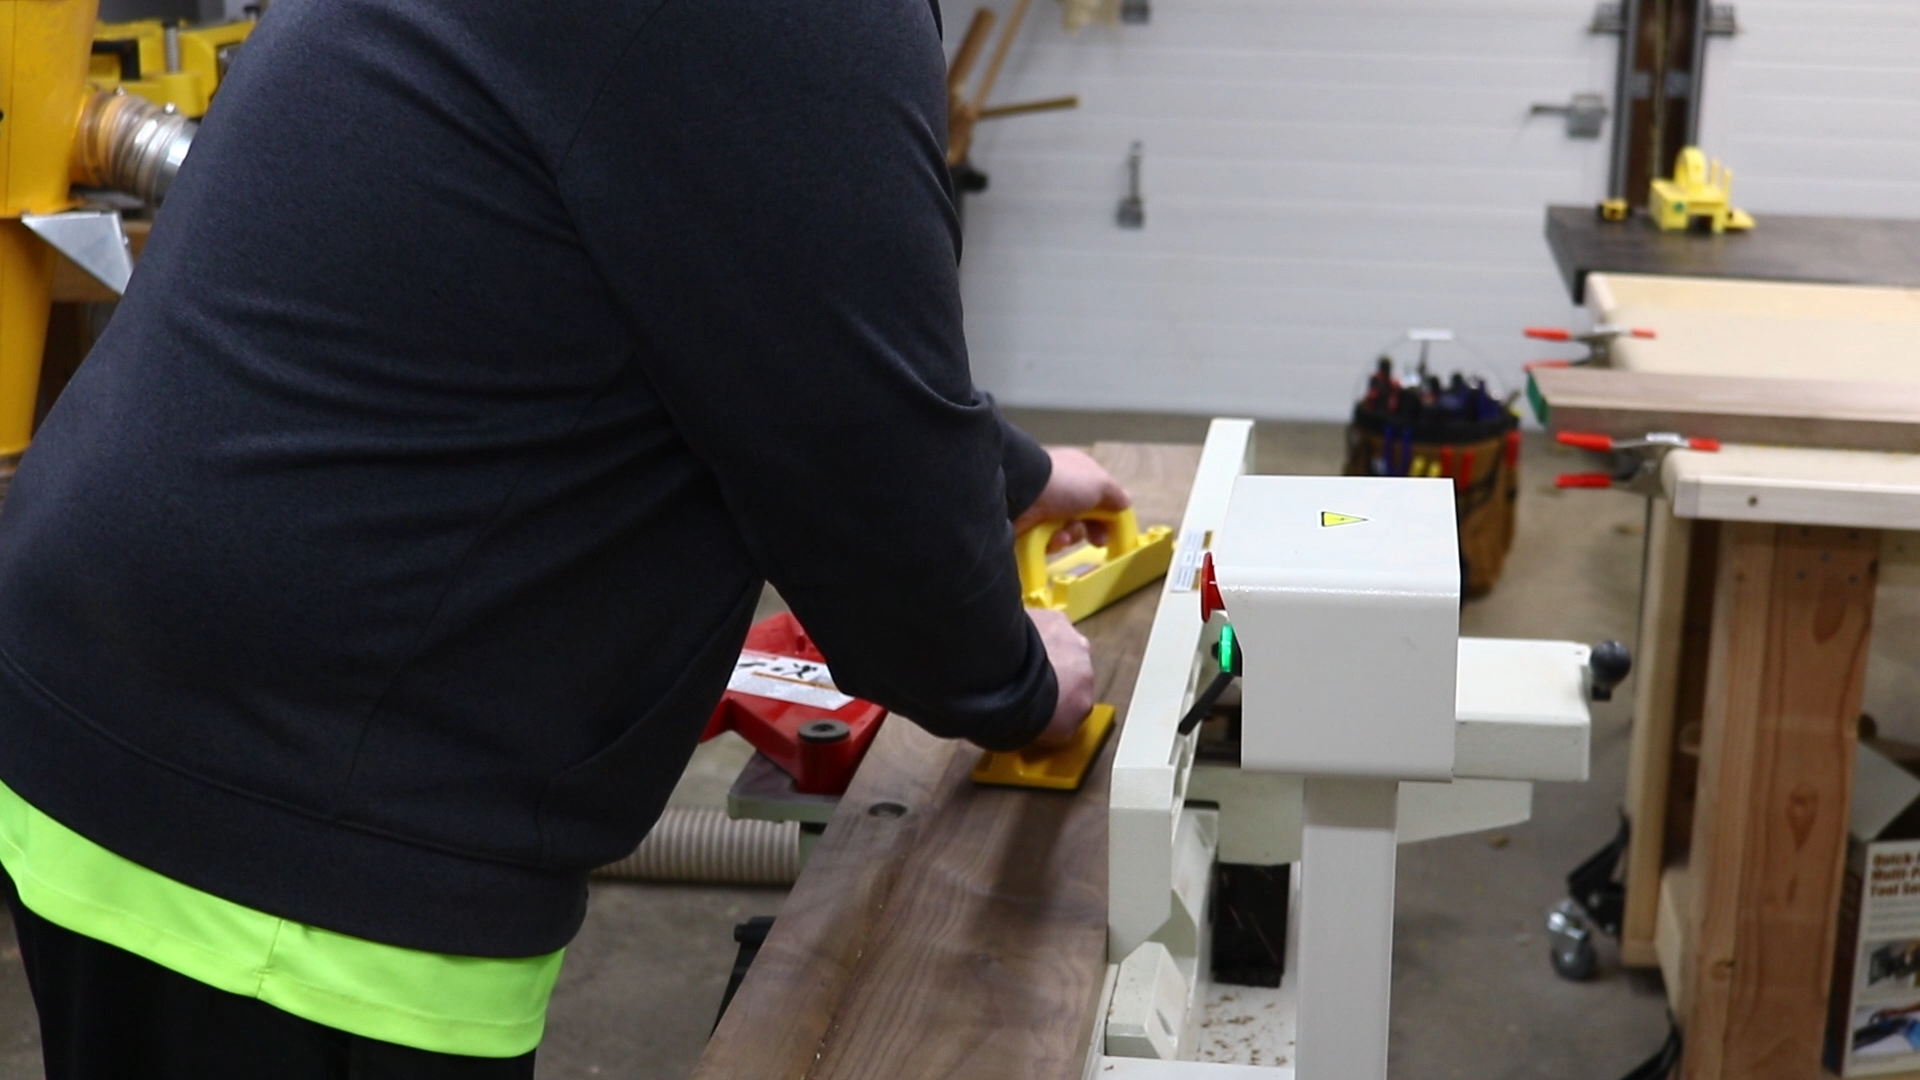
My first stop was at the jointer where I started milling down the 6/4 walnut I bought from my local hardwood dealer. If you dont have access to a jointer and planer then you can buy pre milled lumber or use construction lumber such as a 2×8 which you can get at your local home center.
The wood I bought was milled on one side so it was actually only about 1-3/8th inches thick. I wanted the shelves to end up as close to 1-1/4” as possible so I was pretty careful with the milling.
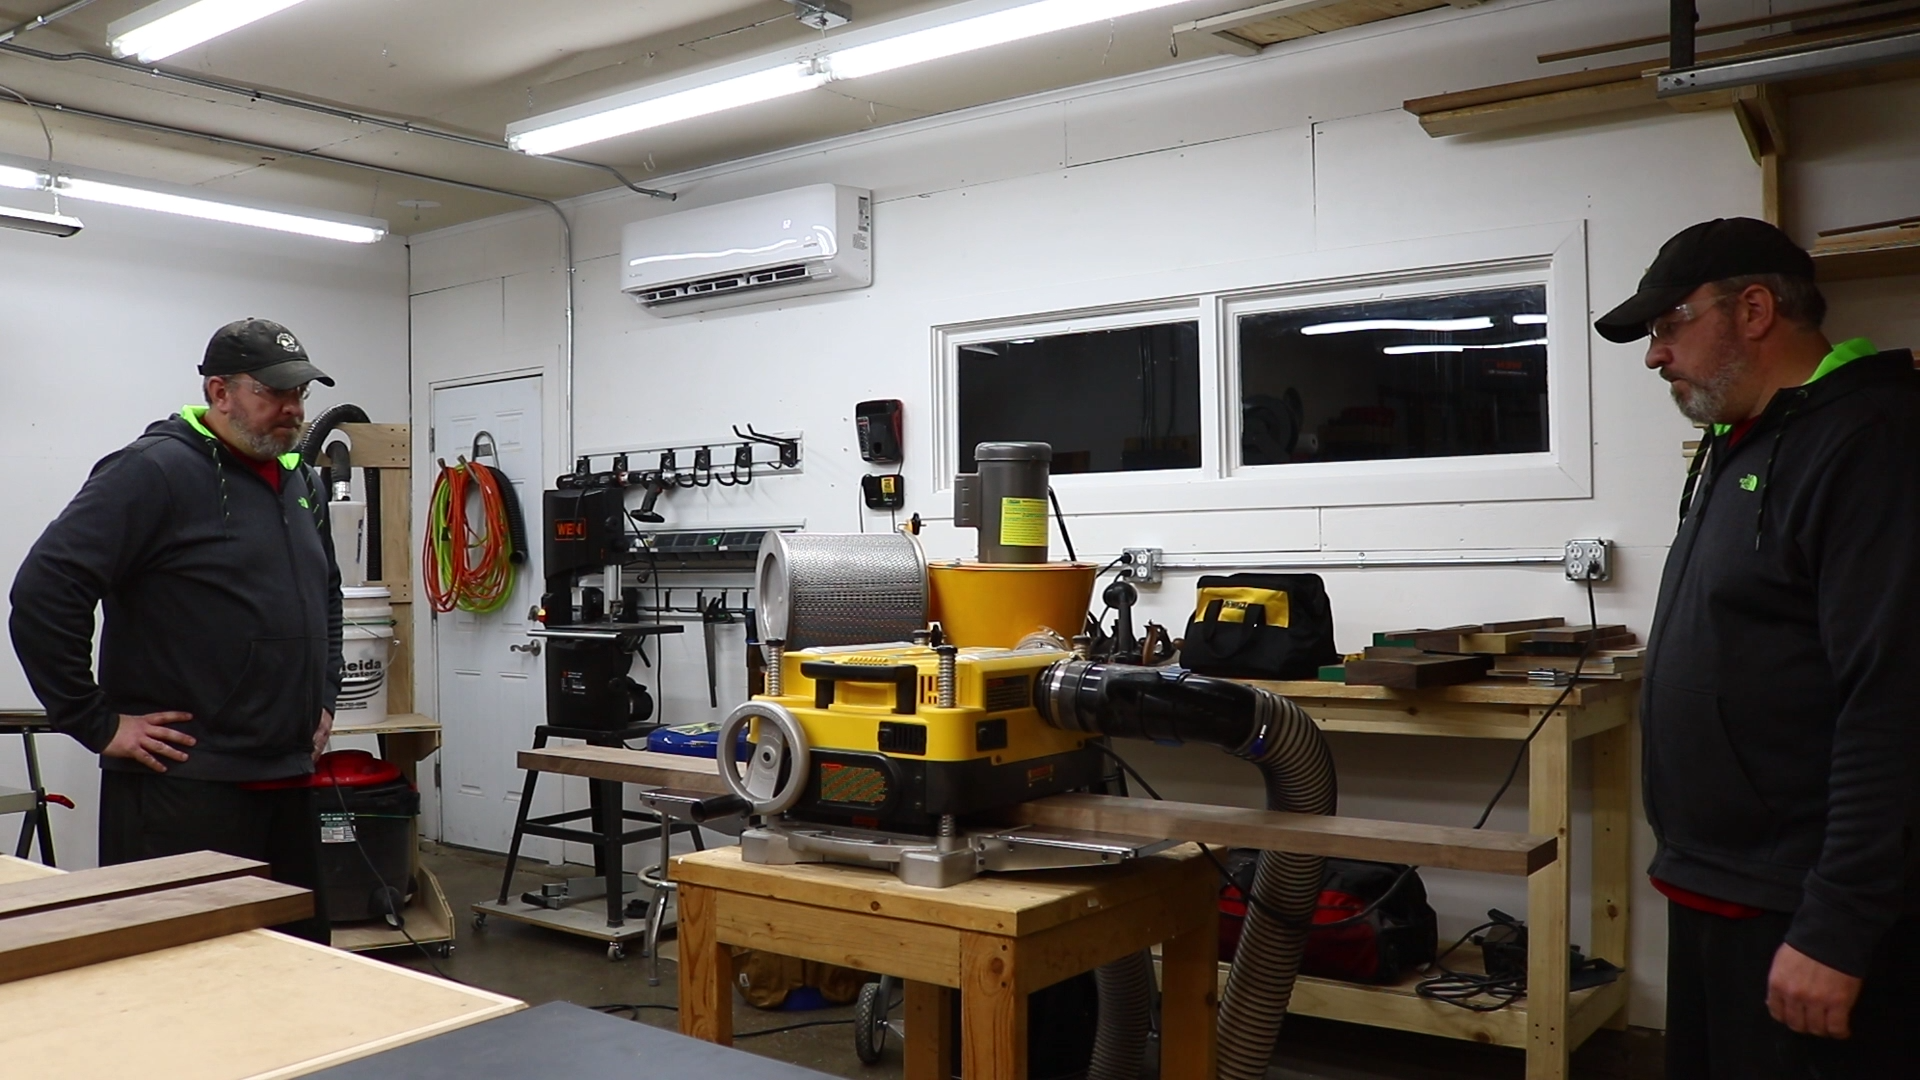
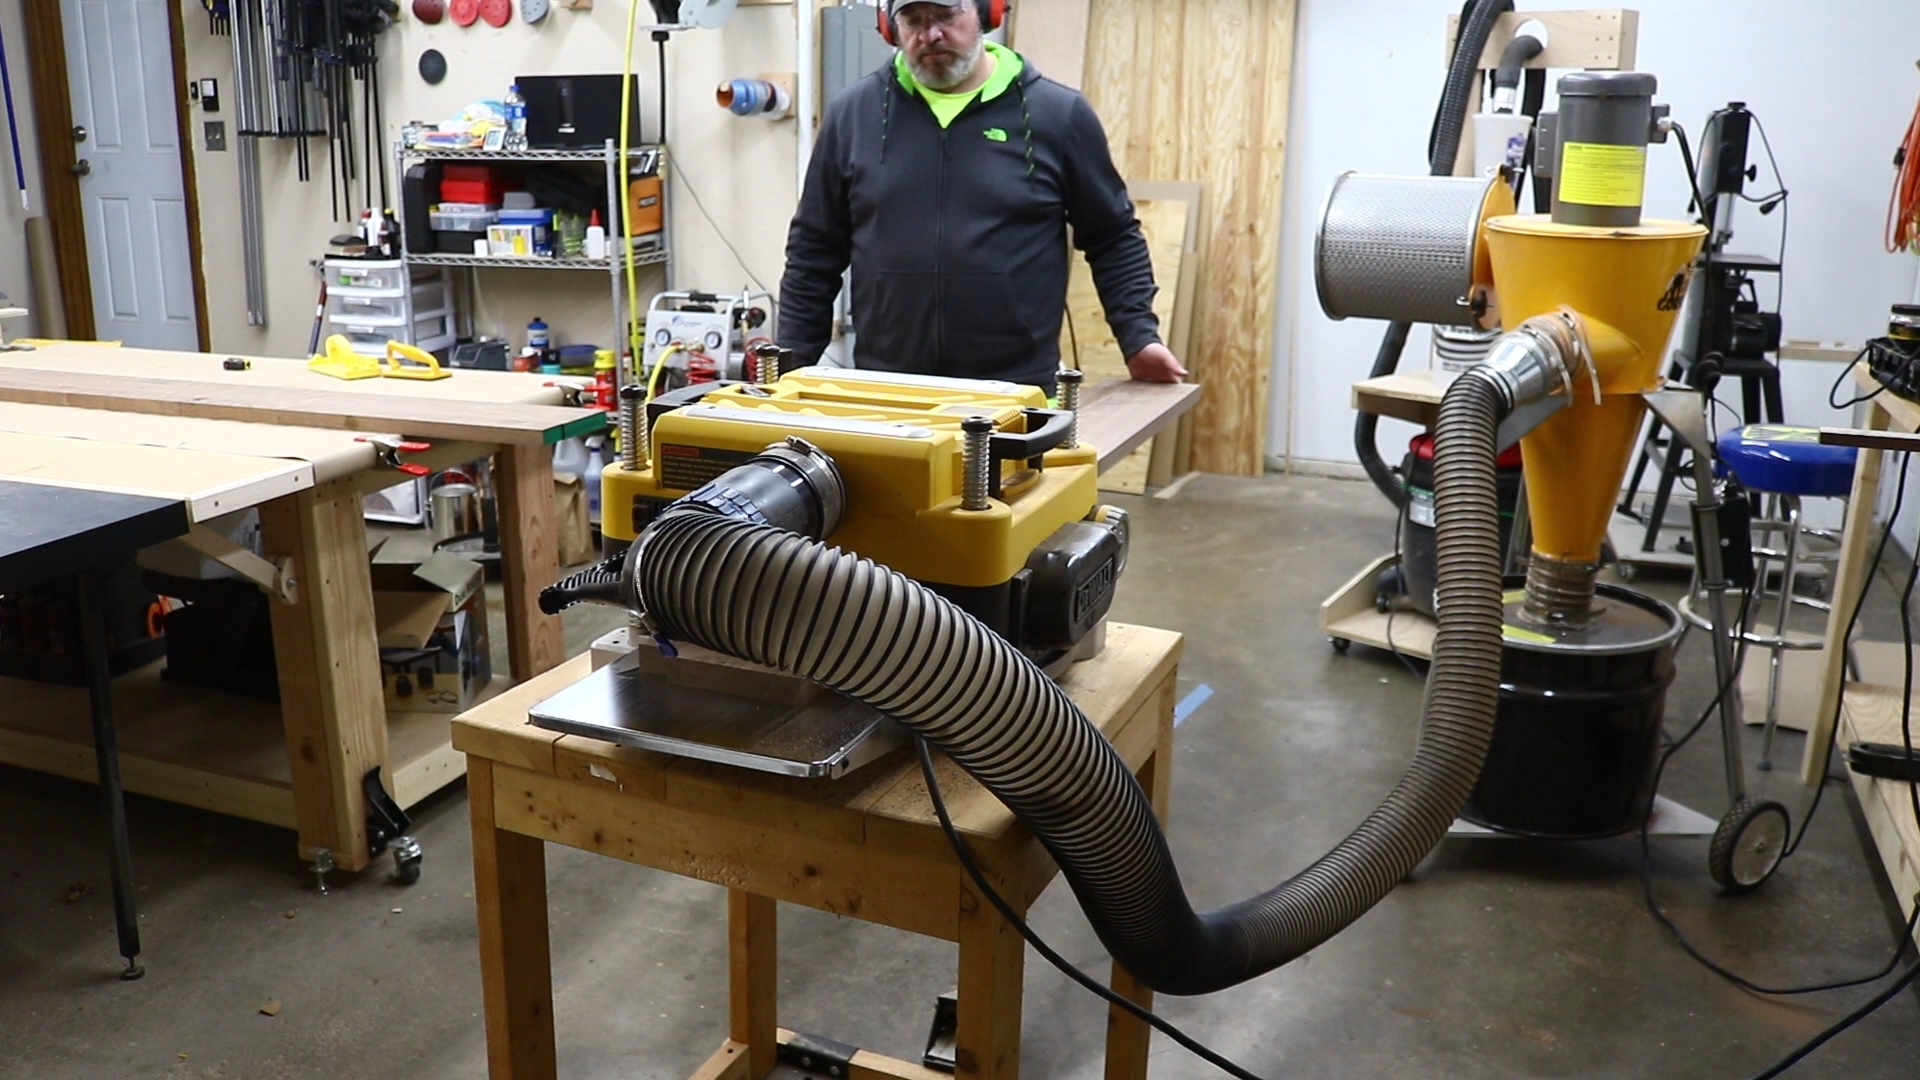
Once I was finished at the jointer I headed over to the planer to square up the other face.
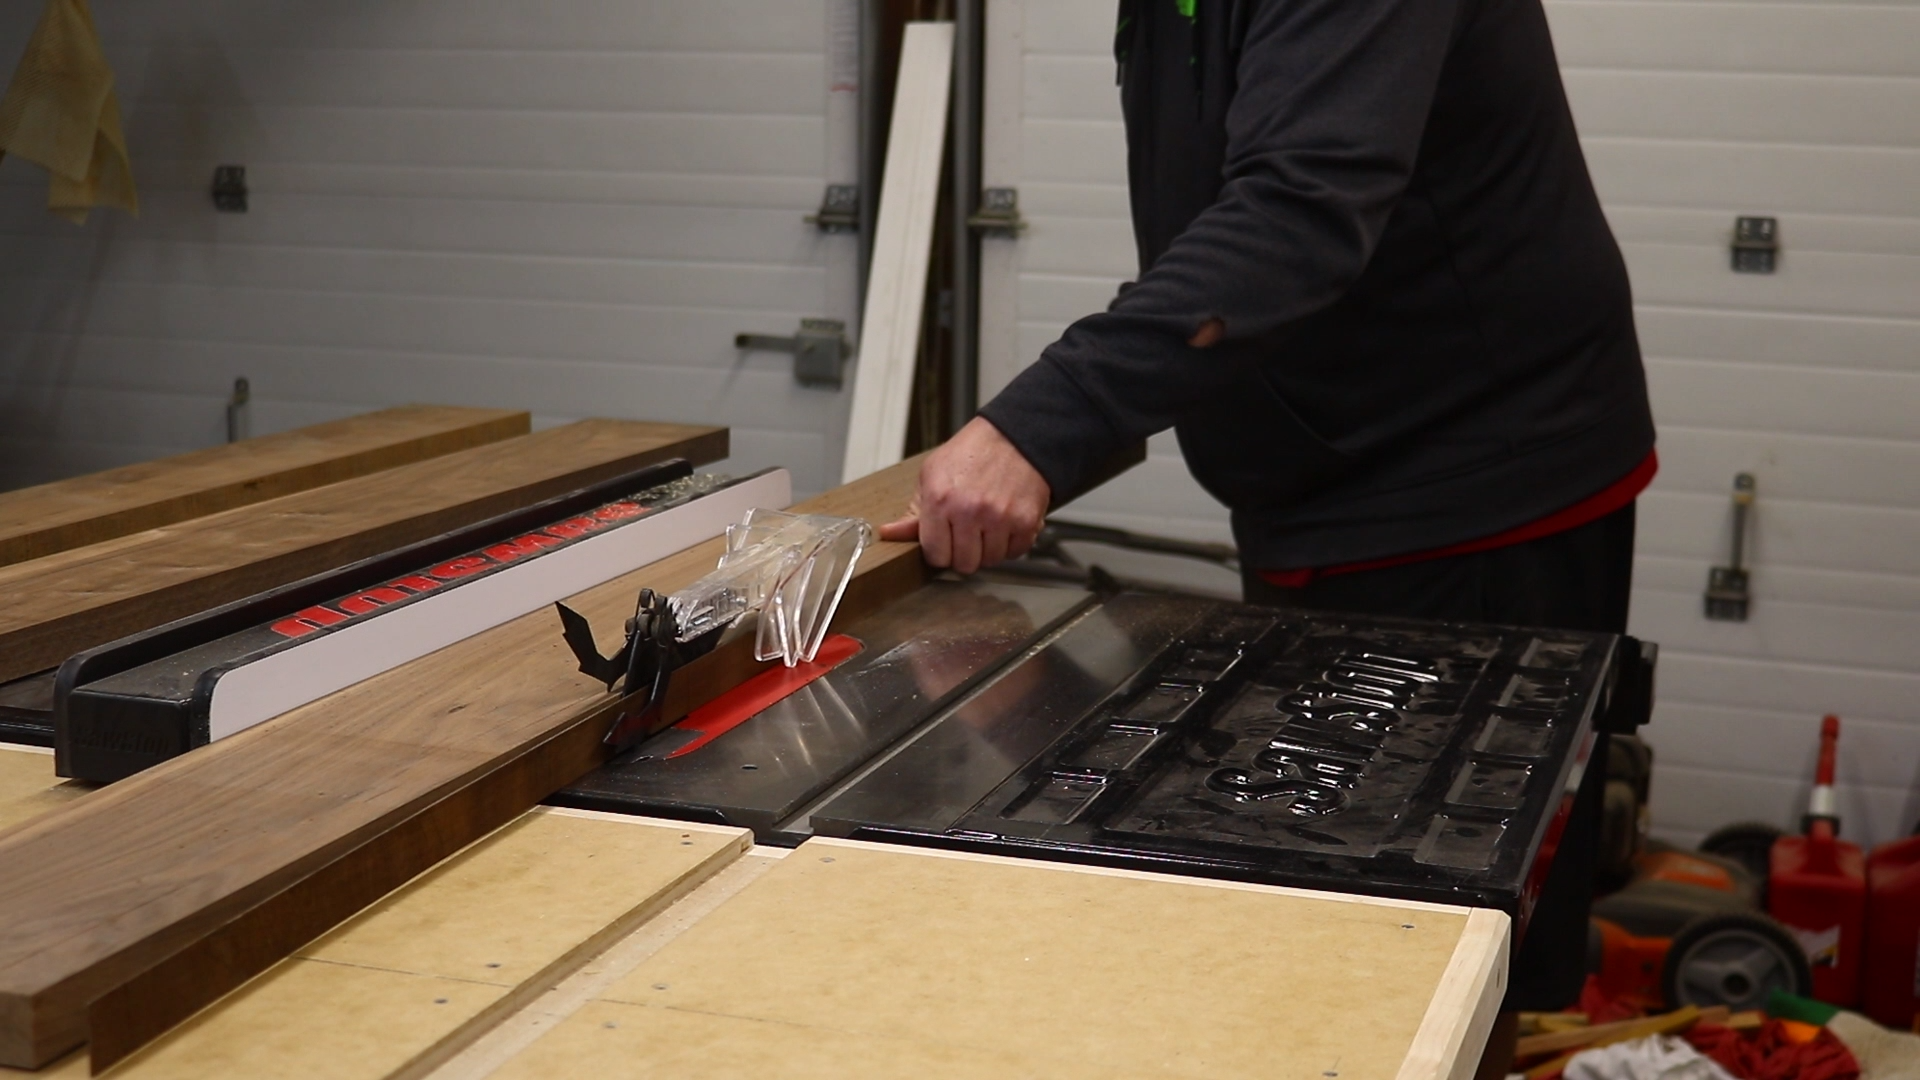
After the planer I went over to the table saw to square up the remaining sides on two of the boards. The shelves needed to be 8 inches wide but the widest boards available were only about 6 inches. I bought a 3rd 6 inch board and ripped off 2 pieces to make the 2 8 inch shelves.
Gluing Up the Floating Shelves
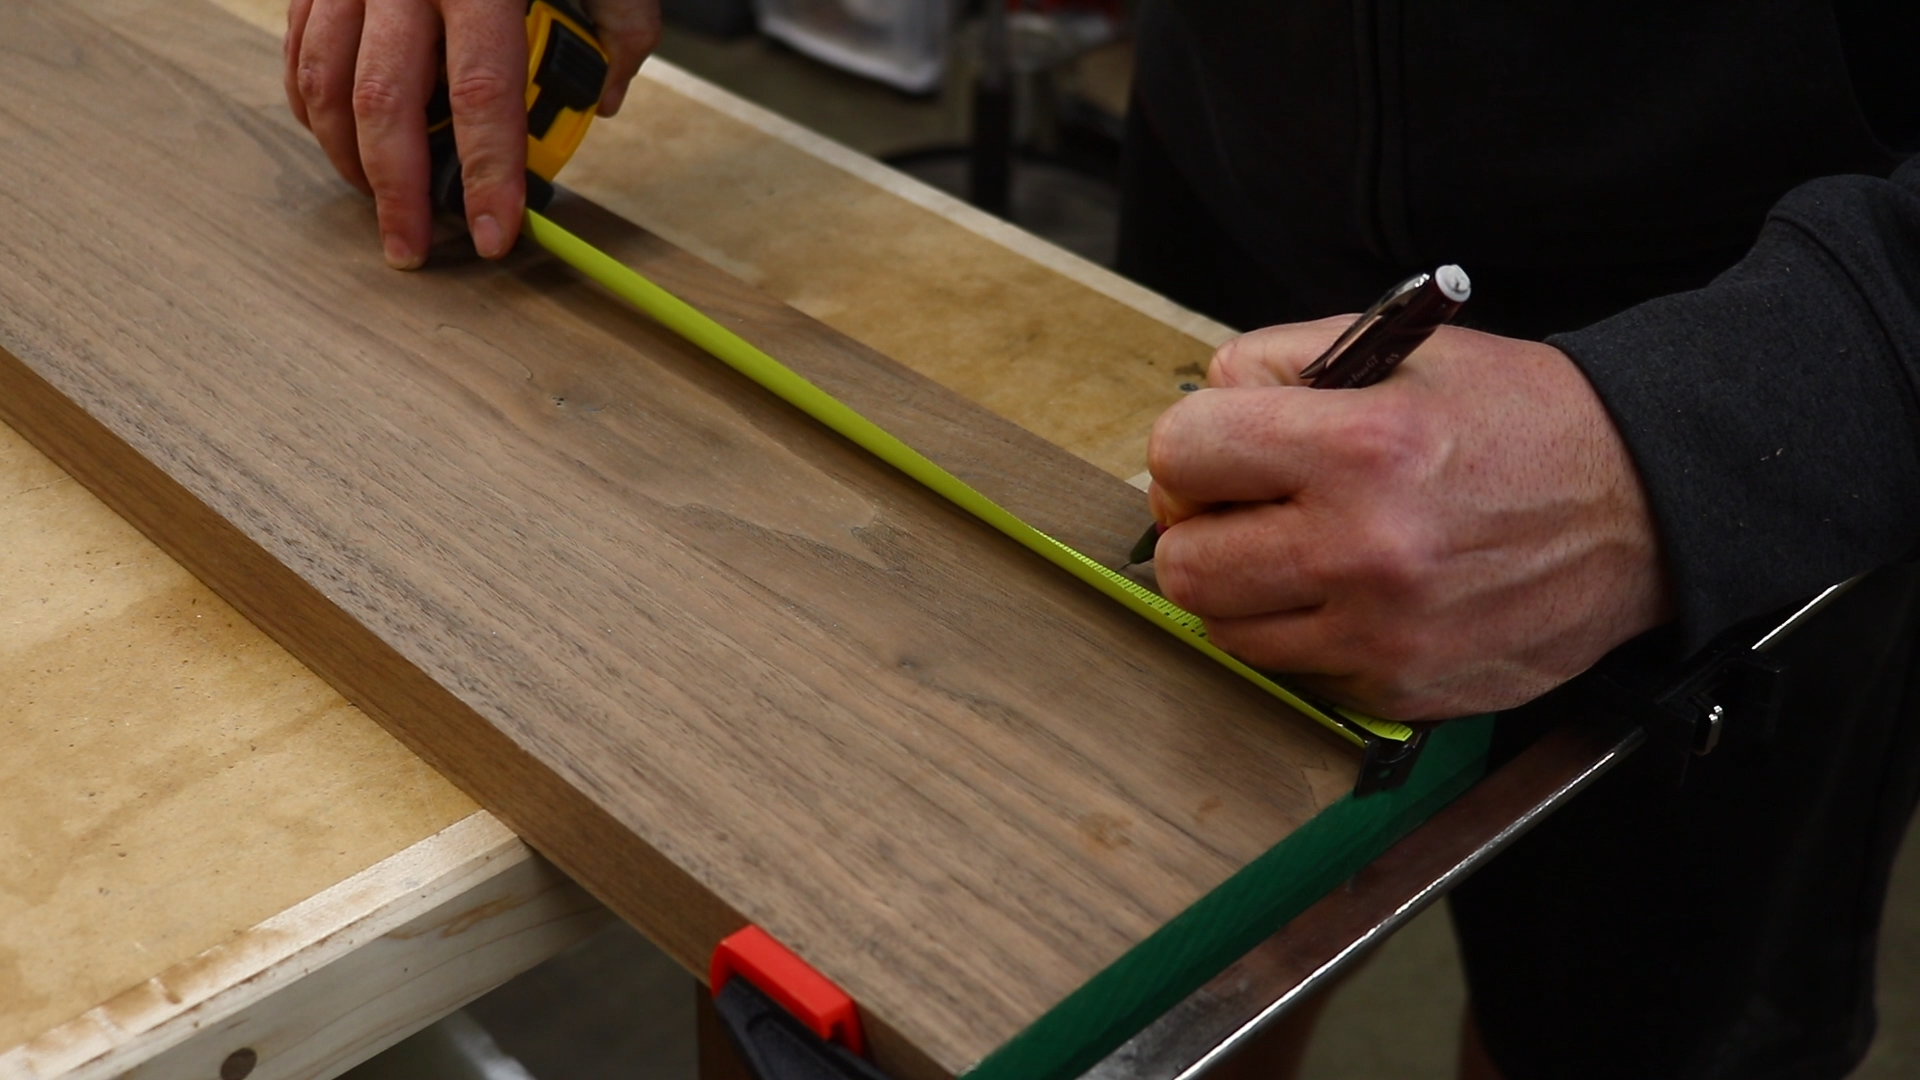
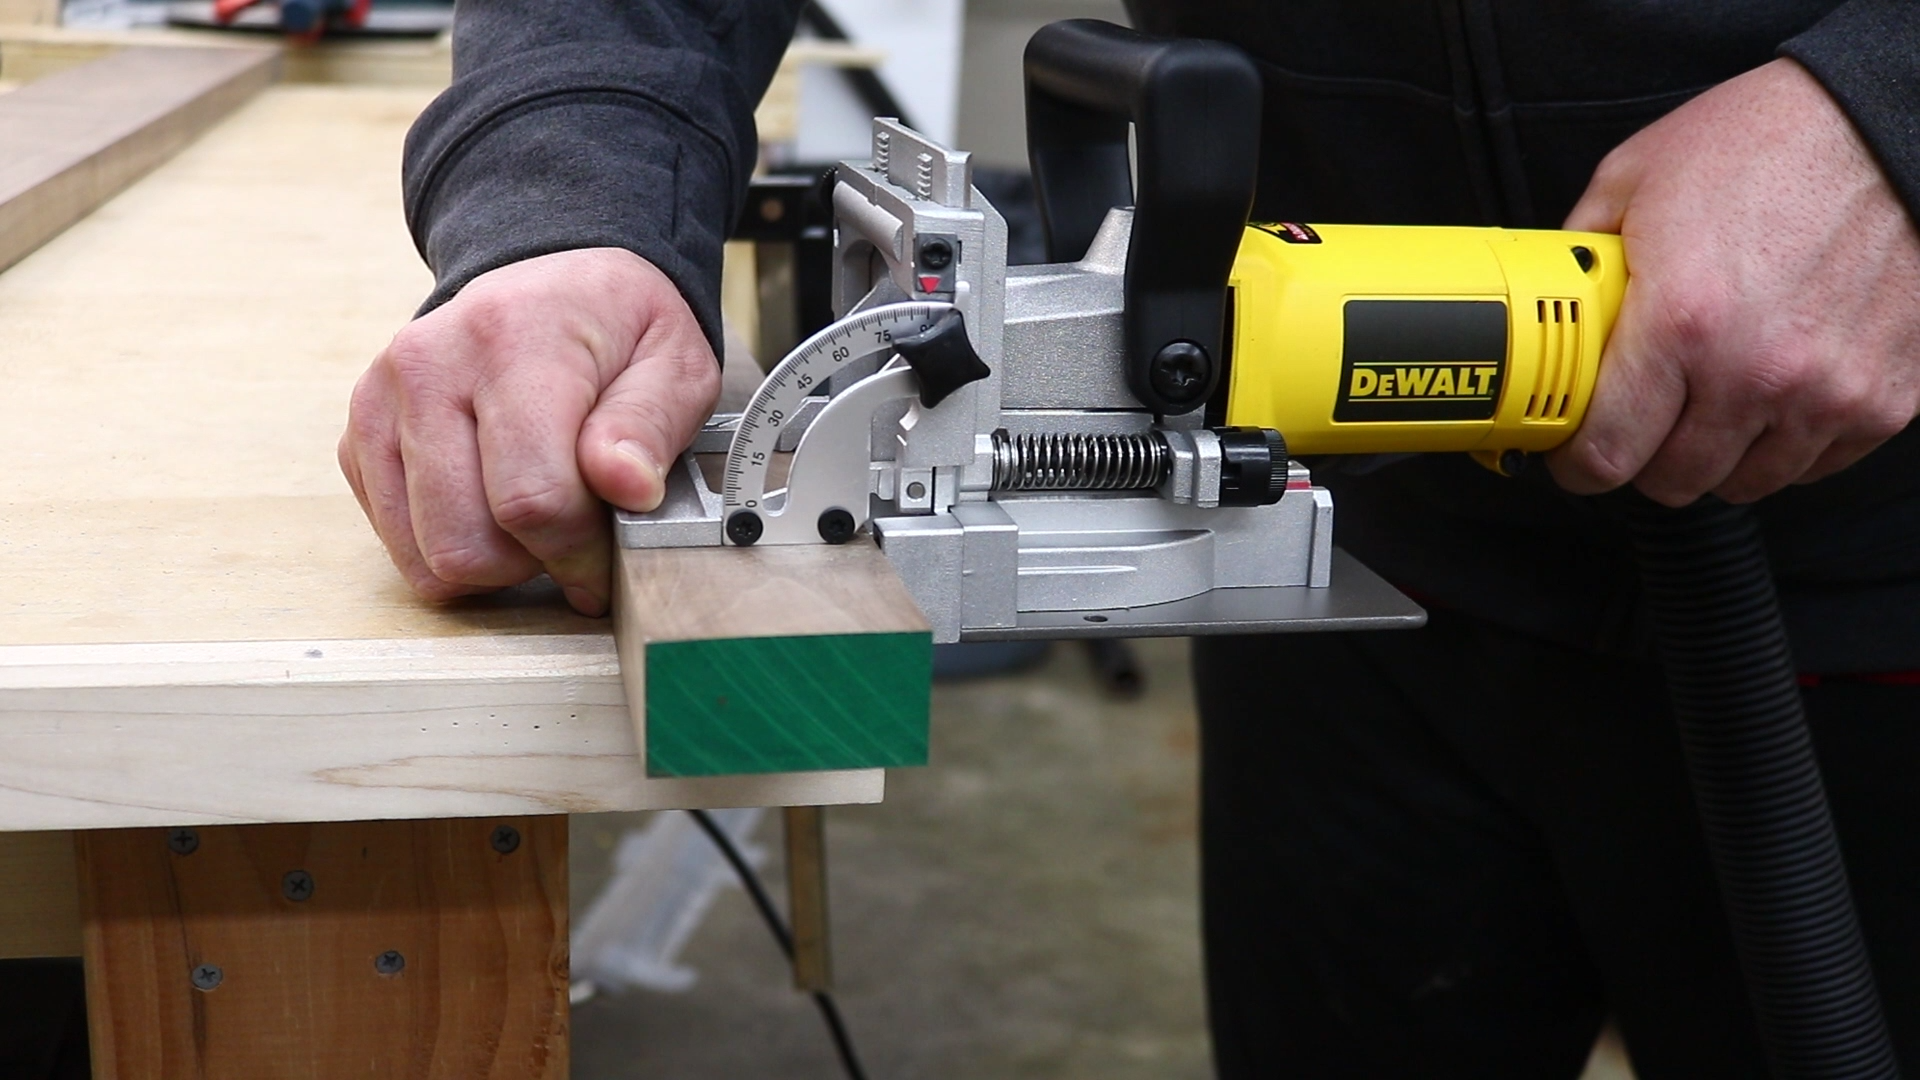
With everything milled down I could now glue up the shelves. I recently bought a biscuit joiner so I was excited to try it out. Biscuit joiners are a good tool for aligning stock for glue ups. I clamped the two pieces of each shelf together and marked out where I wanted to cut the biscuit slots.
I then clamped down each piece to the table and started cutting slots.
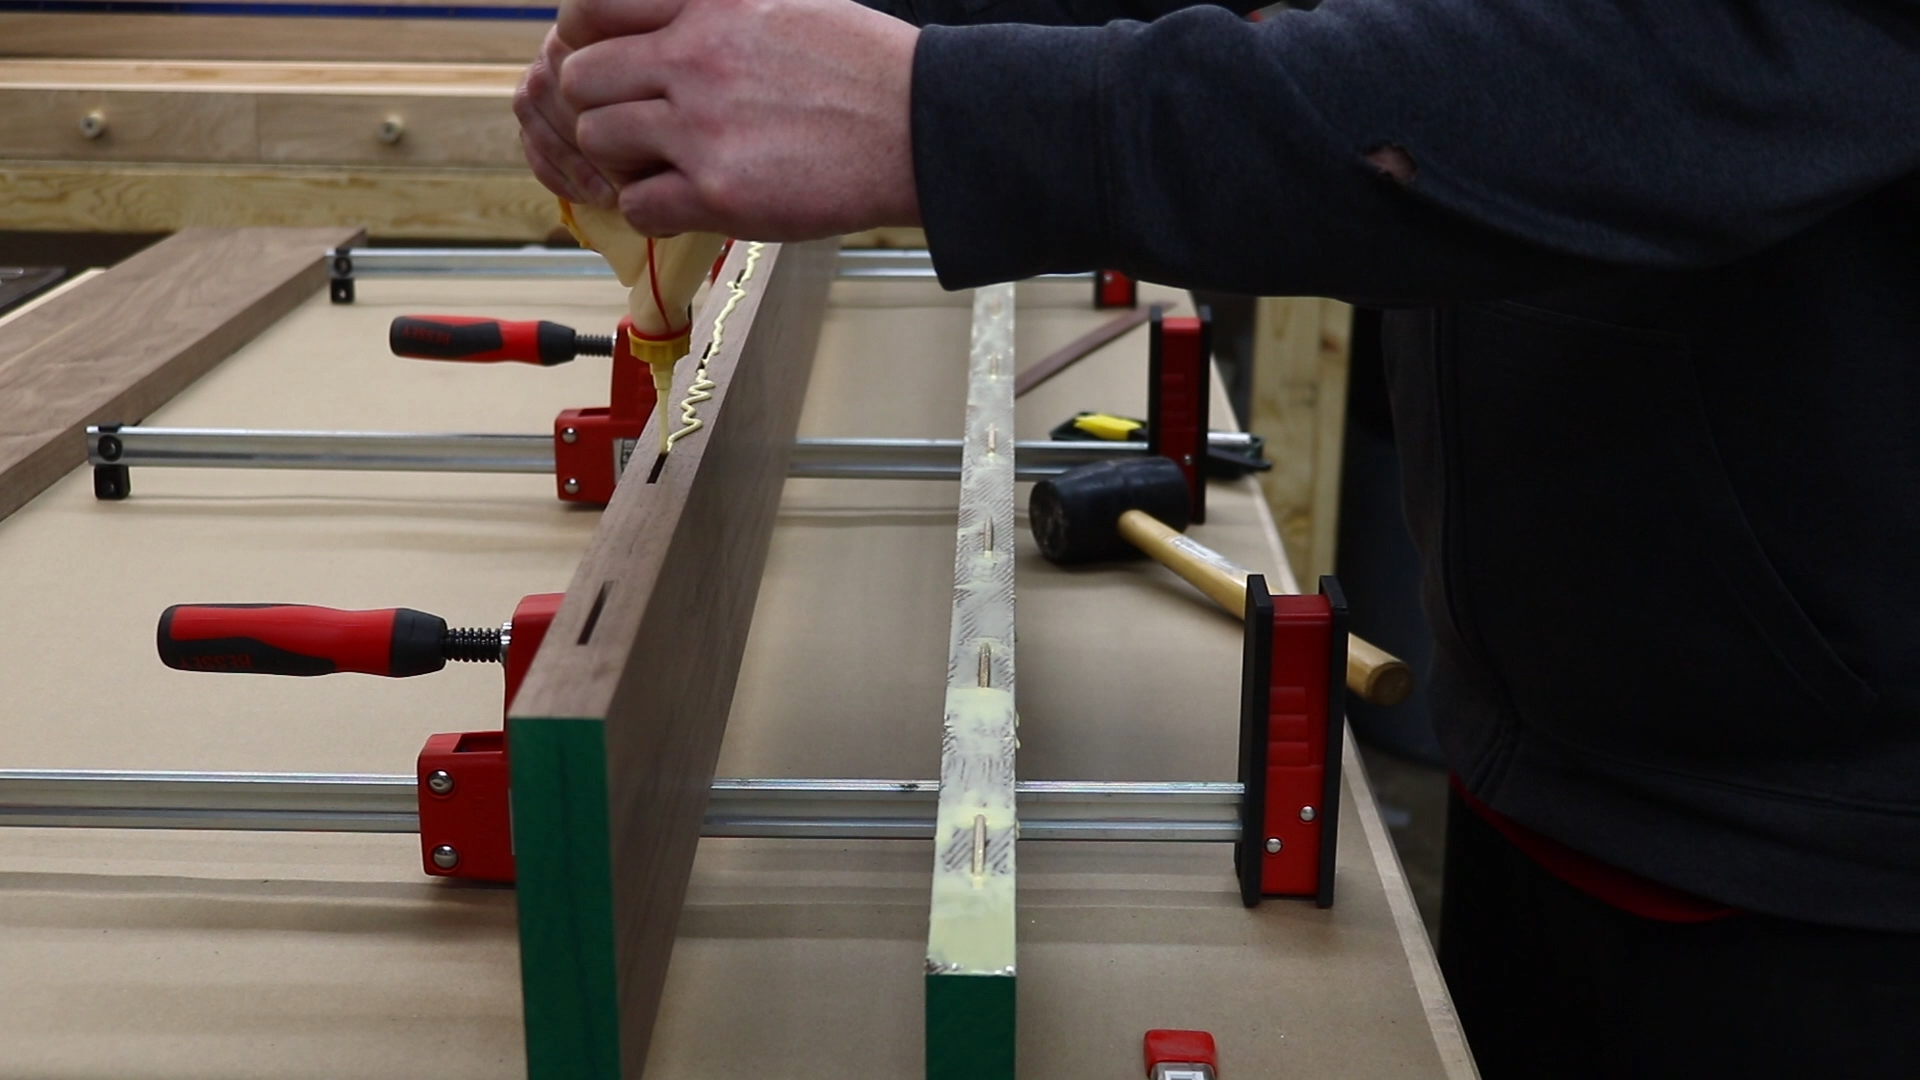
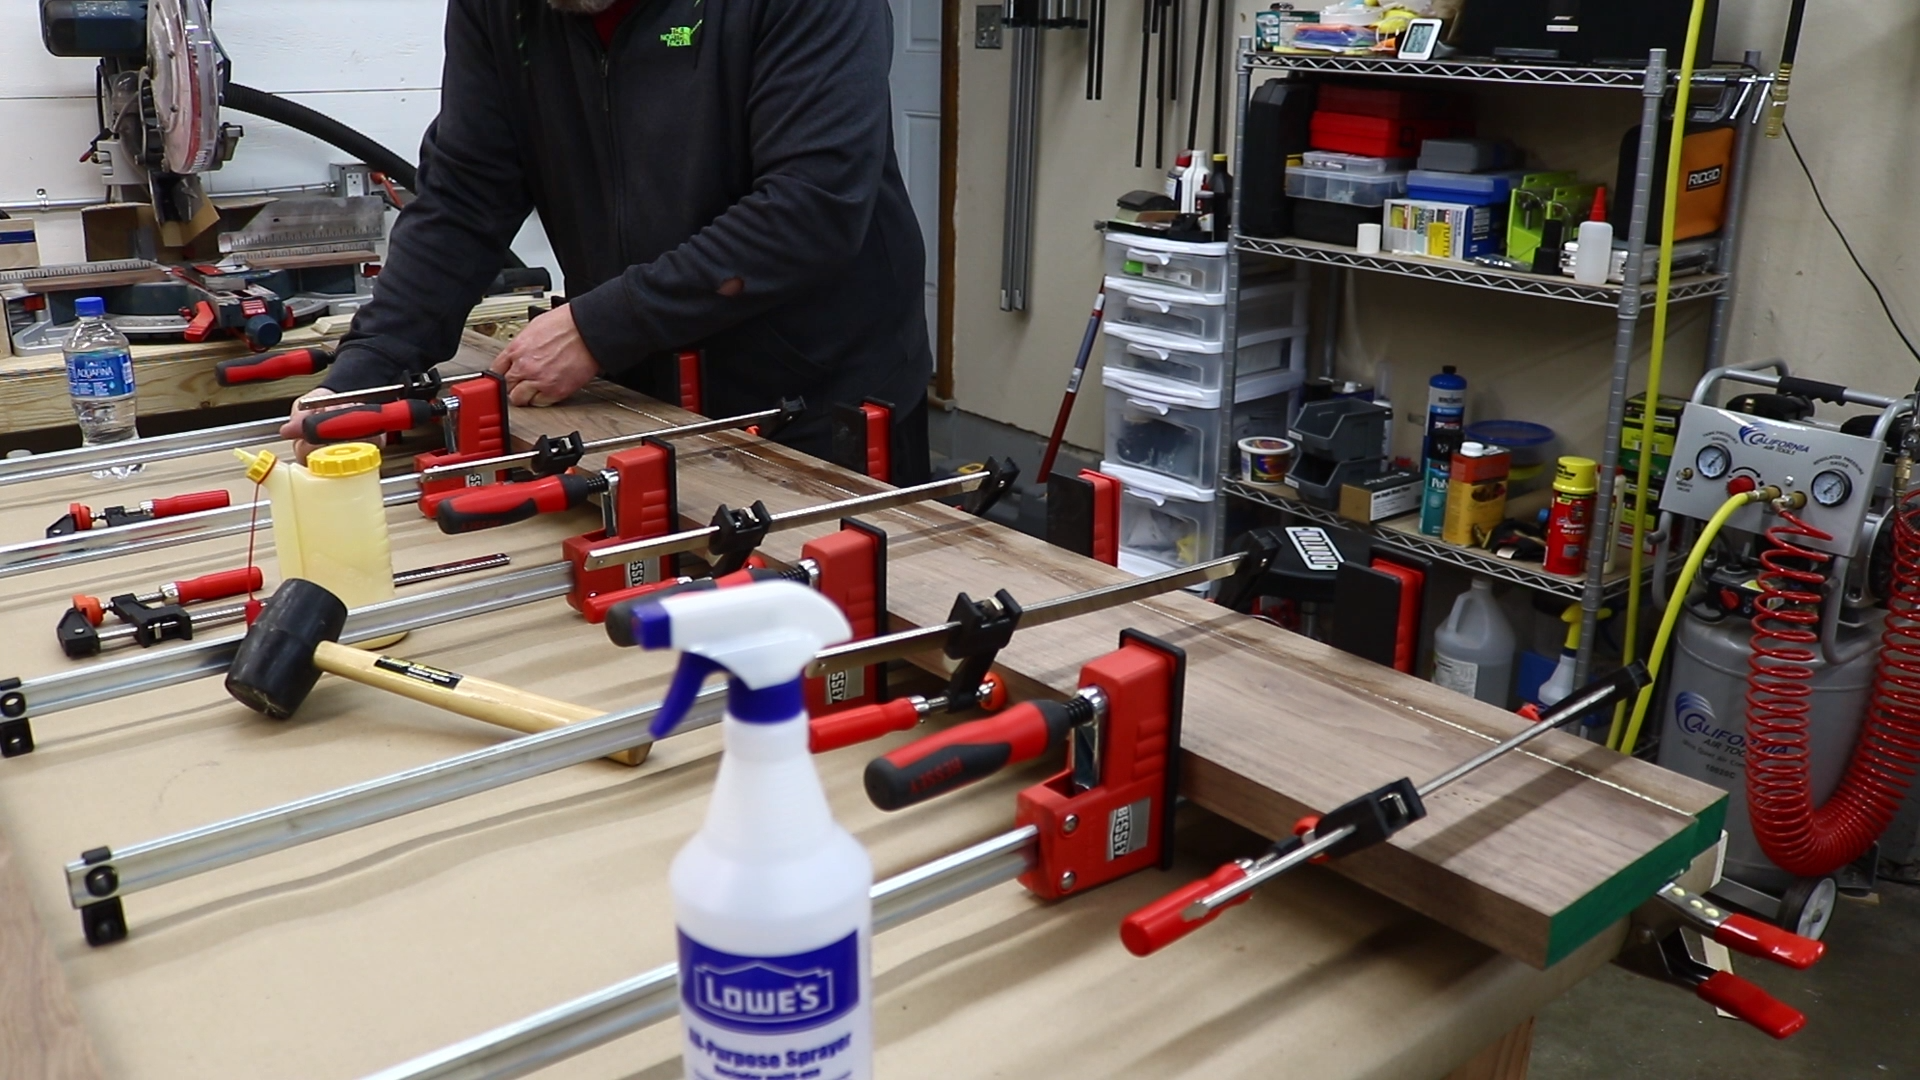
I applied glue to the biscuits and the boards and then clamped them together overnight.
The next evening I took the shelves out of the clamps and, unfortunately, not everything was lined up perfectly on one shelf so I would need to do some further milling. The other shelf was great and I could have gotten away with just sanding it down.
Final Dimensioning
I took one pass on the jointer and then I did one very light pass at the planer.
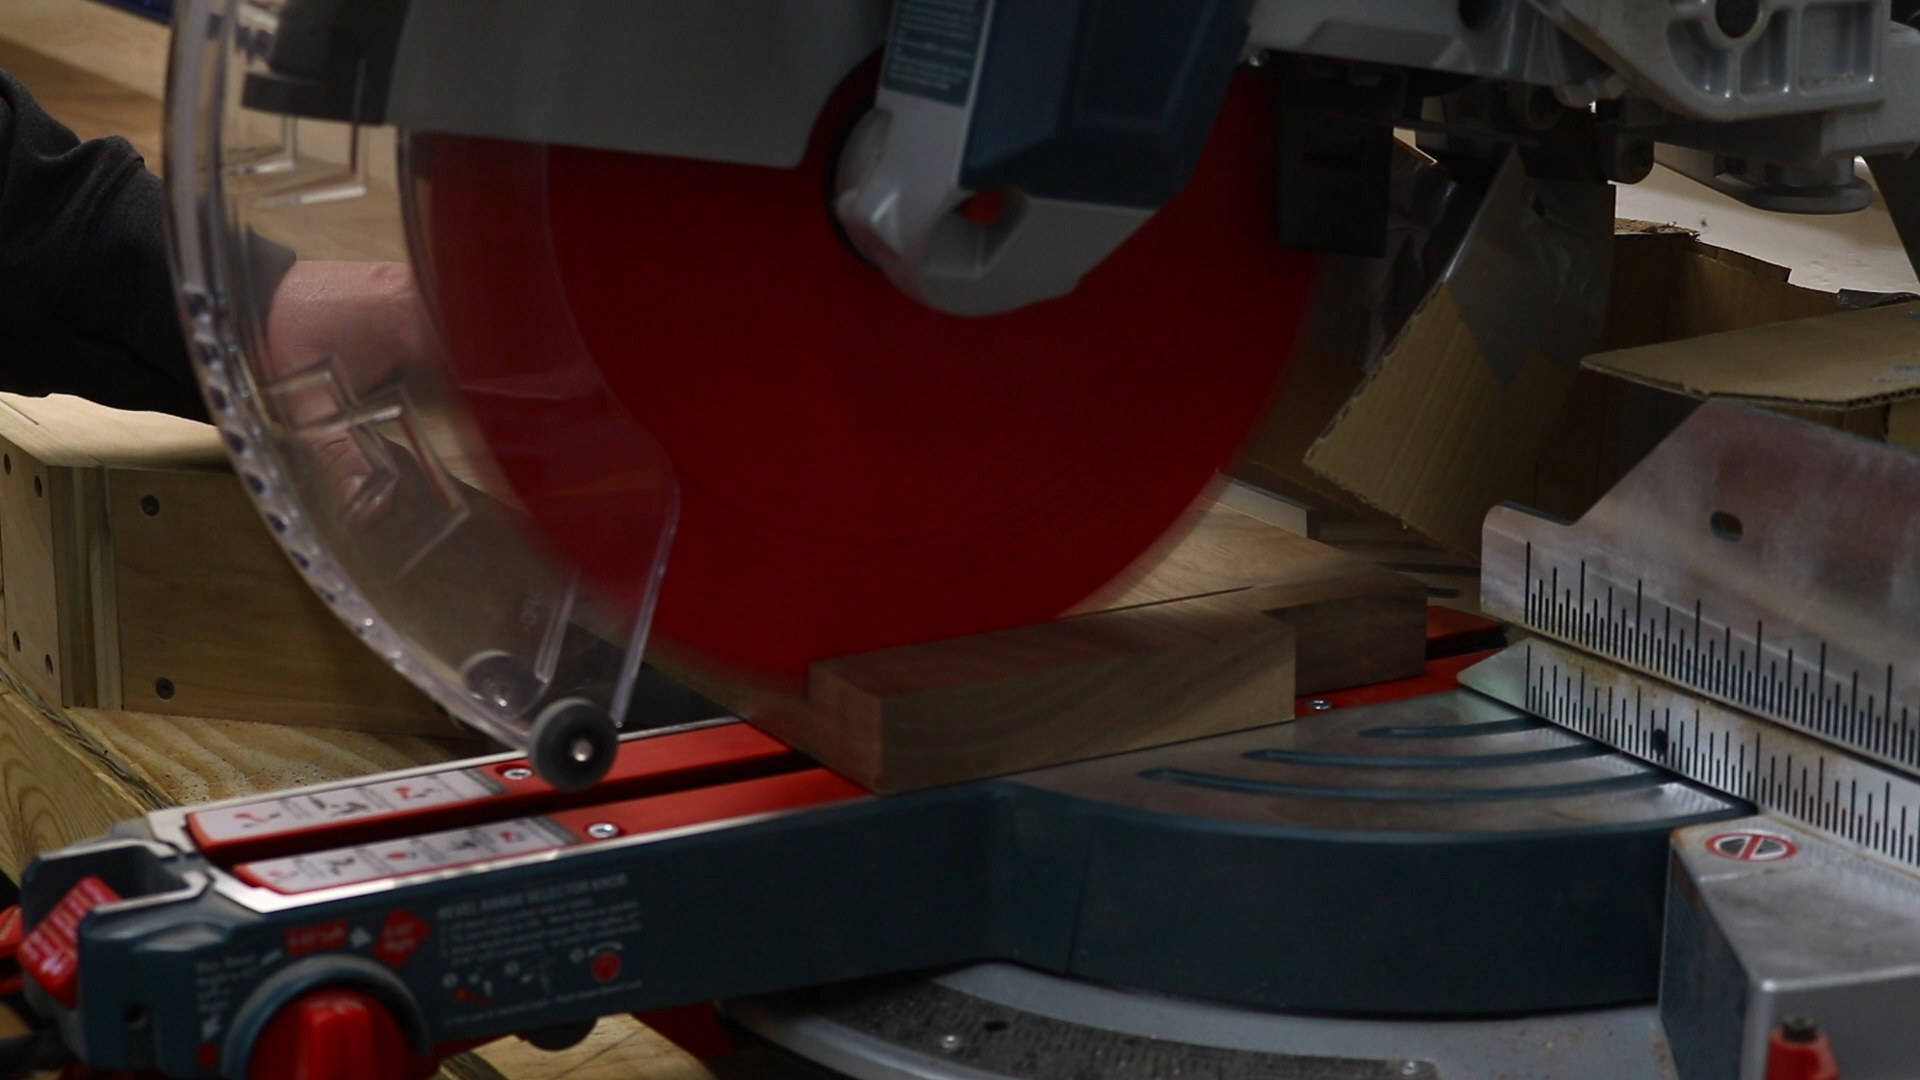
I then went over to the miter saw to cut the shelves to a final length of 72 inches.
Figuring Out How to Mount the Shelves
At this point I turned my attention to how I am going to mount these shelves. I researched a lot of techniques and when it comes to solid wood shelves there seem to be two options; french cleats or some type of rods mounted to the wall. Since these shelves are just a little over an inch thick I didn’t think a french cleat would work well so I decided to go the latter route and bought some floating shelf hardware from Woodcraft. Rockler offers what looks to be the exact same thing. You can find more information on this hardware in the links above. Each hardware pack contains two rods that can support 75 pounds with a 4” deep shelf and 50 pounds with an 8” deep shelf. These shelves are 8” so I decided to go with 3 rods in each shelf.
An Adventure in Stud Finding
To install the hardware I first needed to find the studs in the wall. There must be a lot going on in Shelby’s walls because a stud finder was useless. I ended up using rare earth magnets and just ran them over the wall till they stuck to the drywall nails or screws.
With the studs located I started laying out the location of the mounting plates. I used 2” screws to attach the mounting plates to the wall. I would drive in one screw and then level the plate and drive in the other. There’s nothing tricky about mounting this hardware. Just make sure they are level. The somewhat tricky part is when you have to locate and drill the holes in the shelves and, unfortunately, I seem to have lost all of this footage.
A Better Option
However, there is a technique you can use that makes this very easy. During my research I ran across Patrick Hosey’s video on the product page for this hardware on Rockler’s website. I kind of did a mashup of the technique in that video along with the instructions supplied with the hardware.
Each shelf support is made up of three pieces, a mounting plate which attaches to the wall, a set screw which screws into the mounting plate, and a rod that screws onto the set screw. The set screws are pointed and the instructions say to attach the mounting plates, insert the set screw and then hold the shelf up to the set screw and tap on the shelf to leave an indention marking the location of the required holes.
Story Sticks to the Rescue
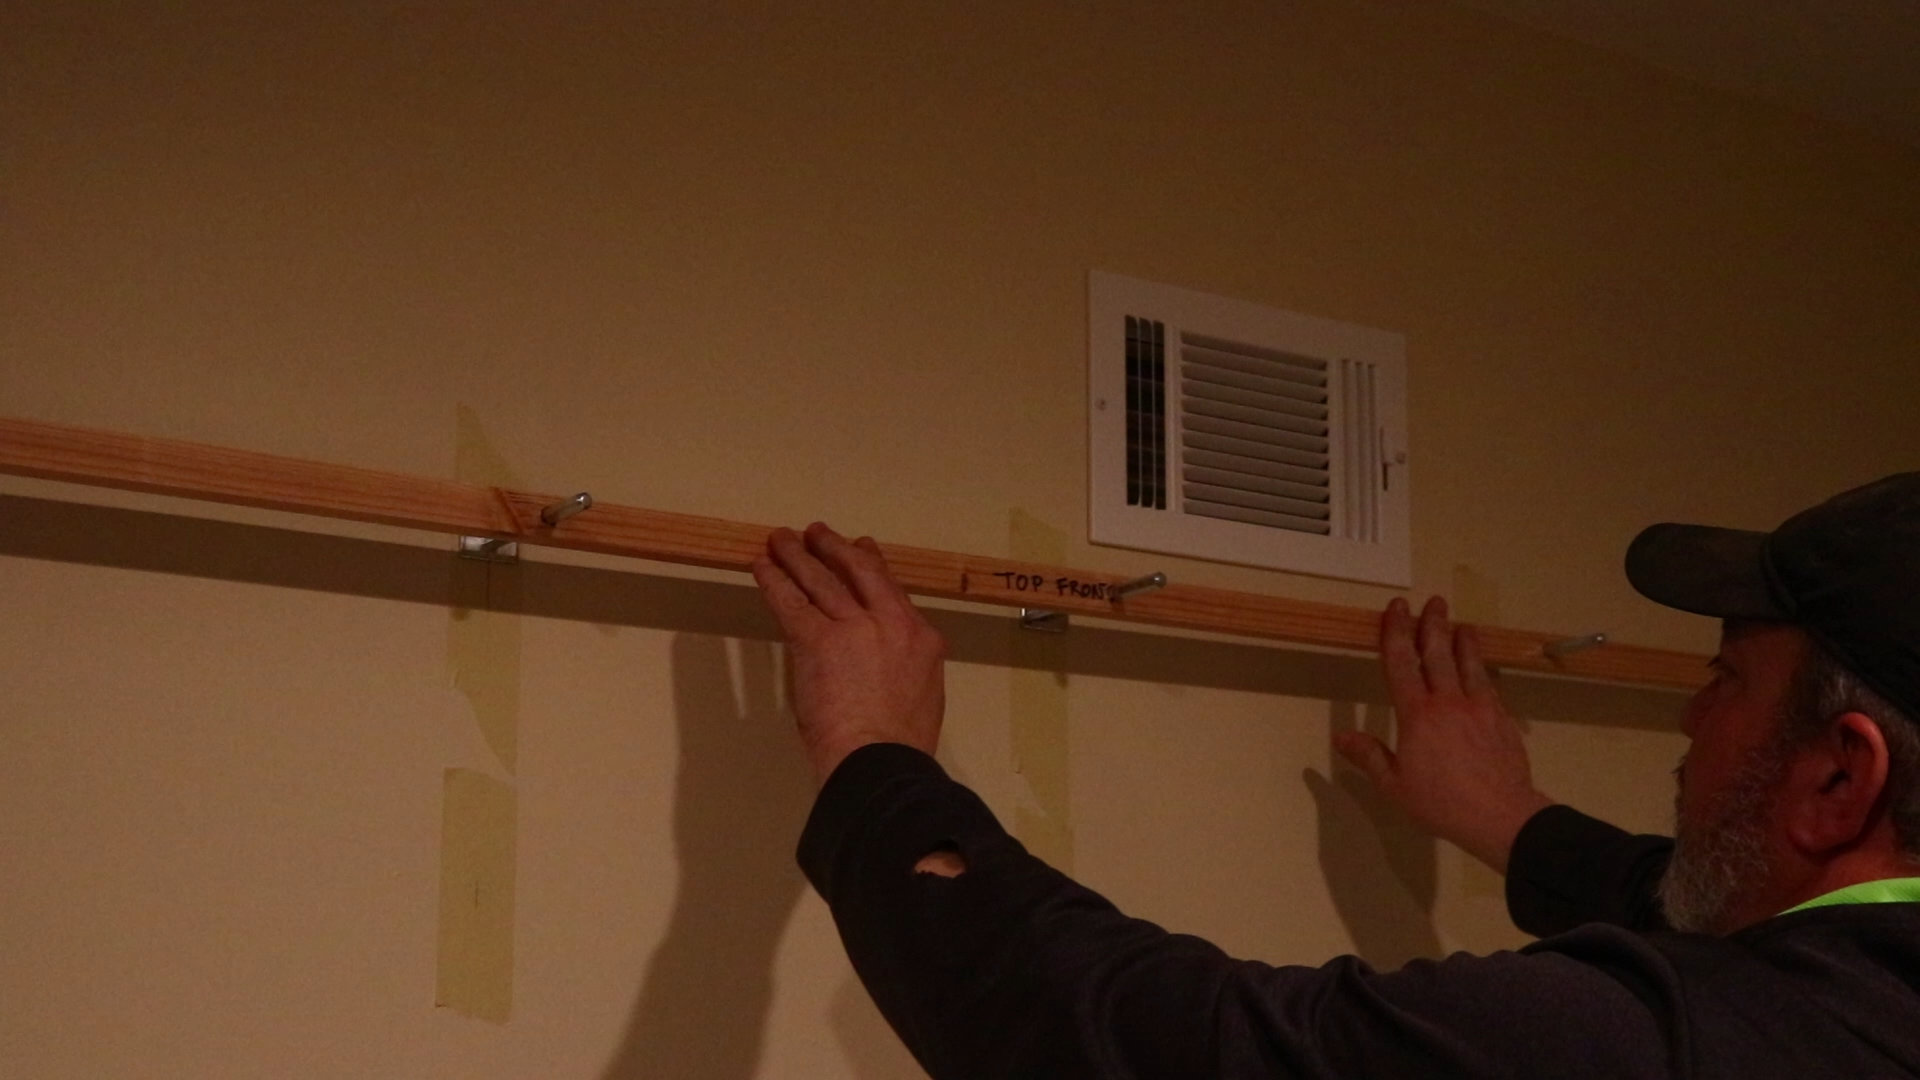
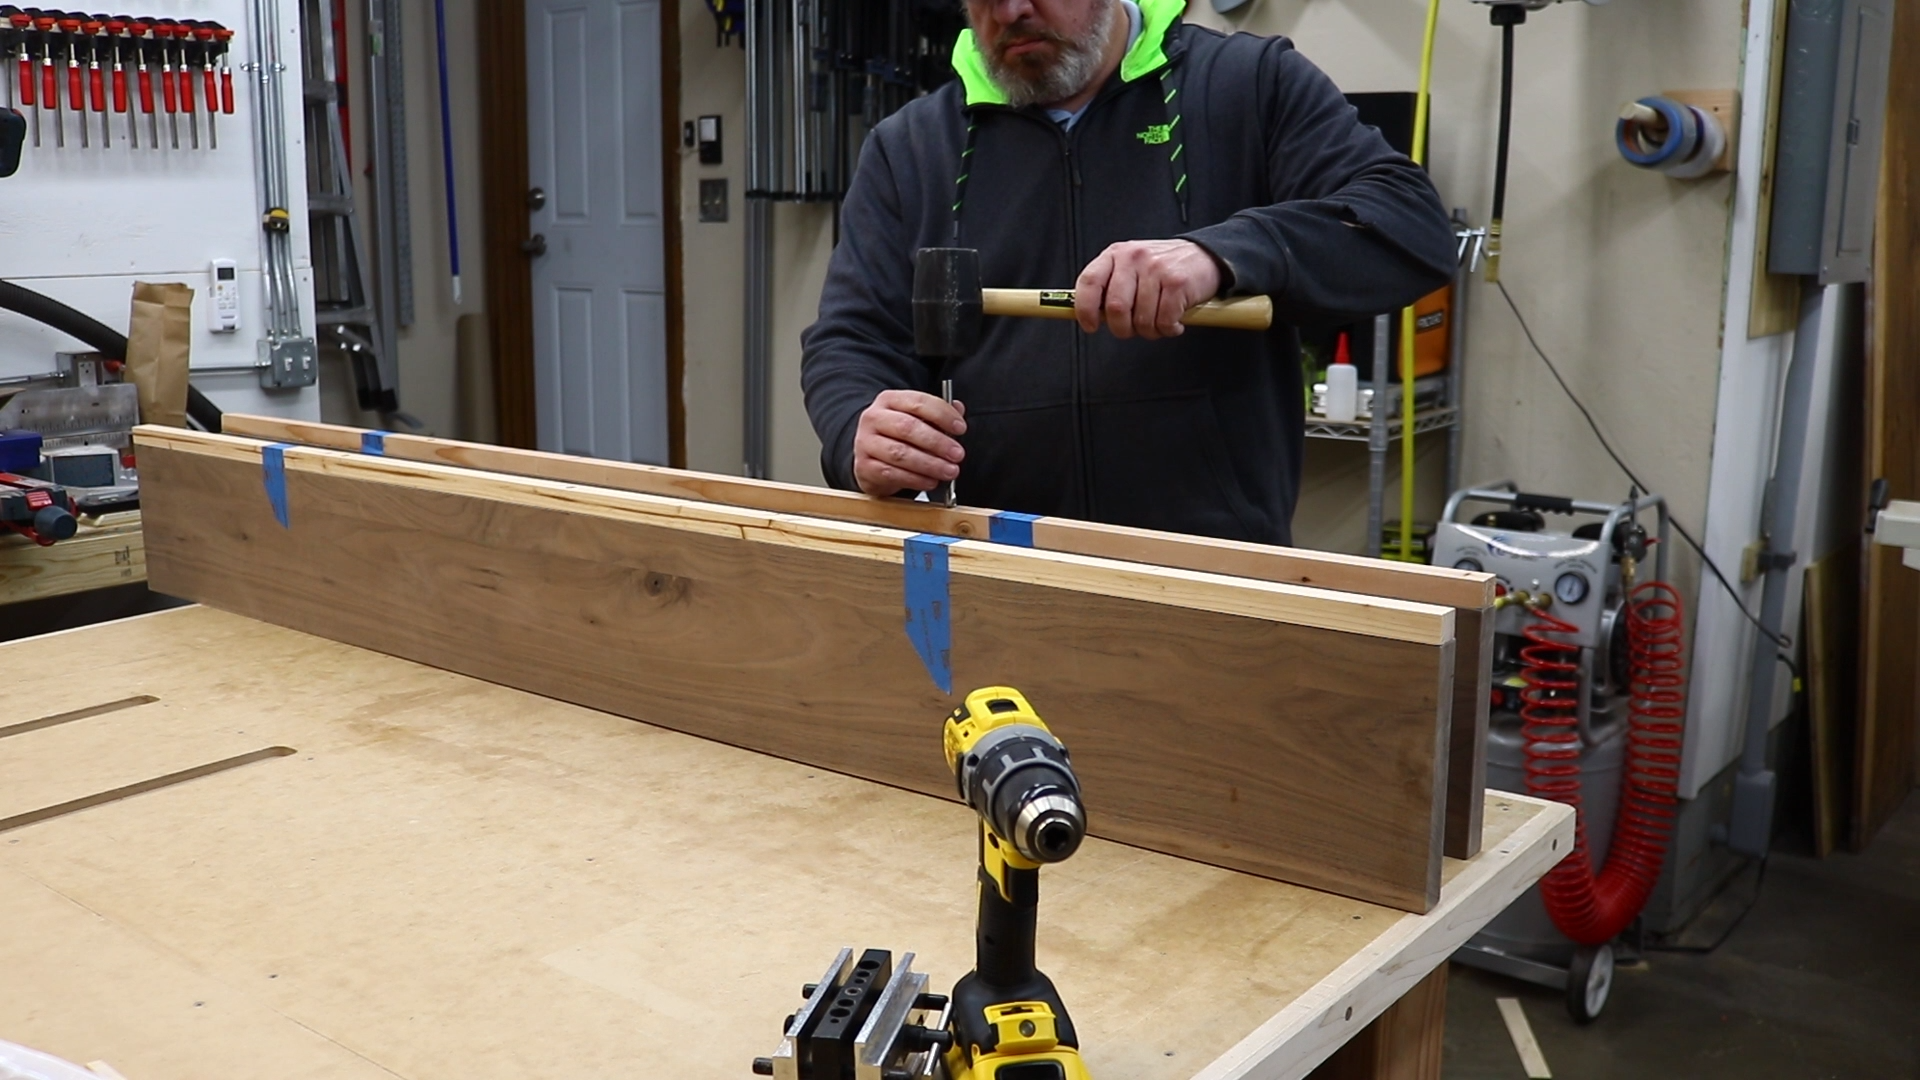
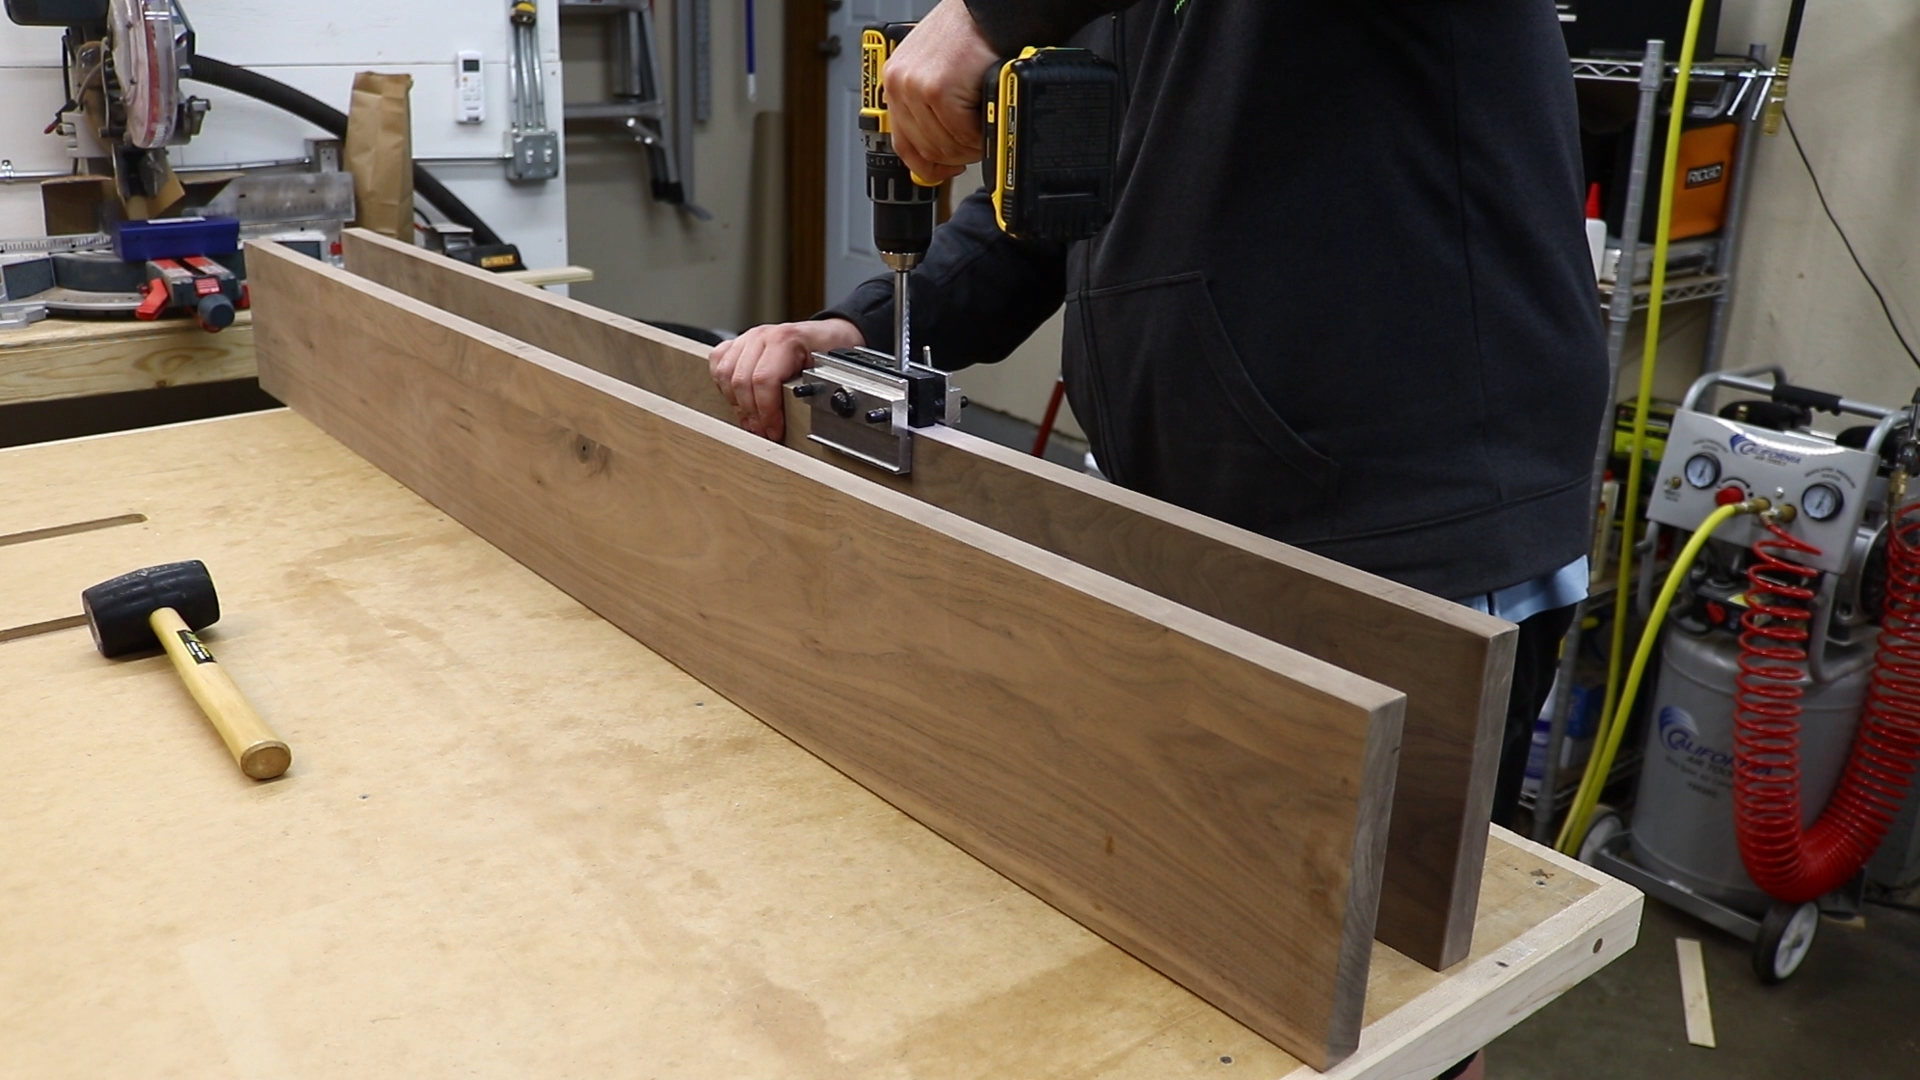
Rather than fumble with the full size, heavy shelves, I cut two story sticks that were the same length and thickness of the shelves but only 3/4 of an inch wide. I held the sticks up to the set screws and tapped over each mounting position with a mallet. This left marks at each location where I needed to drill. I then used a dowel jig to drill 7/16 inch holes at each mounting position. If you’re using a dowel jig you don’t have to worry about having the story stick or shelves completely level when marking the positions. As long as the shelves are straight, the dowel jig ensures it will be level because it is centered on the edge when drilling the holes.
If you are using the story stick technique make sure you create a story stick for each shelf. You can’t use a story stick from one shelf on another shelf.
I then test fit the story stick over all the hardware. It worked perfectly and it was very easy.
Drilling the Holes for the Shelf Rods
I went back to my shop and I now needed to transfer the hole locations from the story stick to the shelves. I taped the story stick to each shelf and then grabbed a 7/16 inch brad point drill bit and used it to mark the center of the holes on the back of the shelves.
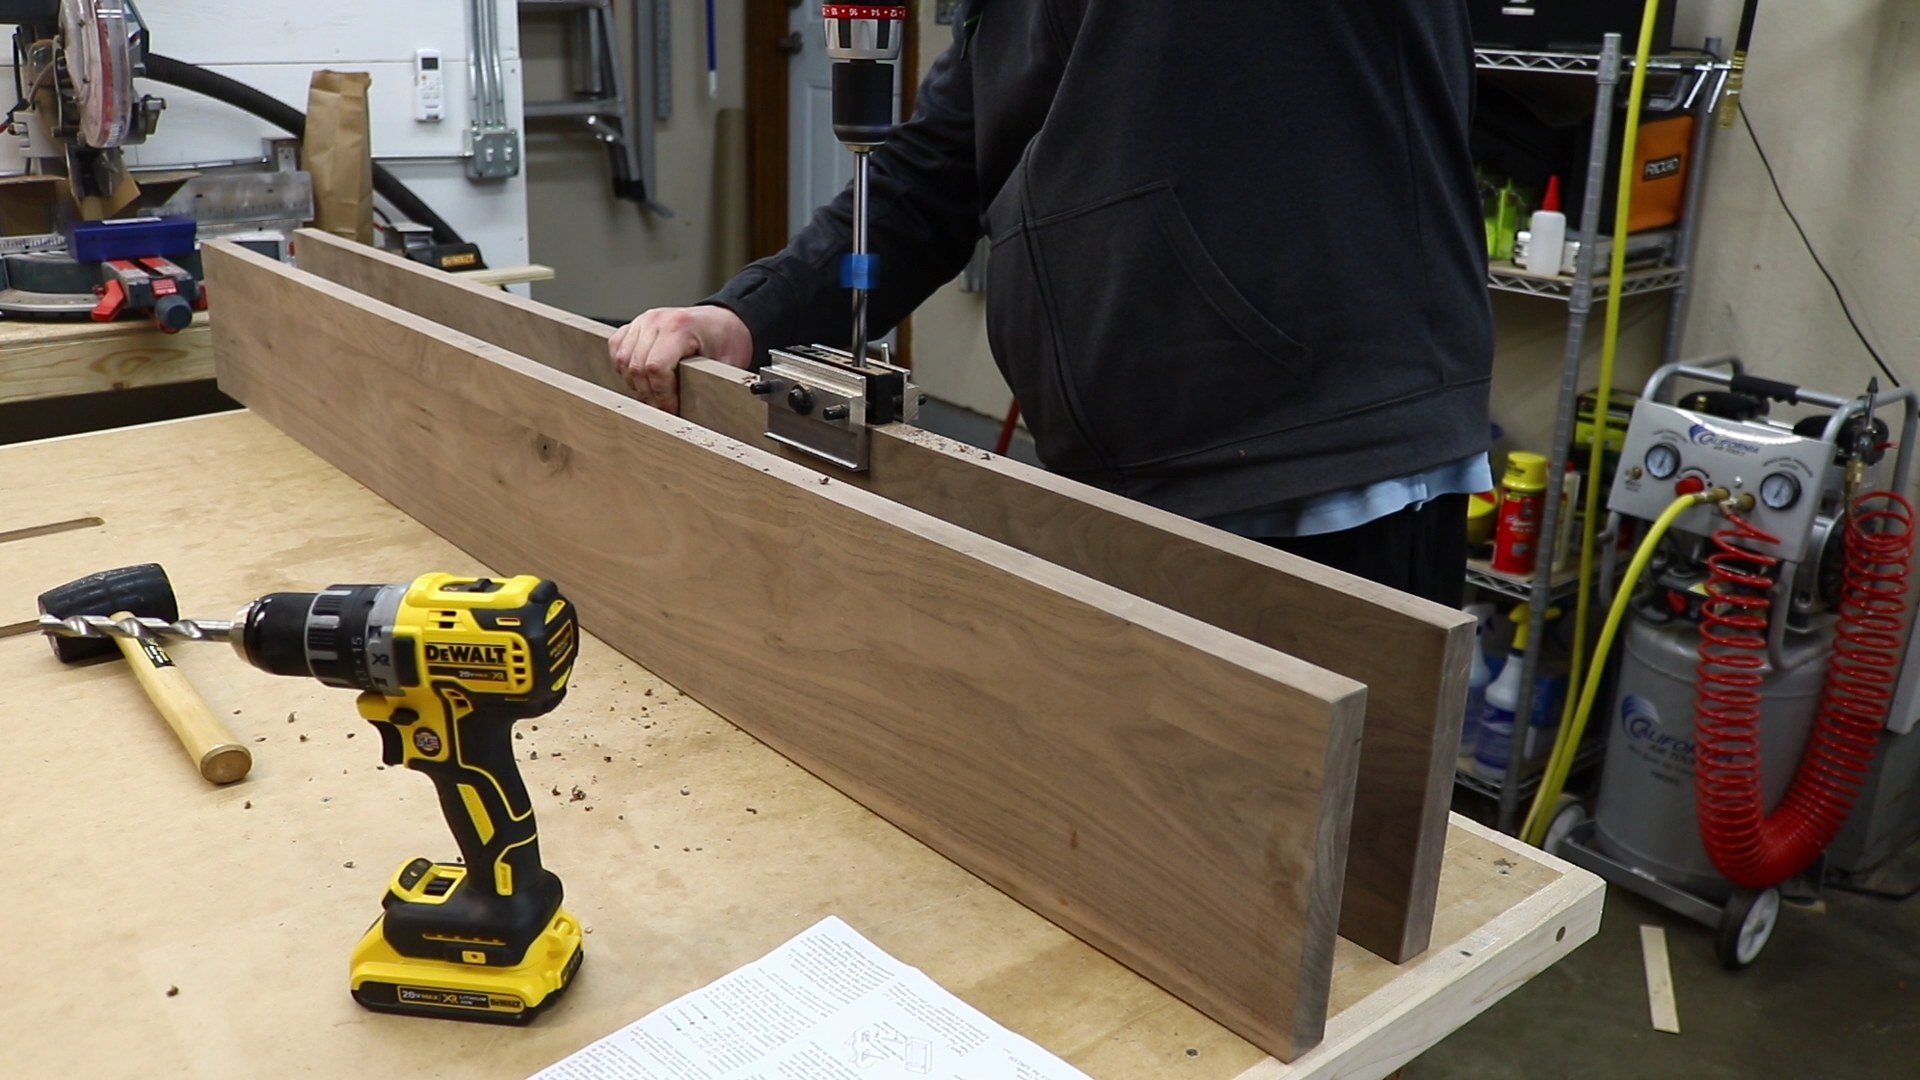
Once the holes were marked I then used a dowelling jig to drill 7/16 inch holes into the shelves. The jig is a couple of inches high so I needed some really long bits to be able to drill to the required depth. In the description you’ll find a link to some pretty affordable, long brad point drill bits.
I actually drilled the initial hole with regular bits. While the jig is a pretty tight fit I found it easier to start with a smaller bit and then use the longer bits to finish off the holes.
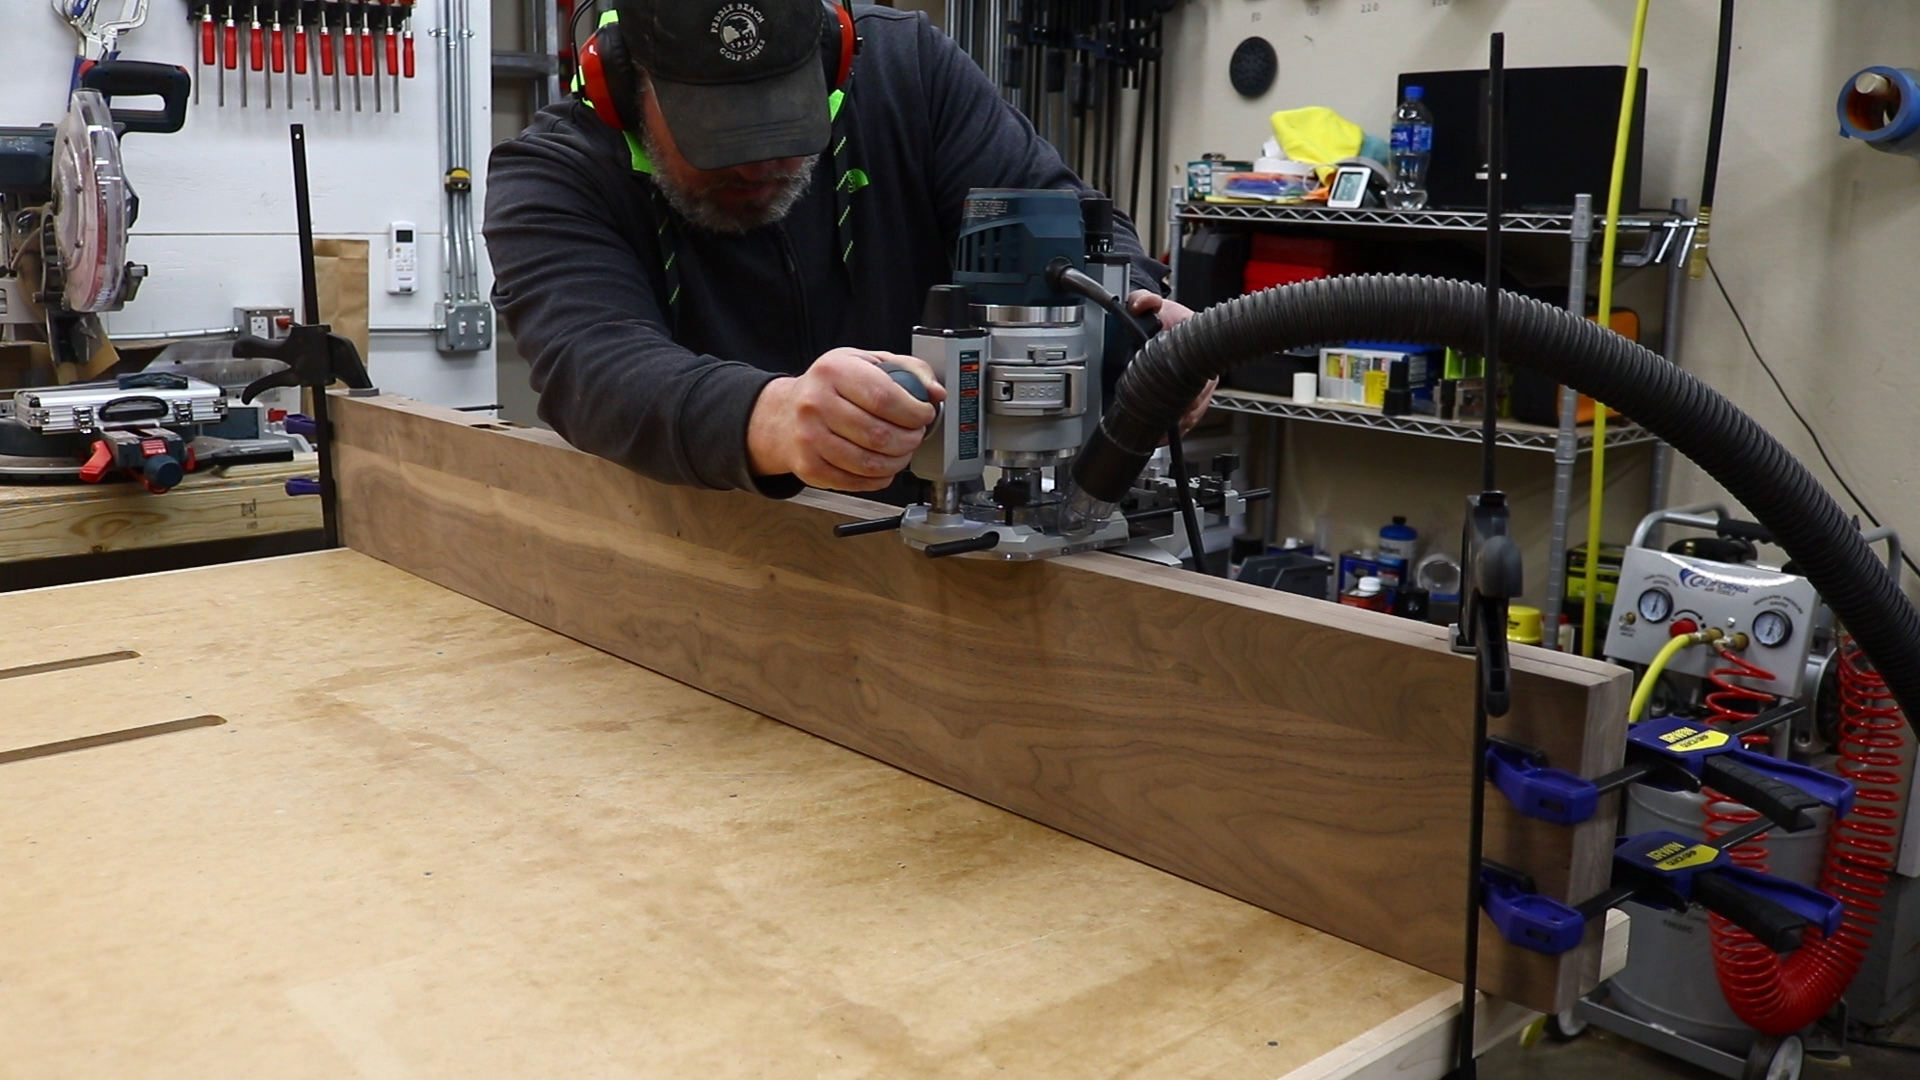
To fully conceal the mounting plates and allow the shelves to sit flush up against the wall I needed to create a 1 inch by 2 inch mortis about an 1/8th of an inch deep. The shelves are only 1-1/8 inches thick so that would leave a very narrow sliver on each side of the mortis. To cut these mortises I had a couple of options; a chisel or a router. I’m not great with a chisel and had recently gotten an edge guide for my router so I decided to go that route. I am glad I made that decision as the edge guide made this very quick and easy and the Bosch edge guide comes with a dust hood which made for very little mess.
Time to Finish
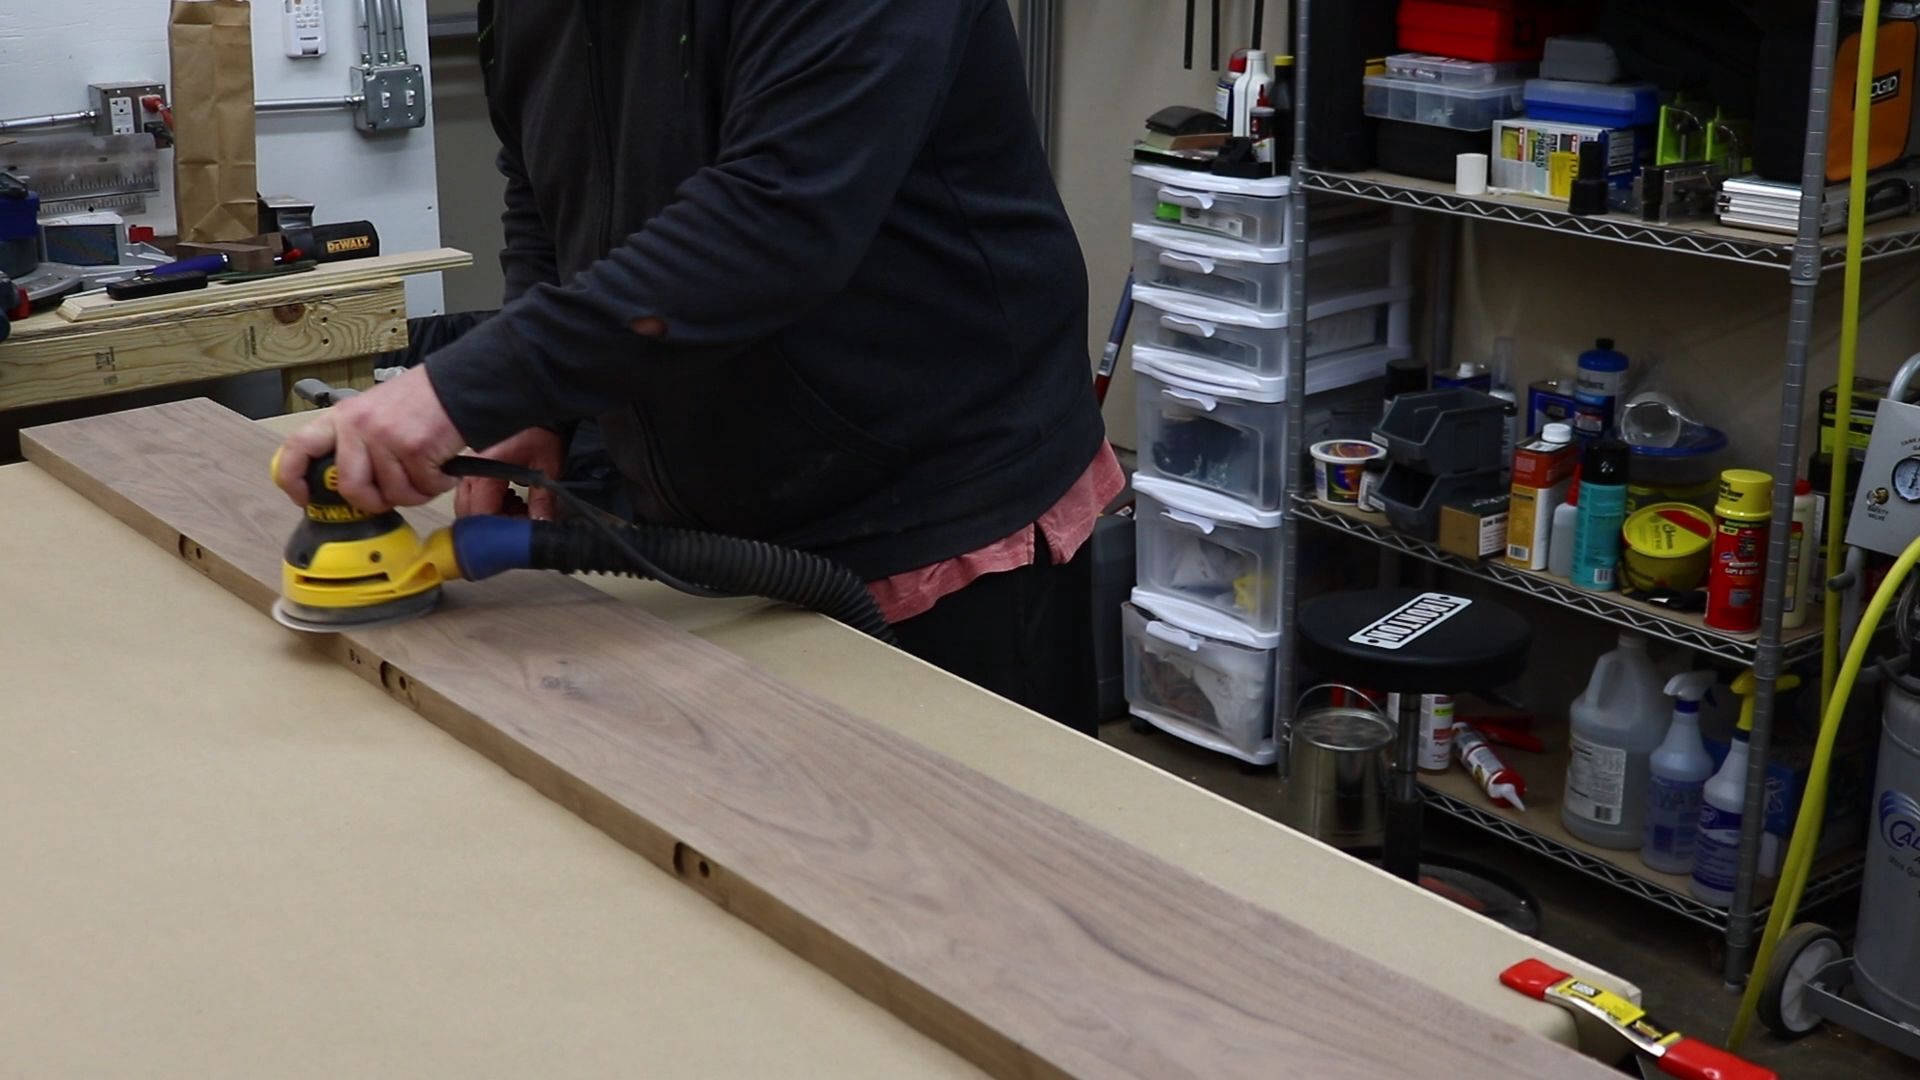
I was now ready to start prepping for finish. I sanded the shelves down to 220 grit using my random orbital sander.
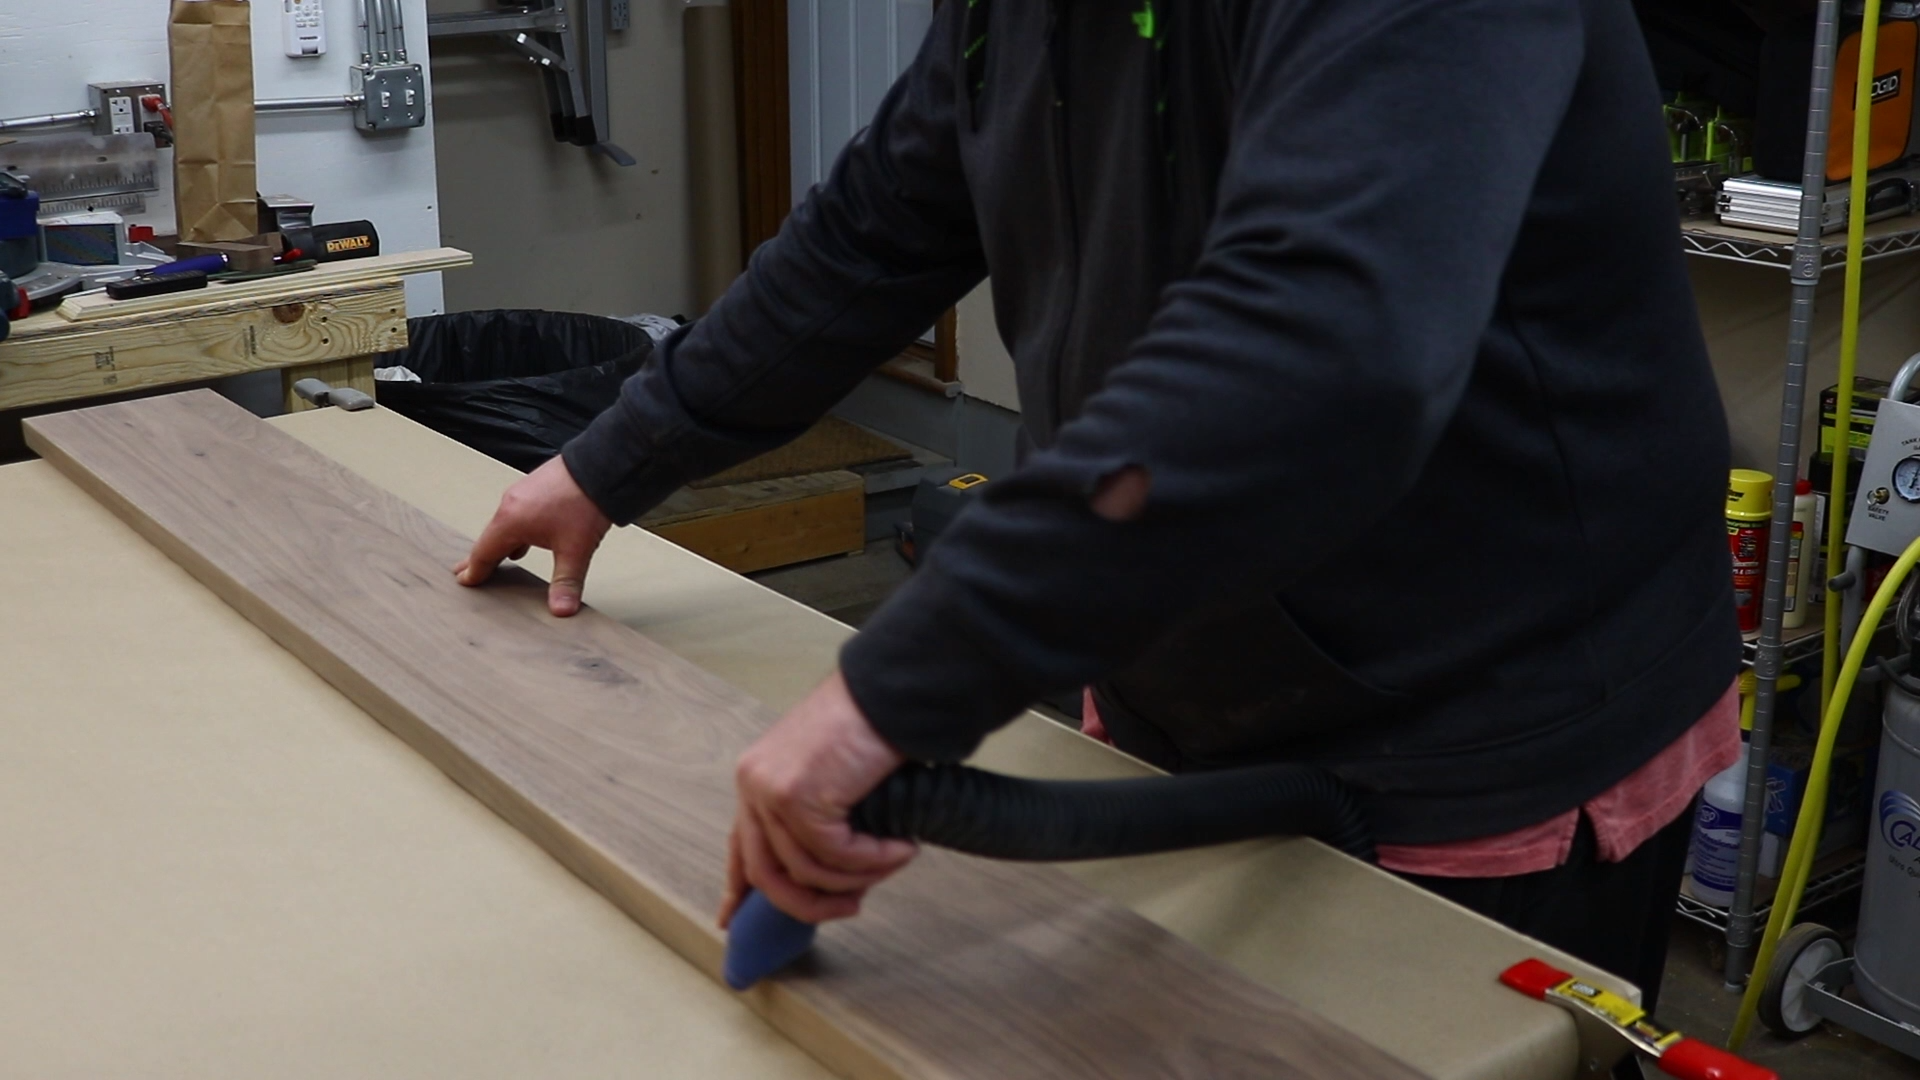
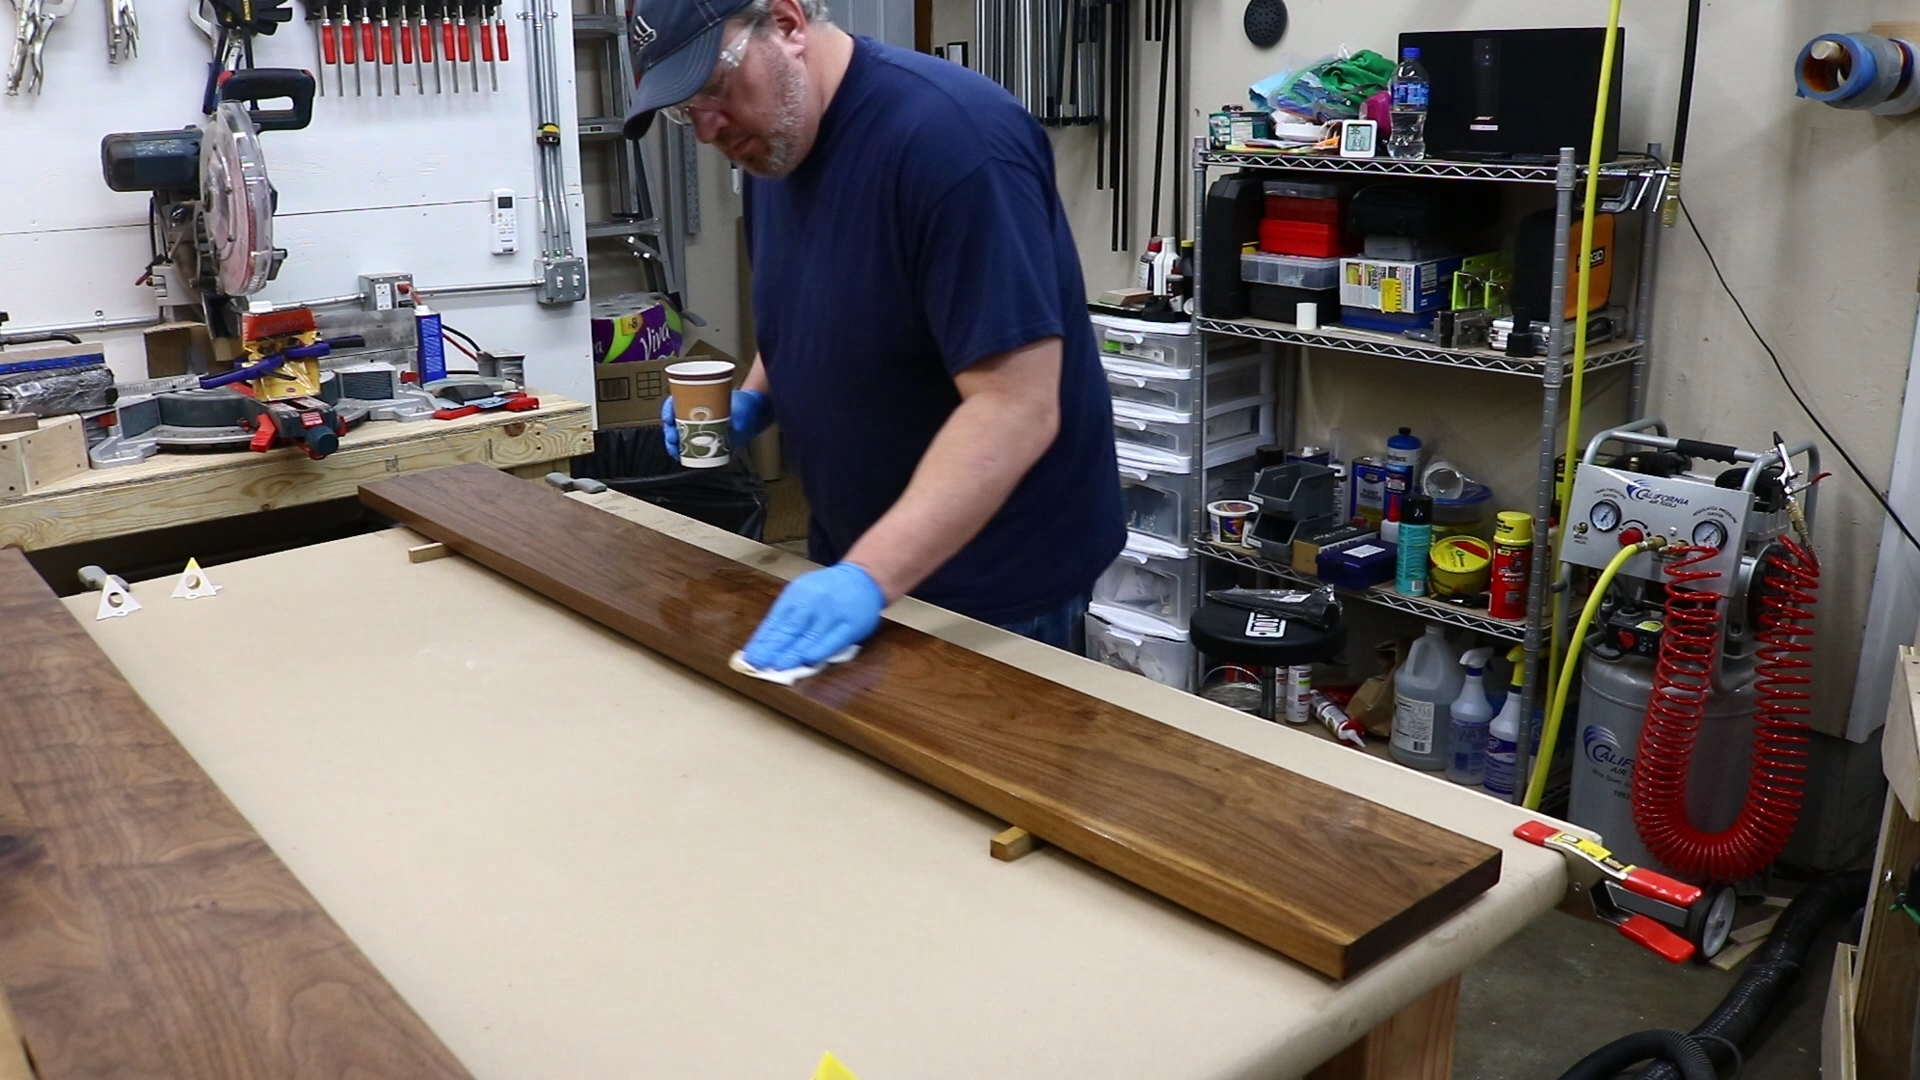
Up to this point I’ve used water based polyurethane on all of my projects to I decided to try something new. I’ve seen Waterlox used quite a bit in other videos I have watched so I decided to go with that for these shelves. The biggest difference here is that Waterlox is oil based and I’ve never worked with an oil based finish so there was going to be a bit of a learning curve. I started out by vacuuming all sides of the shelves to get as much of the dust as possible and then also wiped them down with some mineral spirits.
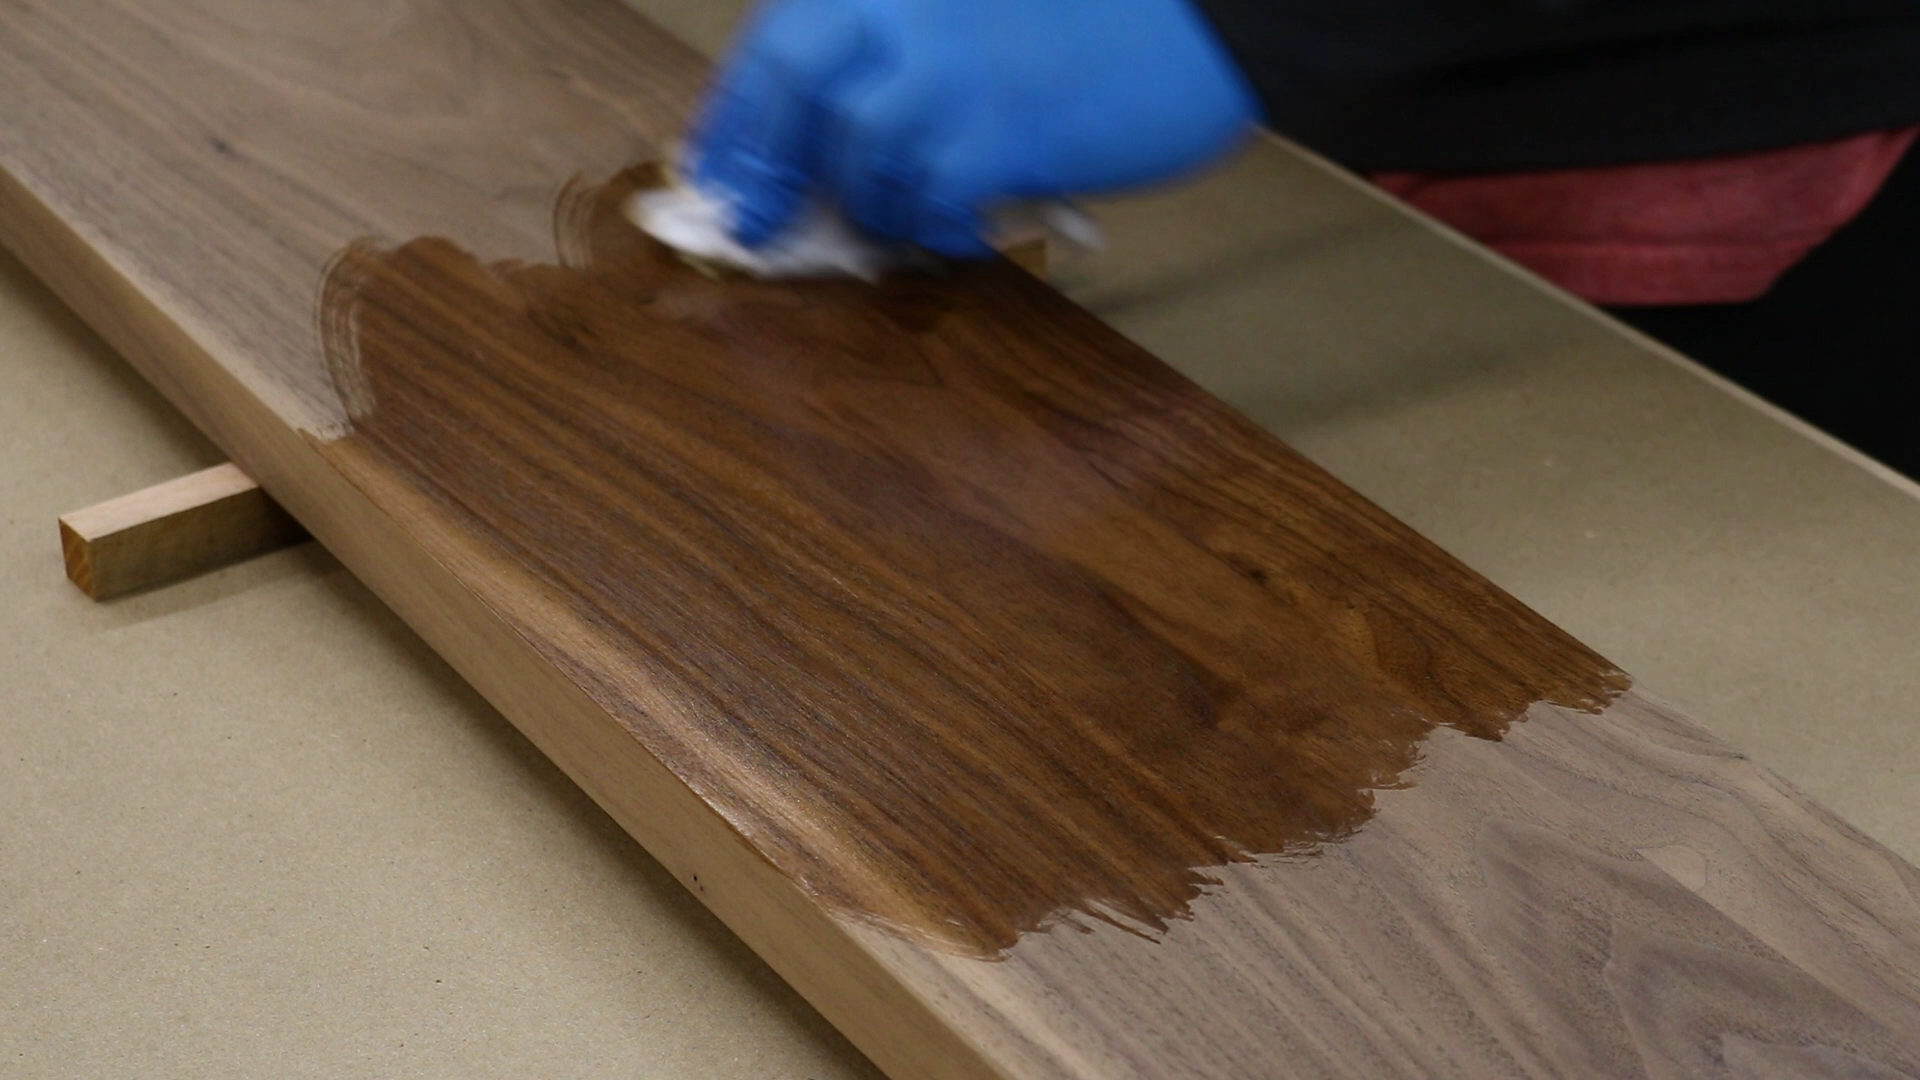
And now we get to the finishing. This was a bit of a struggle and took way longer than I anticipated. I started by wiping on coats with an old tshirt and then letting them dry overnight. After the first coat I noticed a bunch of shiny spots on the shelves. I did a little reading and was assured that I just needed to add more coats.
I applied about four more coats and still had the shiny spots so I decided to do a little sanding with 400 grit sandpaper.
Still Finishing – Fine Tuning and Experimentation
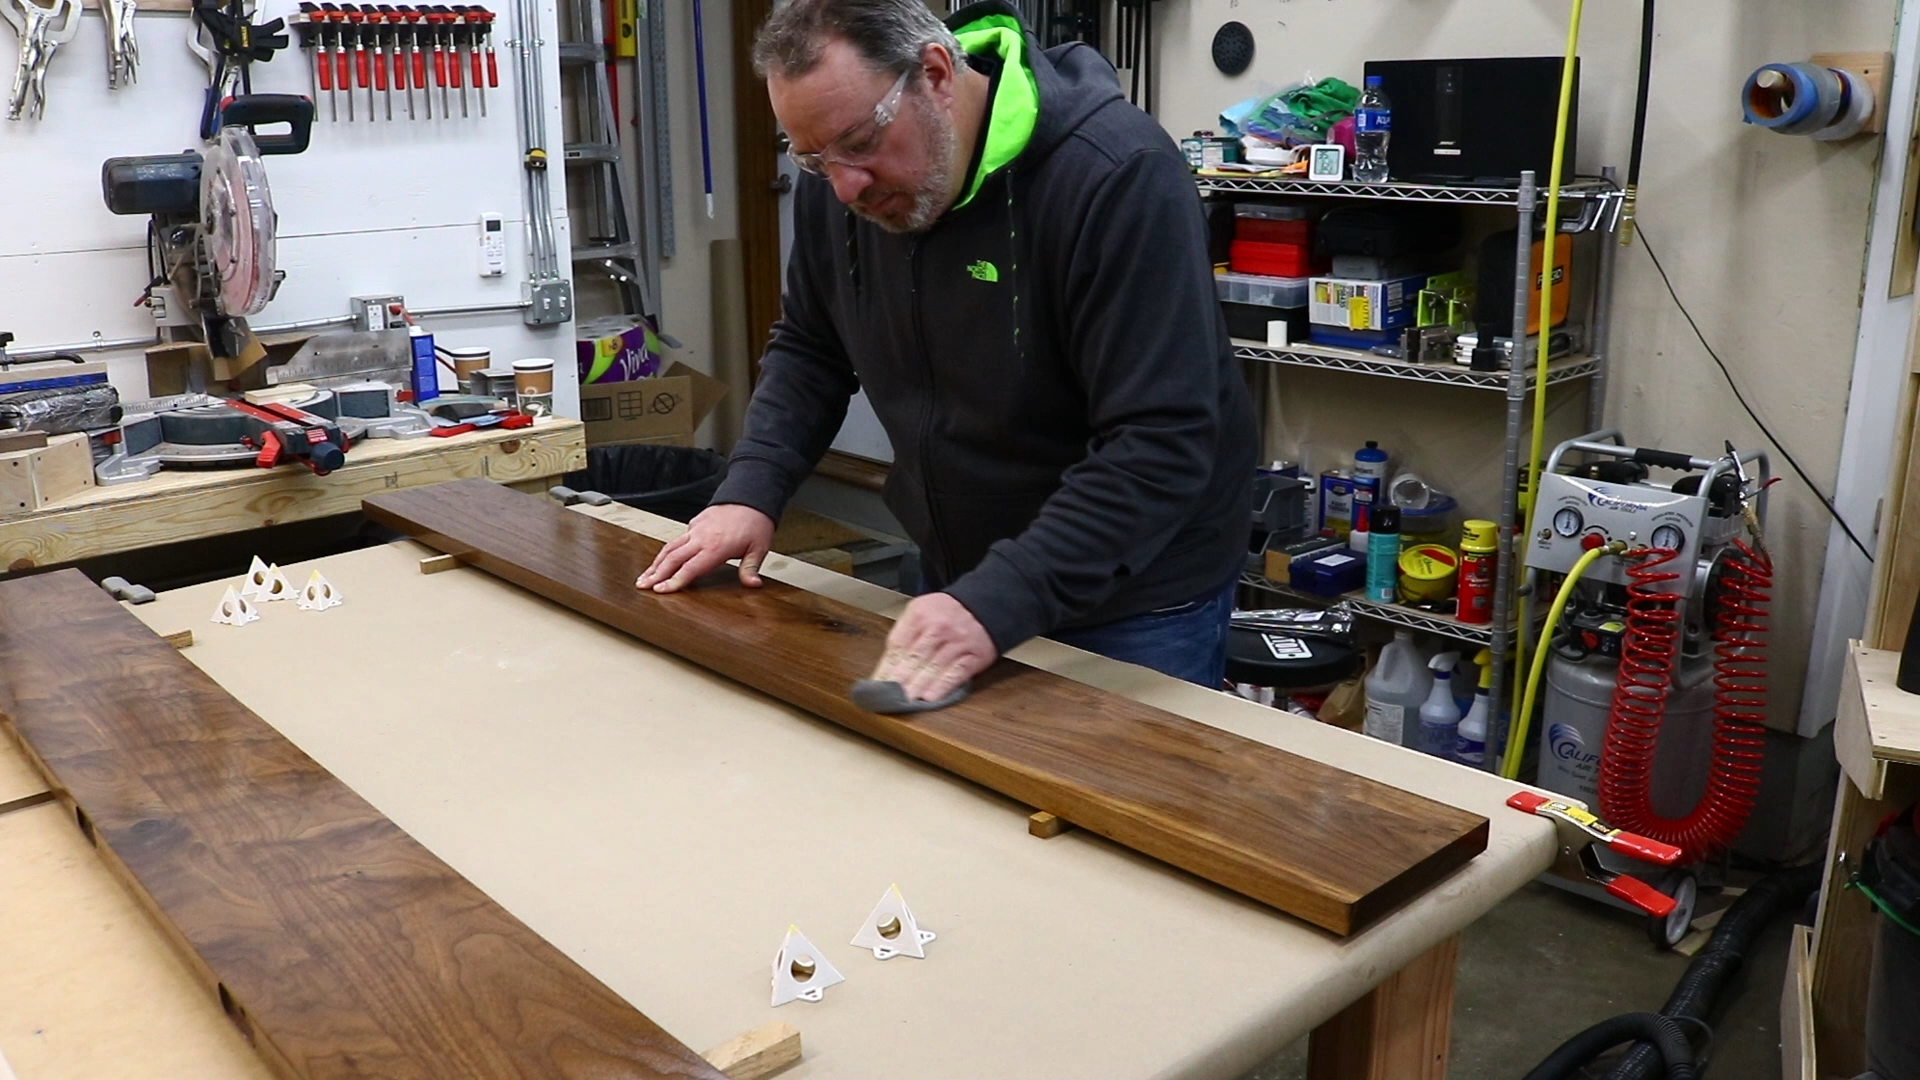
That ended up being way too much and I started applying more coats again with a day between each to dry. In between coats I did more reading and realized that because I was wiping on the finish rather than using a brush I could get away with allowing just a few hours between coats. This also meant a lot more coats to build the finish than when using a brush. Honestly, I am probably 8 coats in at this point and am still not loving the look. They were just too glossy so I decided to use some four ought steel wool to buff them out.
This got me close. I added one more thin coat and called it good.
It was a much longer road than I had hoped for but in the end they turned out great. The lesson learned here is that I need to spend some time practicing finishes on scraps rather than learning on the fly with an actual project.
Mounting the Floating Shelves
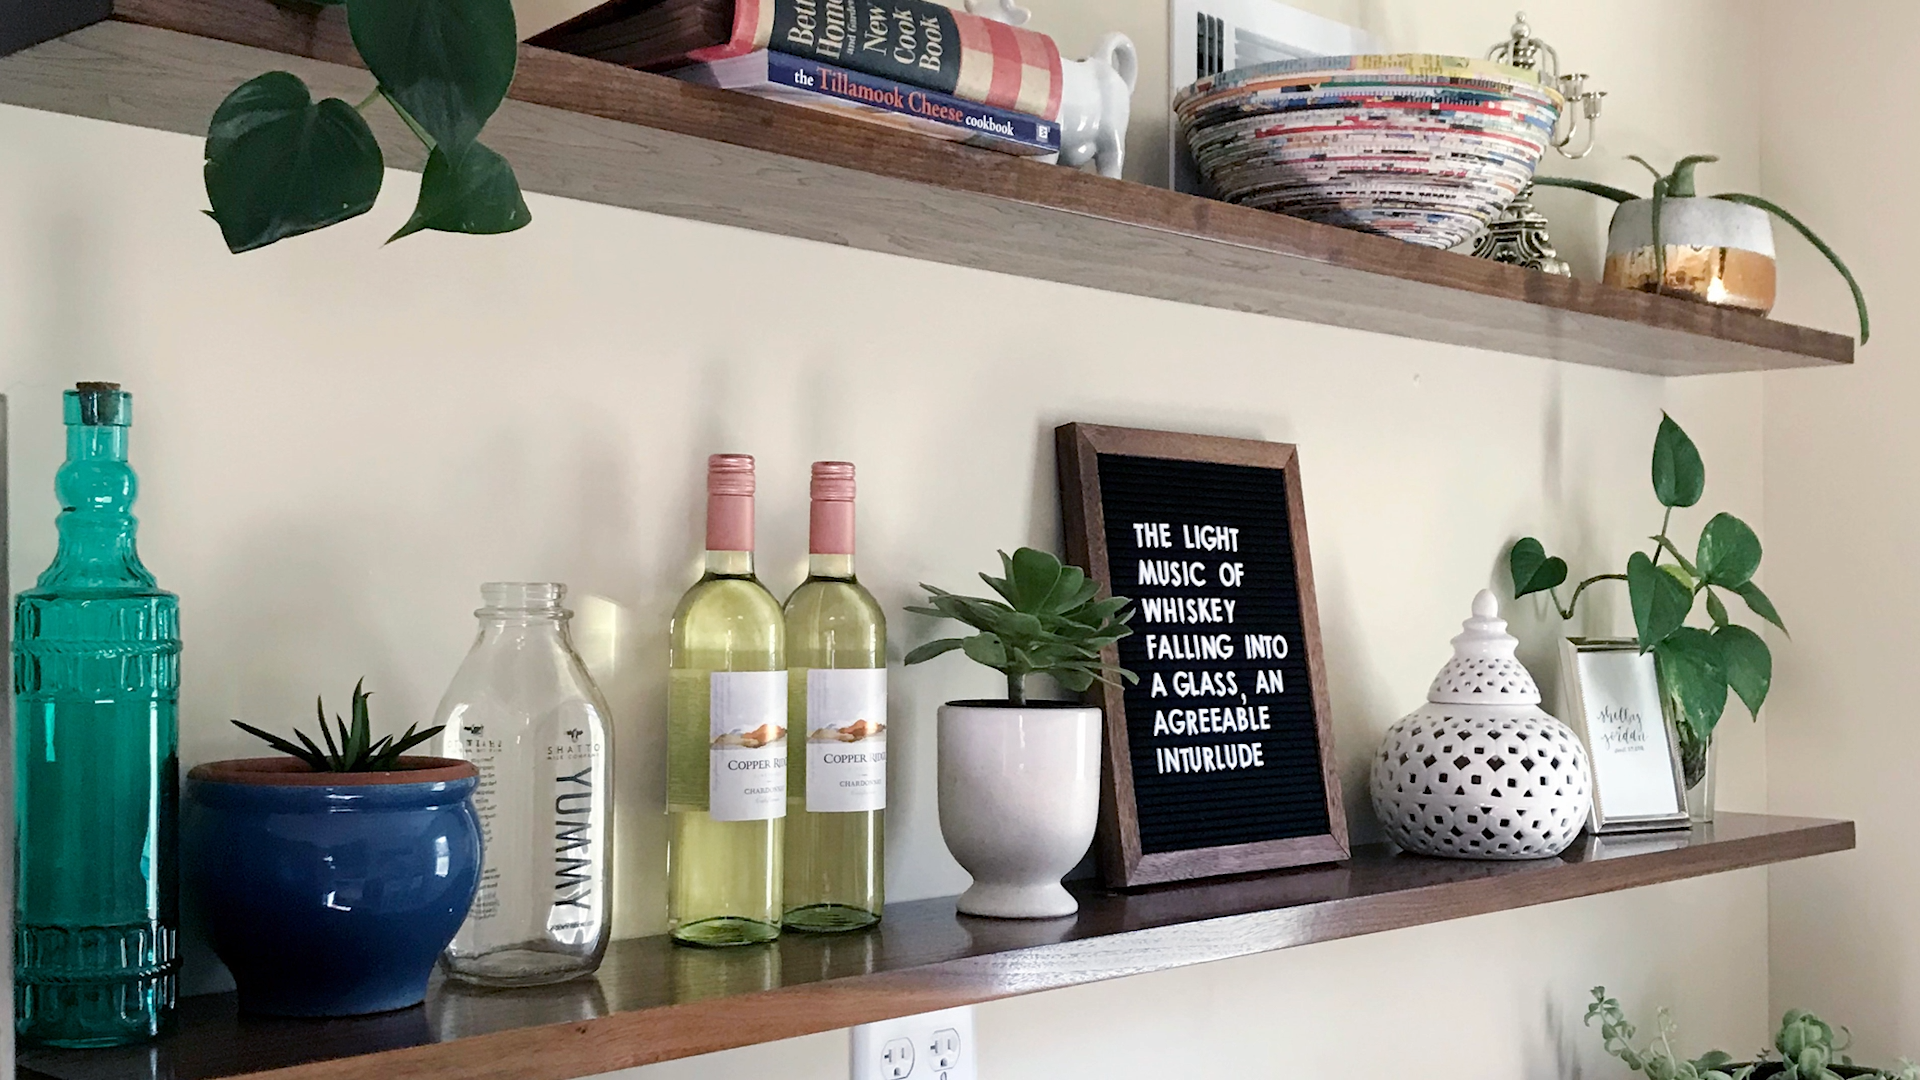
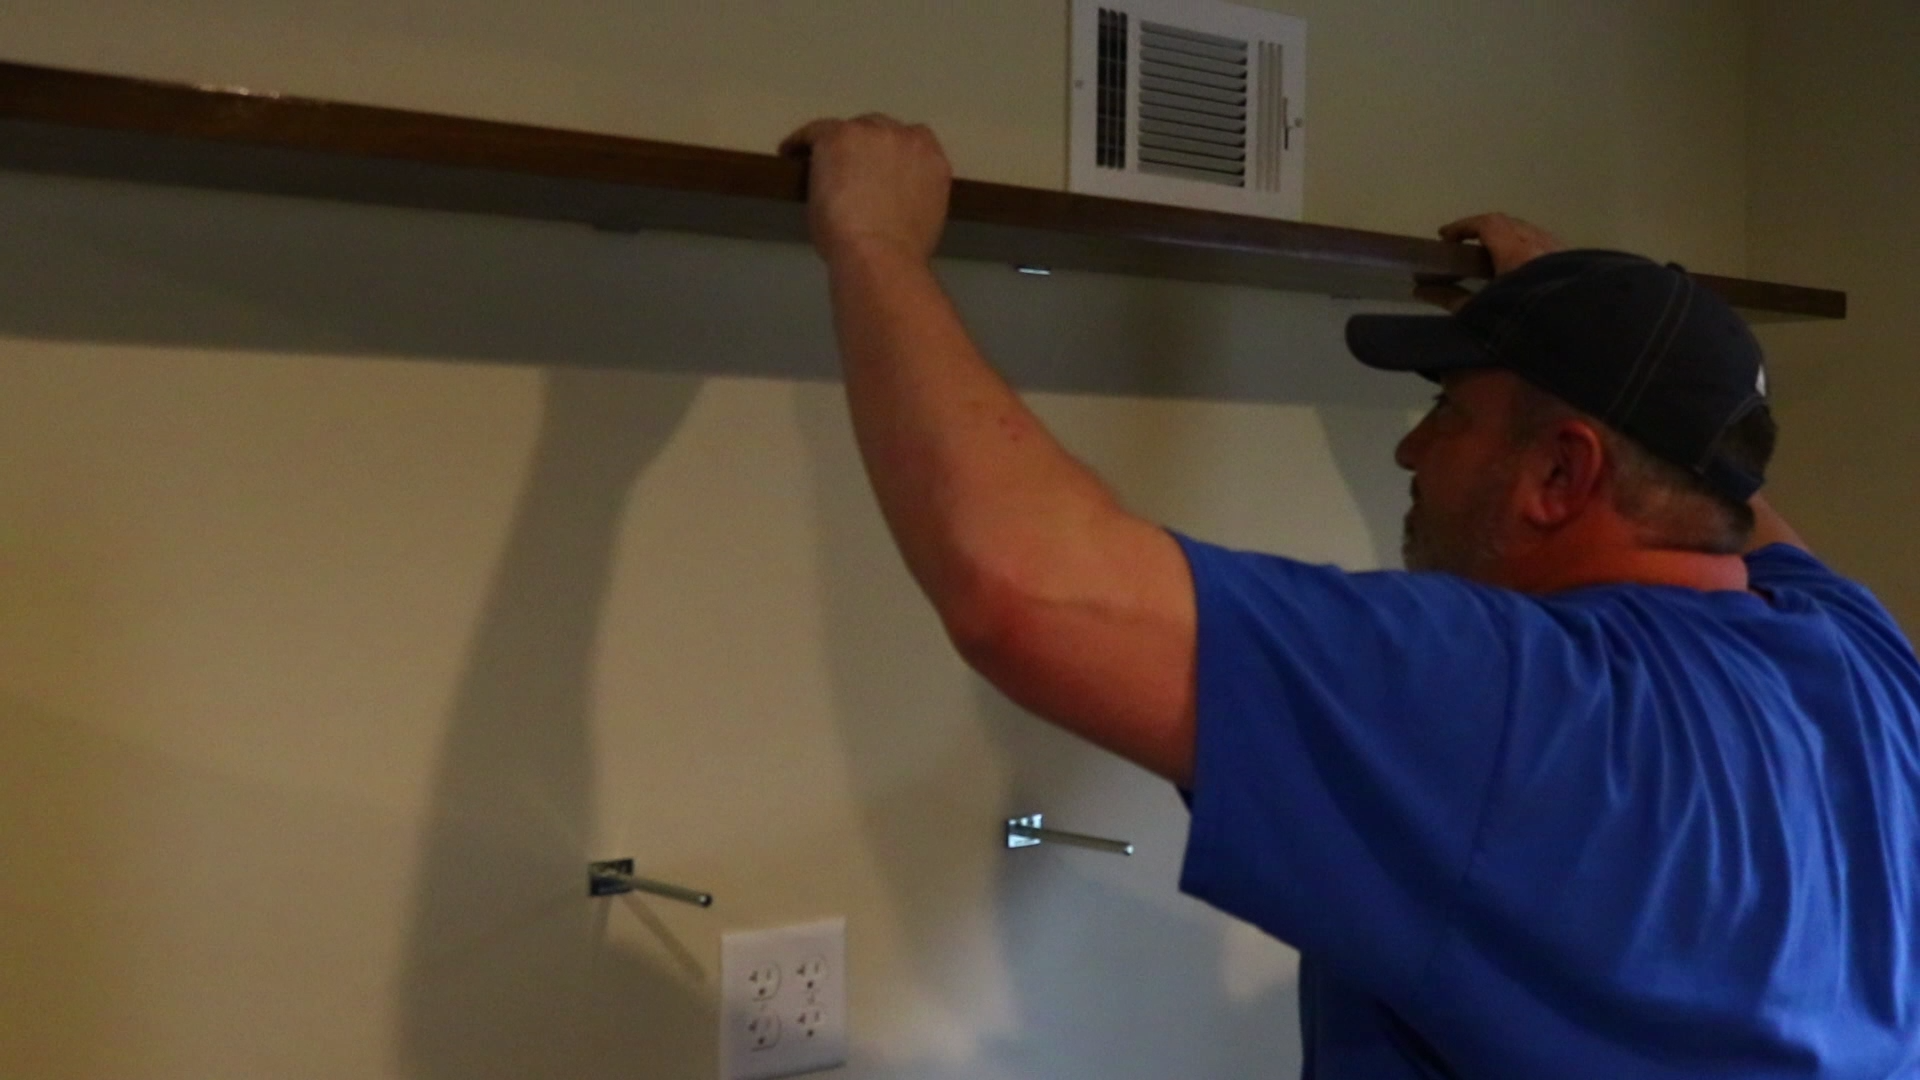
I could now finally install the shelves over at Shelby’s and I gotta admit I was a little nervous when I first started to slide the shelves onto the hardware. A bit to my surprise, they fit like a glove. The ease with which the hardware worked was very impressive. I’ll definitely be using it again should I ever make more floating shelves.
That’s it. I installed the shelves and they look great. Overall, this is a pretty easy project. My biggest hangups were the finishing and the anxiety over drilling the holes for the supports. The latter ended up being way easier than I thought. The former, well, finishing is not my strong suit. I hope you enjoyed the article and video. Please share any comments you have below or on the YouTube video page. See ya on the next one!



1 Comment
[…] Are you puzzling how to build a DIY floating shelf? Then get free guides and step-by-step instructions from here. You need 3 lengths of 6/4 lumber 96″ x 6″ to build these DIY wall shelves. Next, you need 3 blind shelf supports and 2” screws to install these shelves on the wall durably. Finish with waterlox original sealer. theaveragecrafts […]