How to Build a Quick and Easy Clamp Rack
Let’s build a clamp rack!
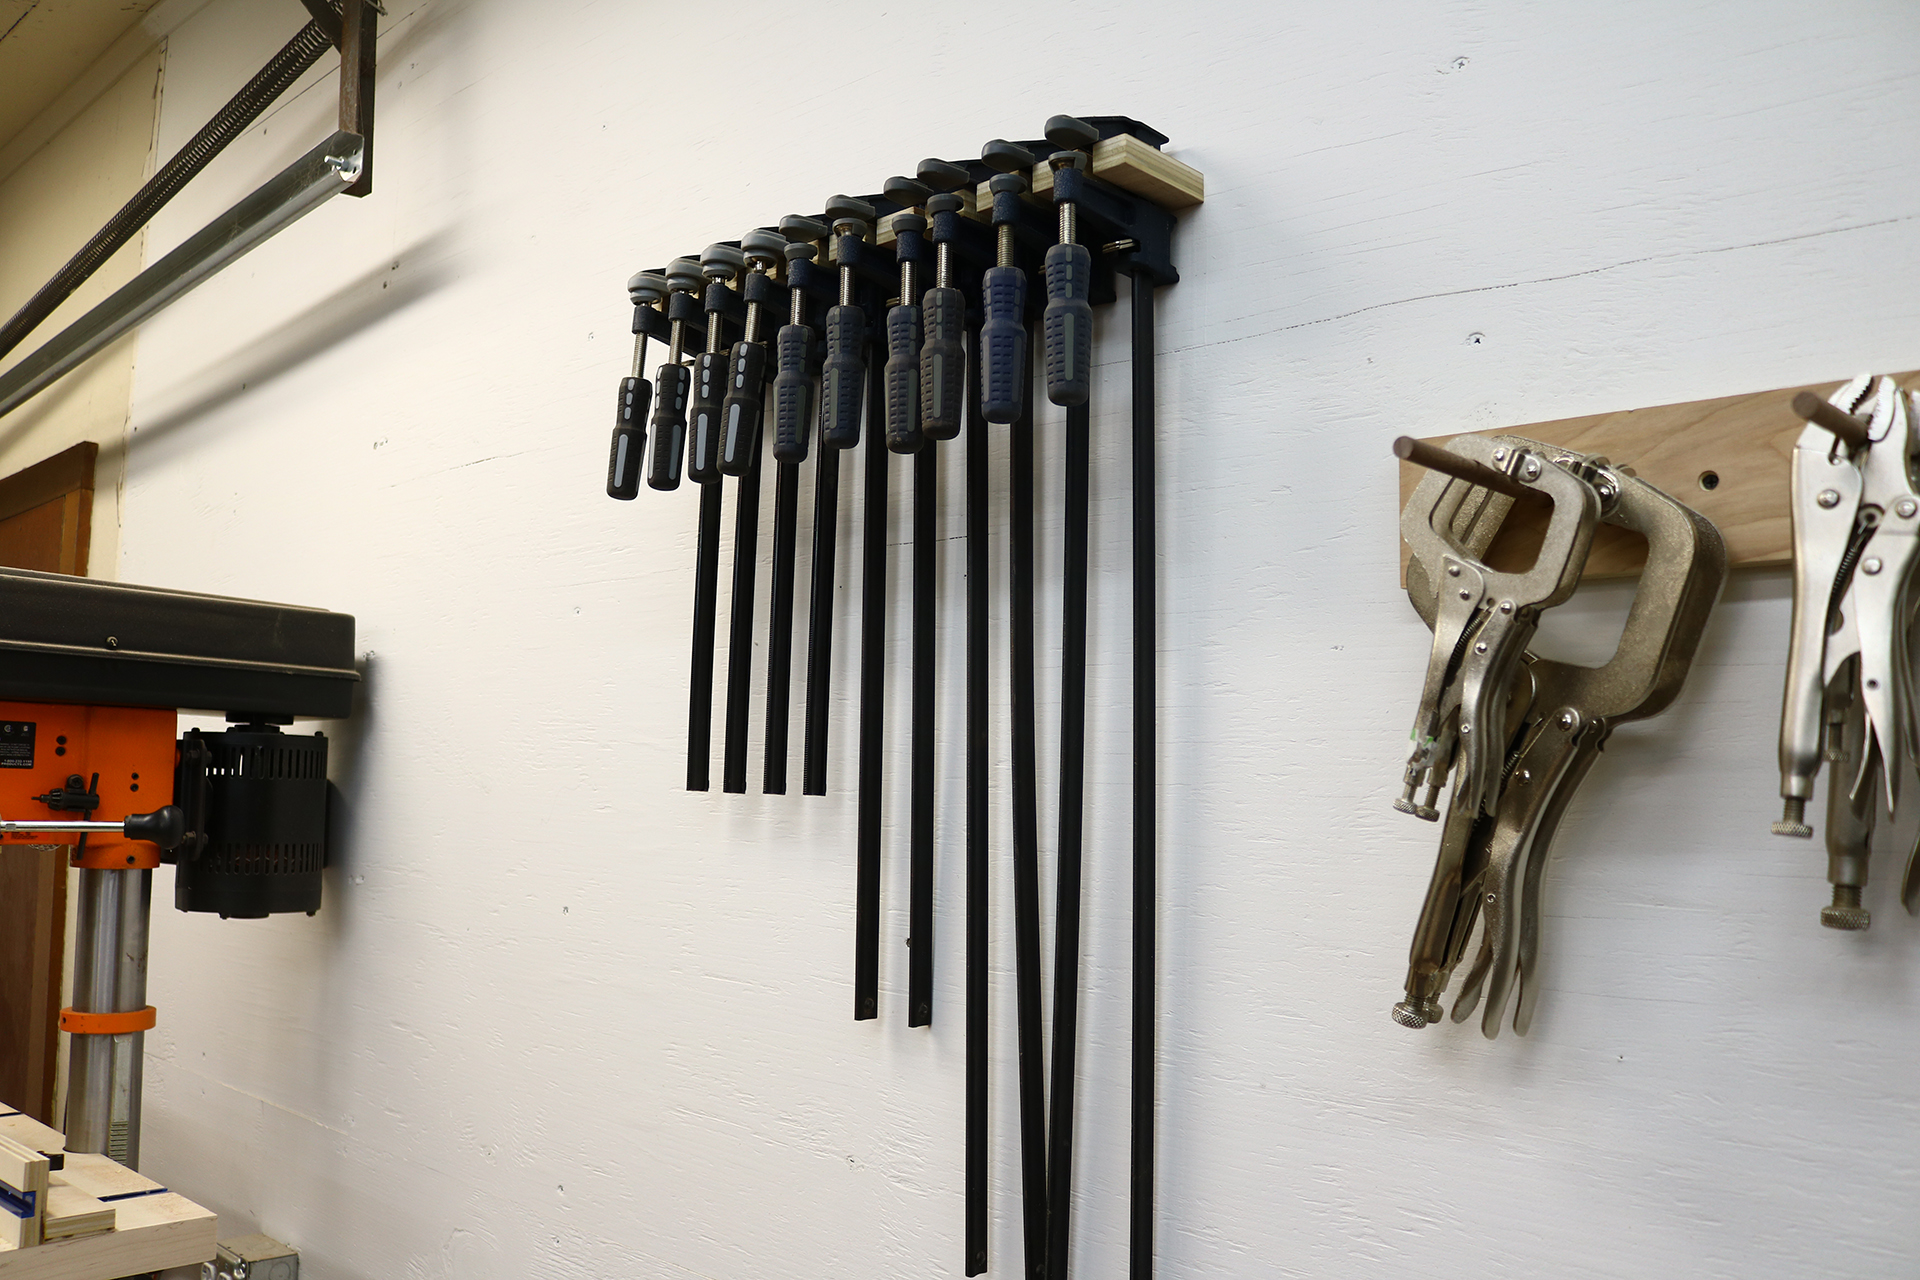
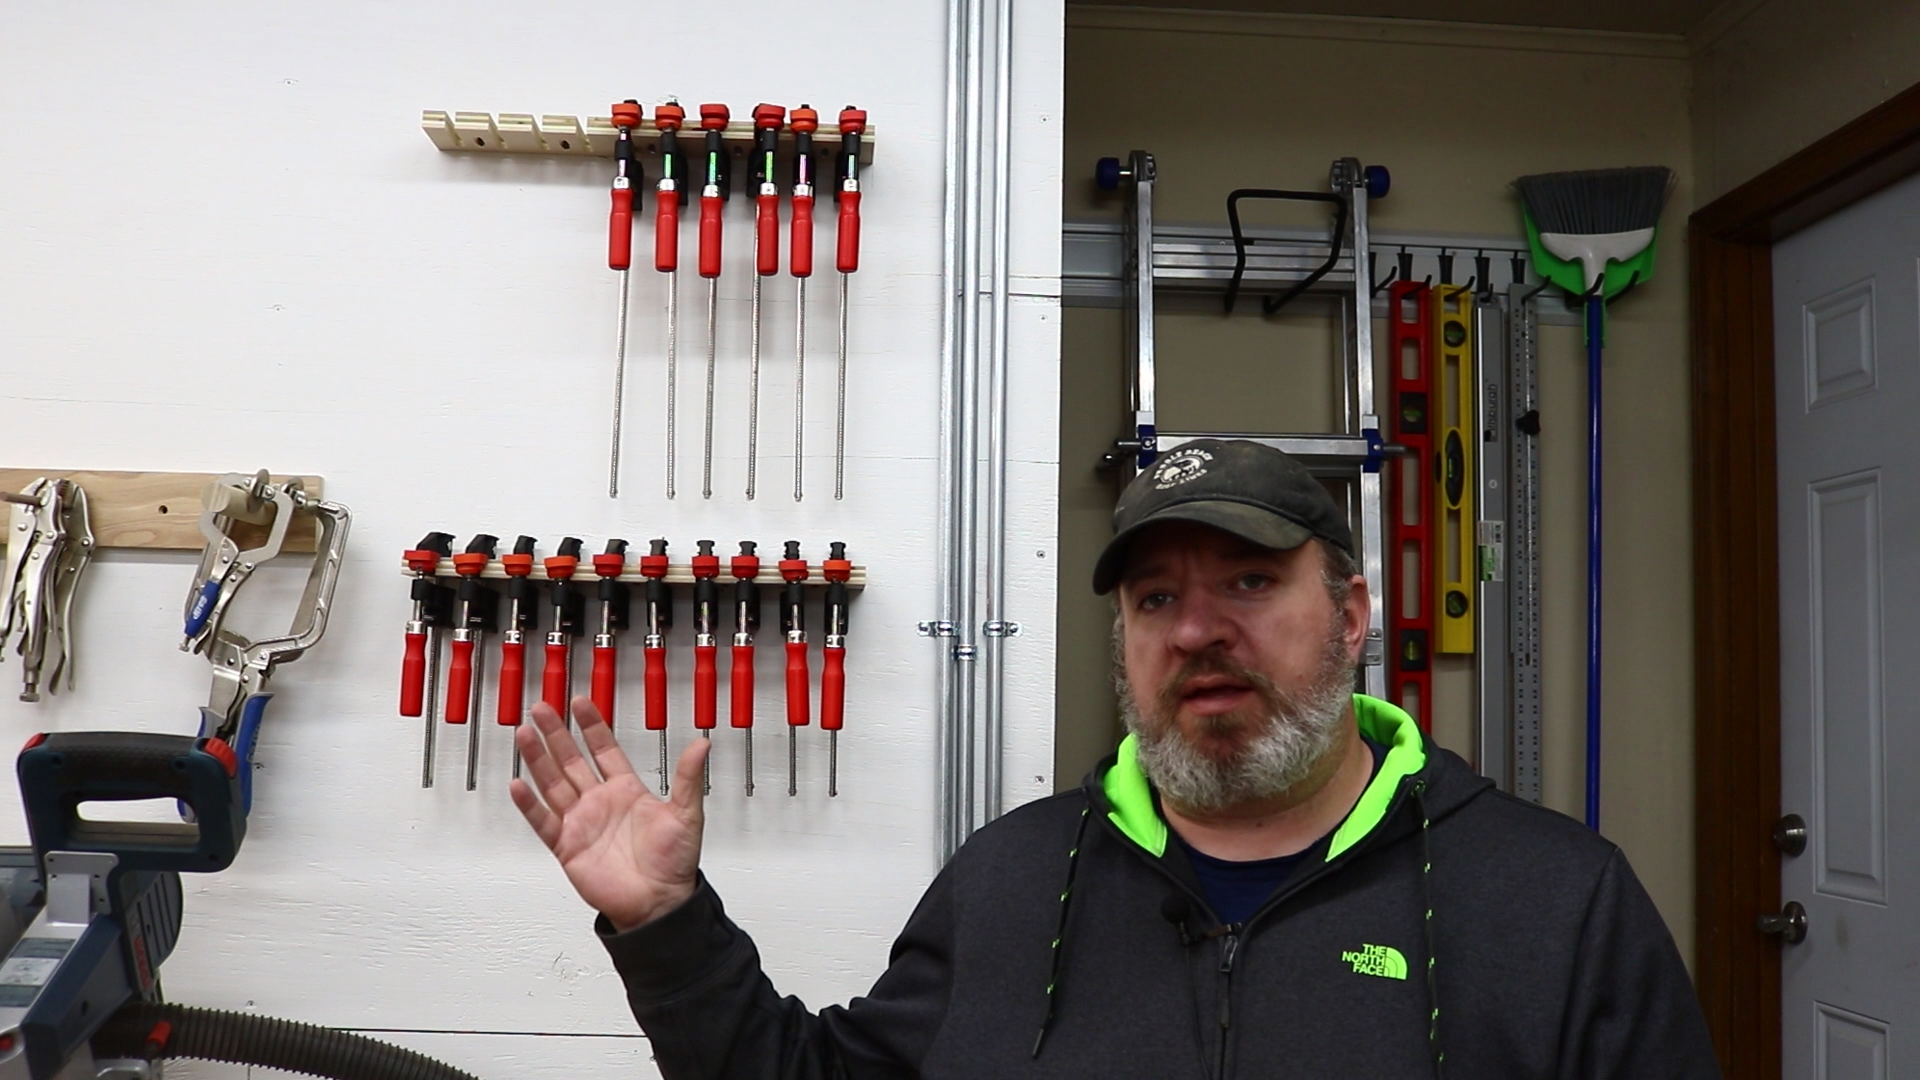
A couple months back I had accumulated quite a few clamps, especially F style clamps, and had run out of room on my clamp rack. One of these days I want to build an all in one clamp rack solution but I am far from done acquiring clamps and am not ready at this point. So, I needed to come up with something quick so I could at least declutter my shop. This is what I came up with:
It’s about as simple of a solution for a clamp rack as I could imagine. My shop has plywood walls so I could get away with using just a single piece of scrap 3/4″ plywood. If you don’t have plywood walls you can still make this clamp rack out of a single piece or you could attach another piece and then attach that piece to the wall. More on that later. Let’s get to the build.
Materials and Tools
Lumber and Sheet Goods
- 1 – 18″ x 3″ x 3/4″ plywood
Hardware and Fasteners (per 18″ clamp rack)
- 5 – Kreg 1 1/4″ Coarse Thread Pocket Hole Screws – https://amzn.to/2qeZAKe
- Optional – 2 – Kreg 2 1/2″ Coarse Thread Pocket Hole Screws – https://amzn.to/2GGzYQs
- Optional – 4 – GRK R4 HandyPak Multipurpose Screws – https://amzn.to/2HkRNS8
Tools I will be using in this build
- DeWalt 20V Max Drill and Impact Driver – http://amzn.to/2mt5nJj
- Torpedo Level – http://amzn.to/2EmdYcp
- WEN 12″ Drill Press – https://amzn.to/2JuqiXd
- Dewalt Random Orbital Sander – https://amzn.to/2GHssoy
- Bosch Glide 12″ Miter Saw – http://amzn.to/2F061Wk
- Dewalt 9ft. Magnetic Pocket Tape Measure – https://amzn.to/2JvlTTK
- Bessey 12-Inch Clutch Style Bar Clamp – https://amzn.to/2Jvn71i
- Moore and Wright 4 inch Engineers Square – https://amzn.to/2HkTfE4
- Kreg K4 Pocket Hole System and Face Clamp – https://amzn.to/2Eu65gv
theaveragecraftsman.com is a participant in the Amazon Services LLC Associates Program, an affiliate advertising program designed to provide a means for sites to earn advertising fees by advertising and linking to amazon.com
The Design
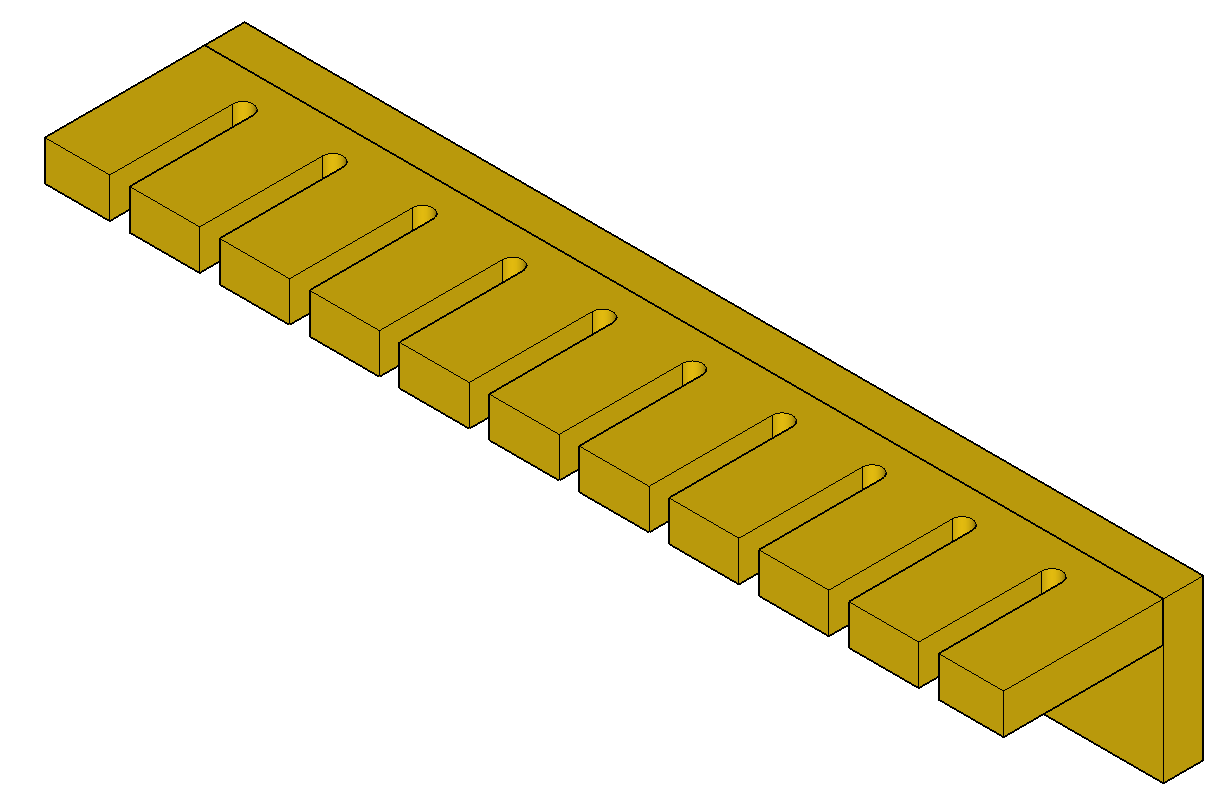
There’s not much to this rack. Just a single piece of scrap plywood. Here is a layout of all the cuts you will need to make:
Let’s Get to Building
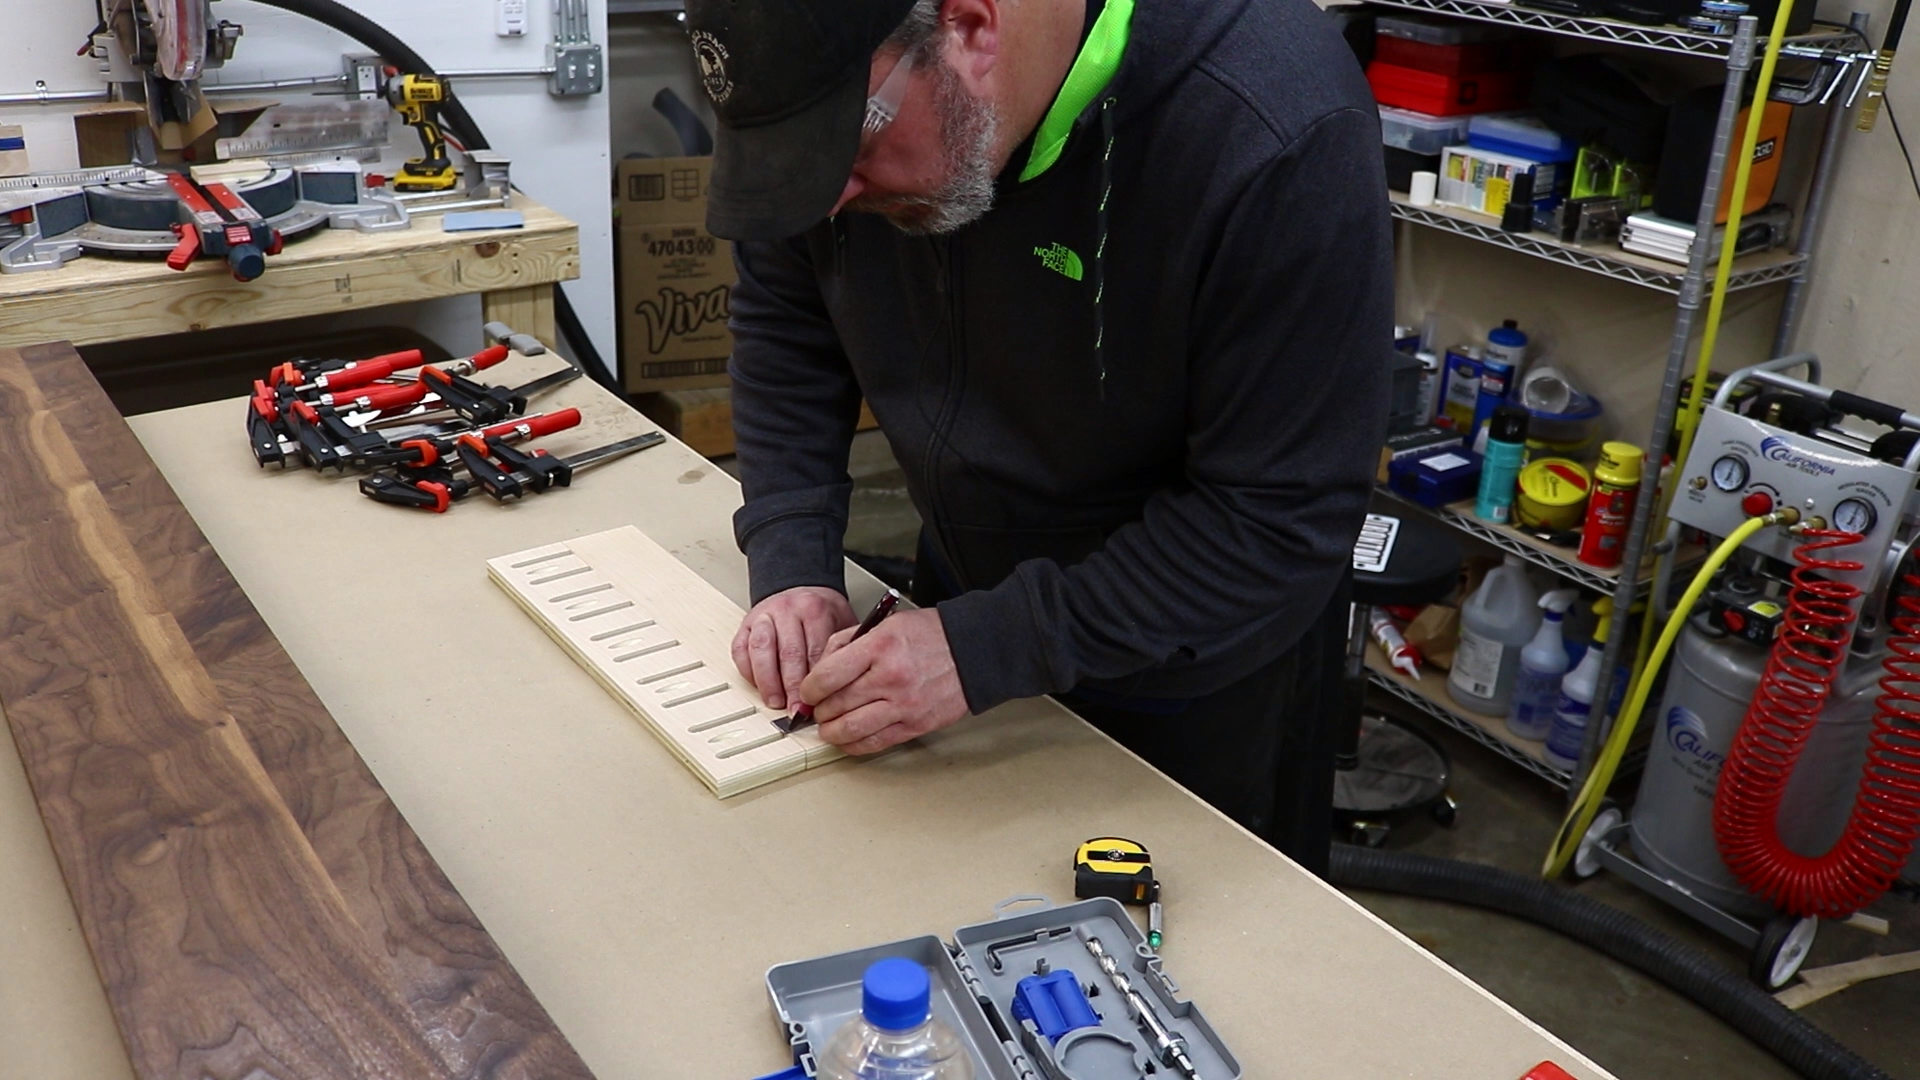
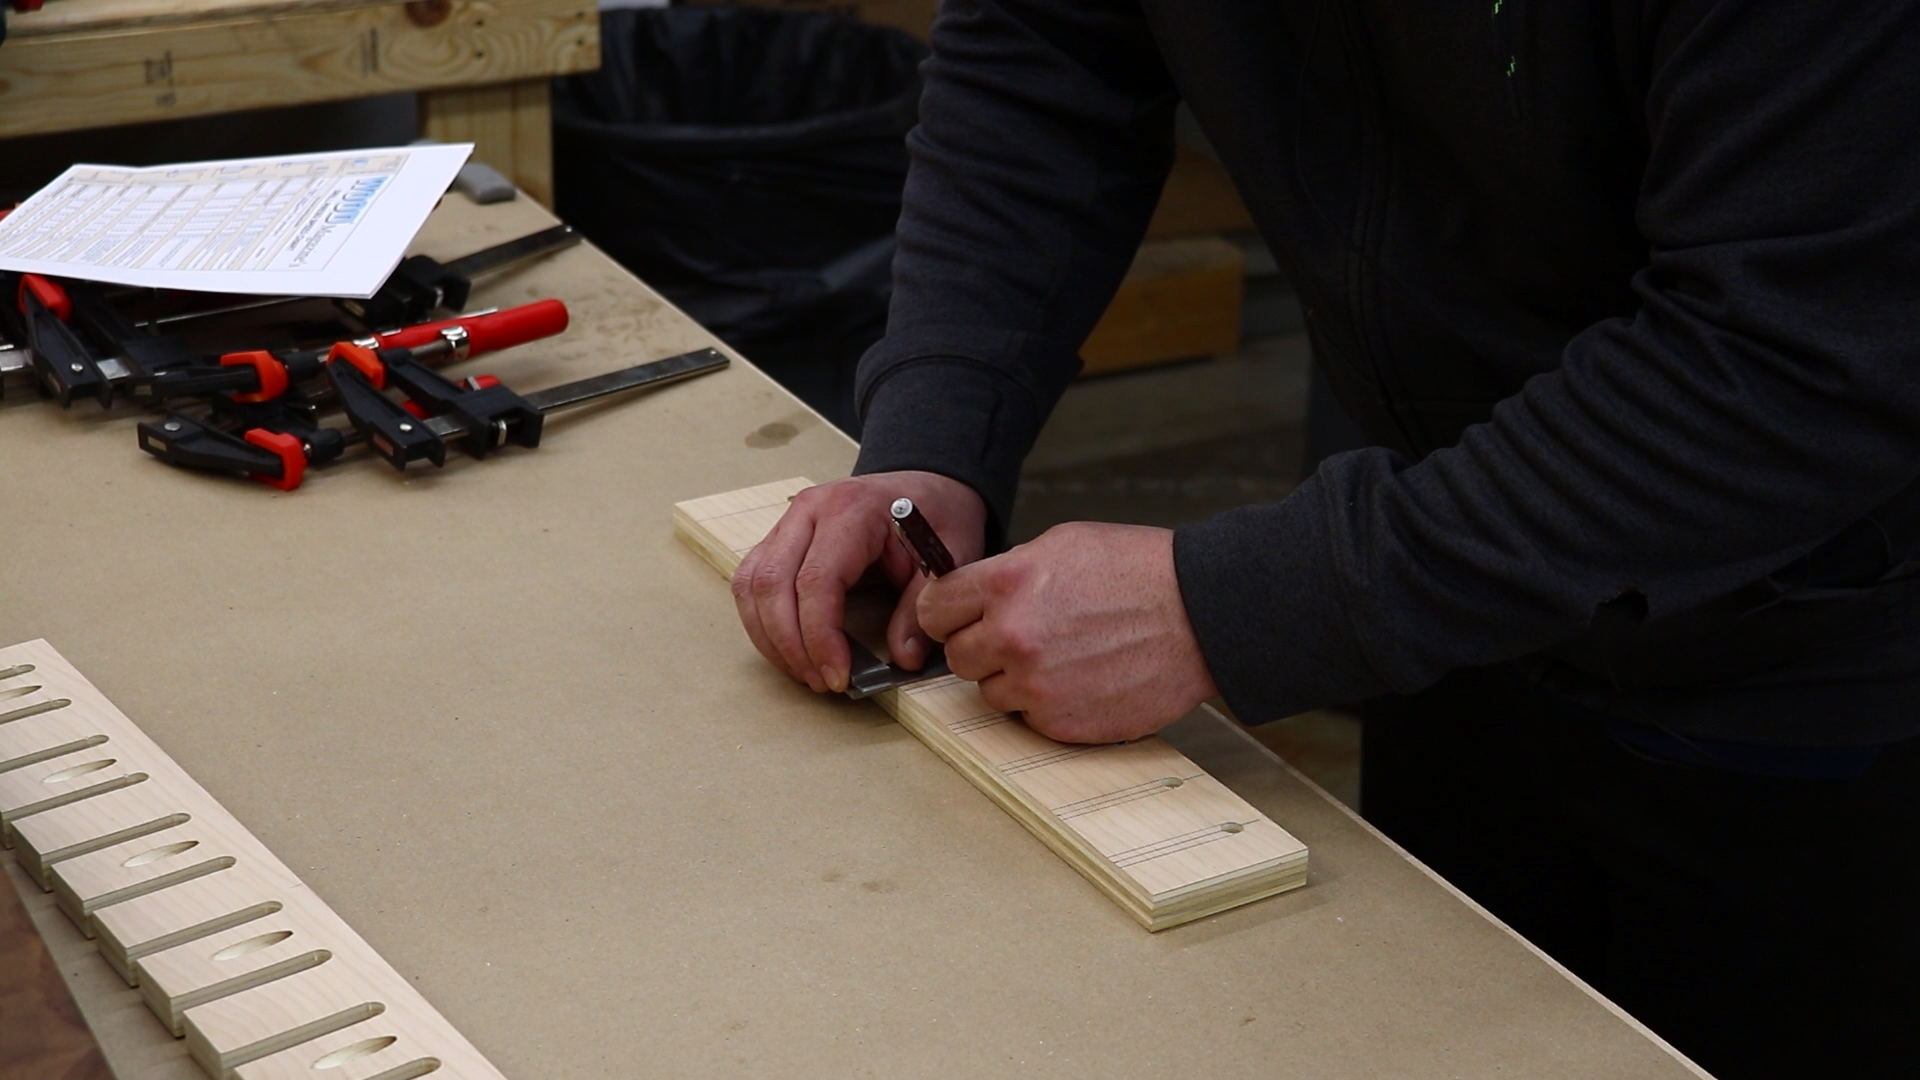
I started out by marking all of the cuts for the clamp rack on the piece of plywood based on the dimensions above.
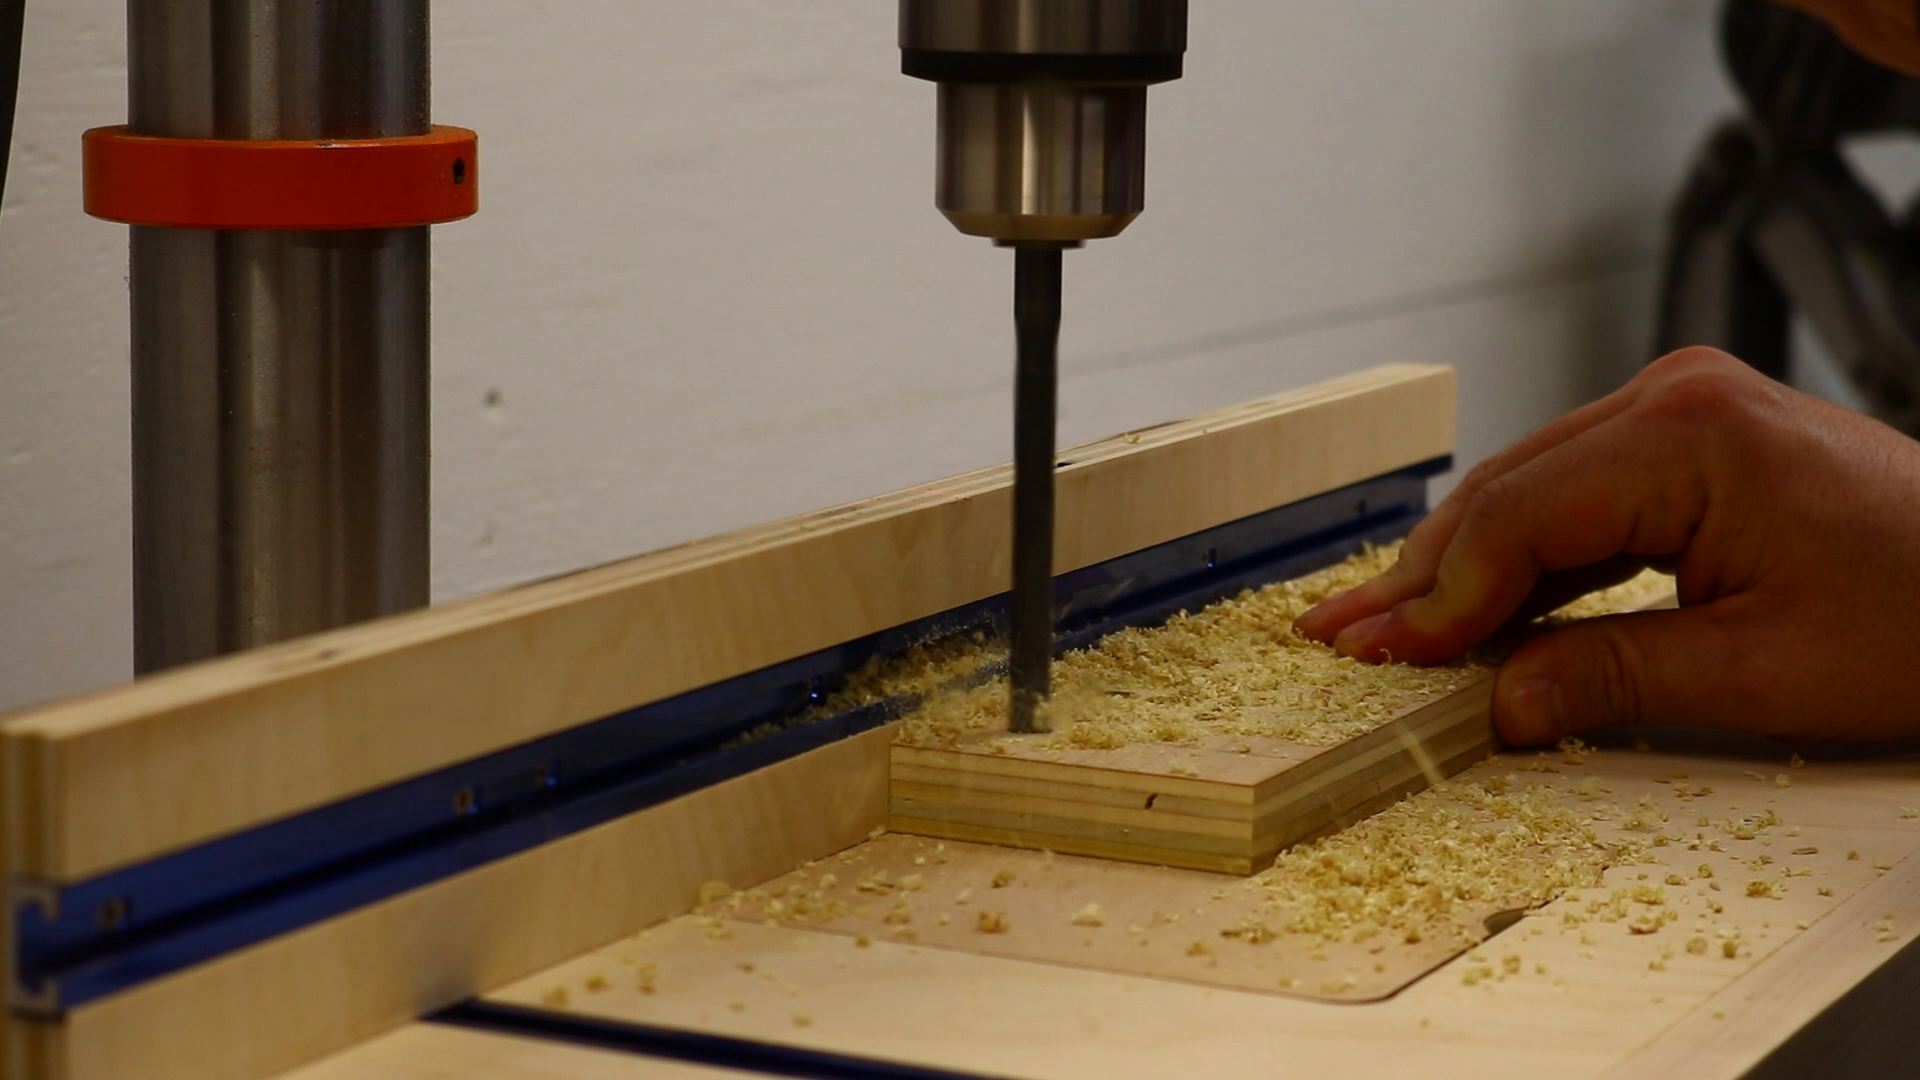
Once everything was marked I made my way to the drill press and drilled out the ends of all of the slots.
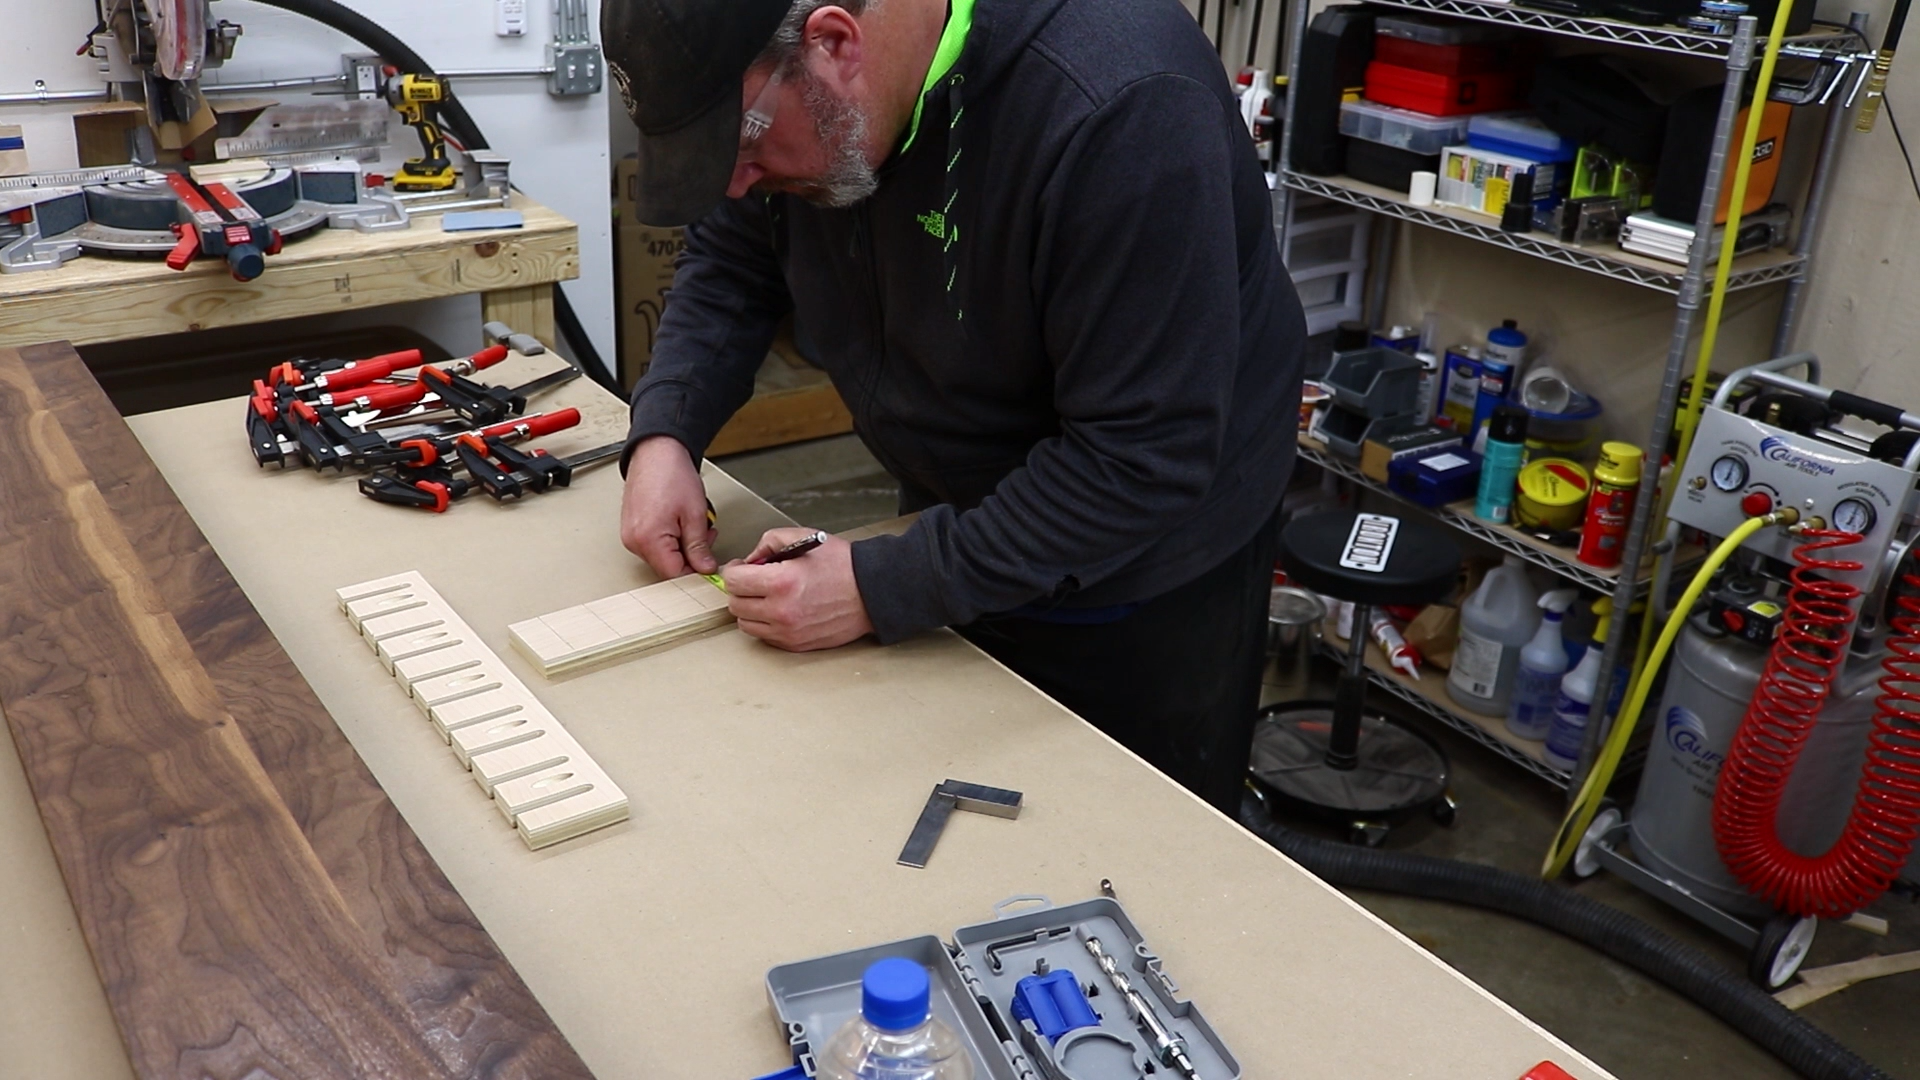
I then struck lines on each side of the holes where I will make cuts with the bandsaw.
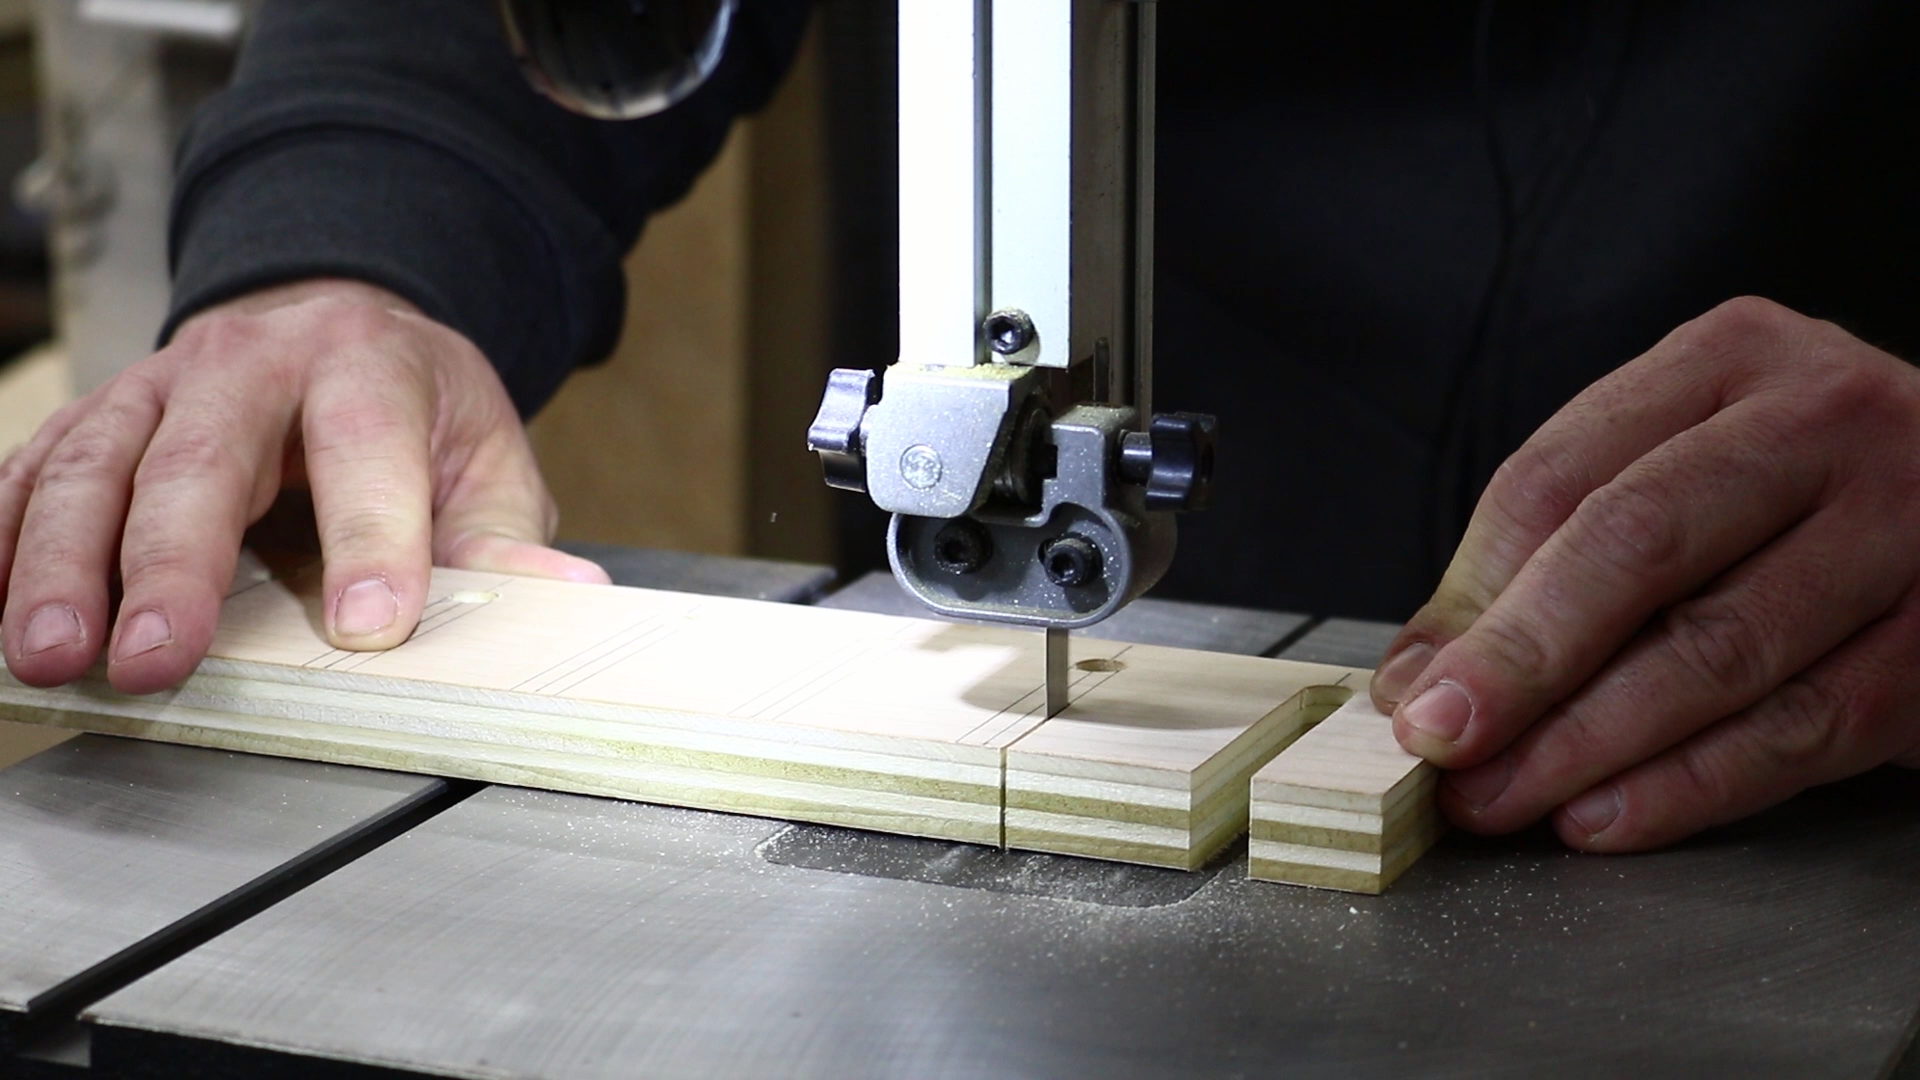
I used my bandsaw to cut out all of the slots. My bandsaw is only 10″ so I had to make half the cuts one way and then flip the piece over and make the rest of the cuts. You can also use a jigsaw to cut the slots.
I used my Kreg K4 jig to drill five pocket holes along the bottom of the rack.
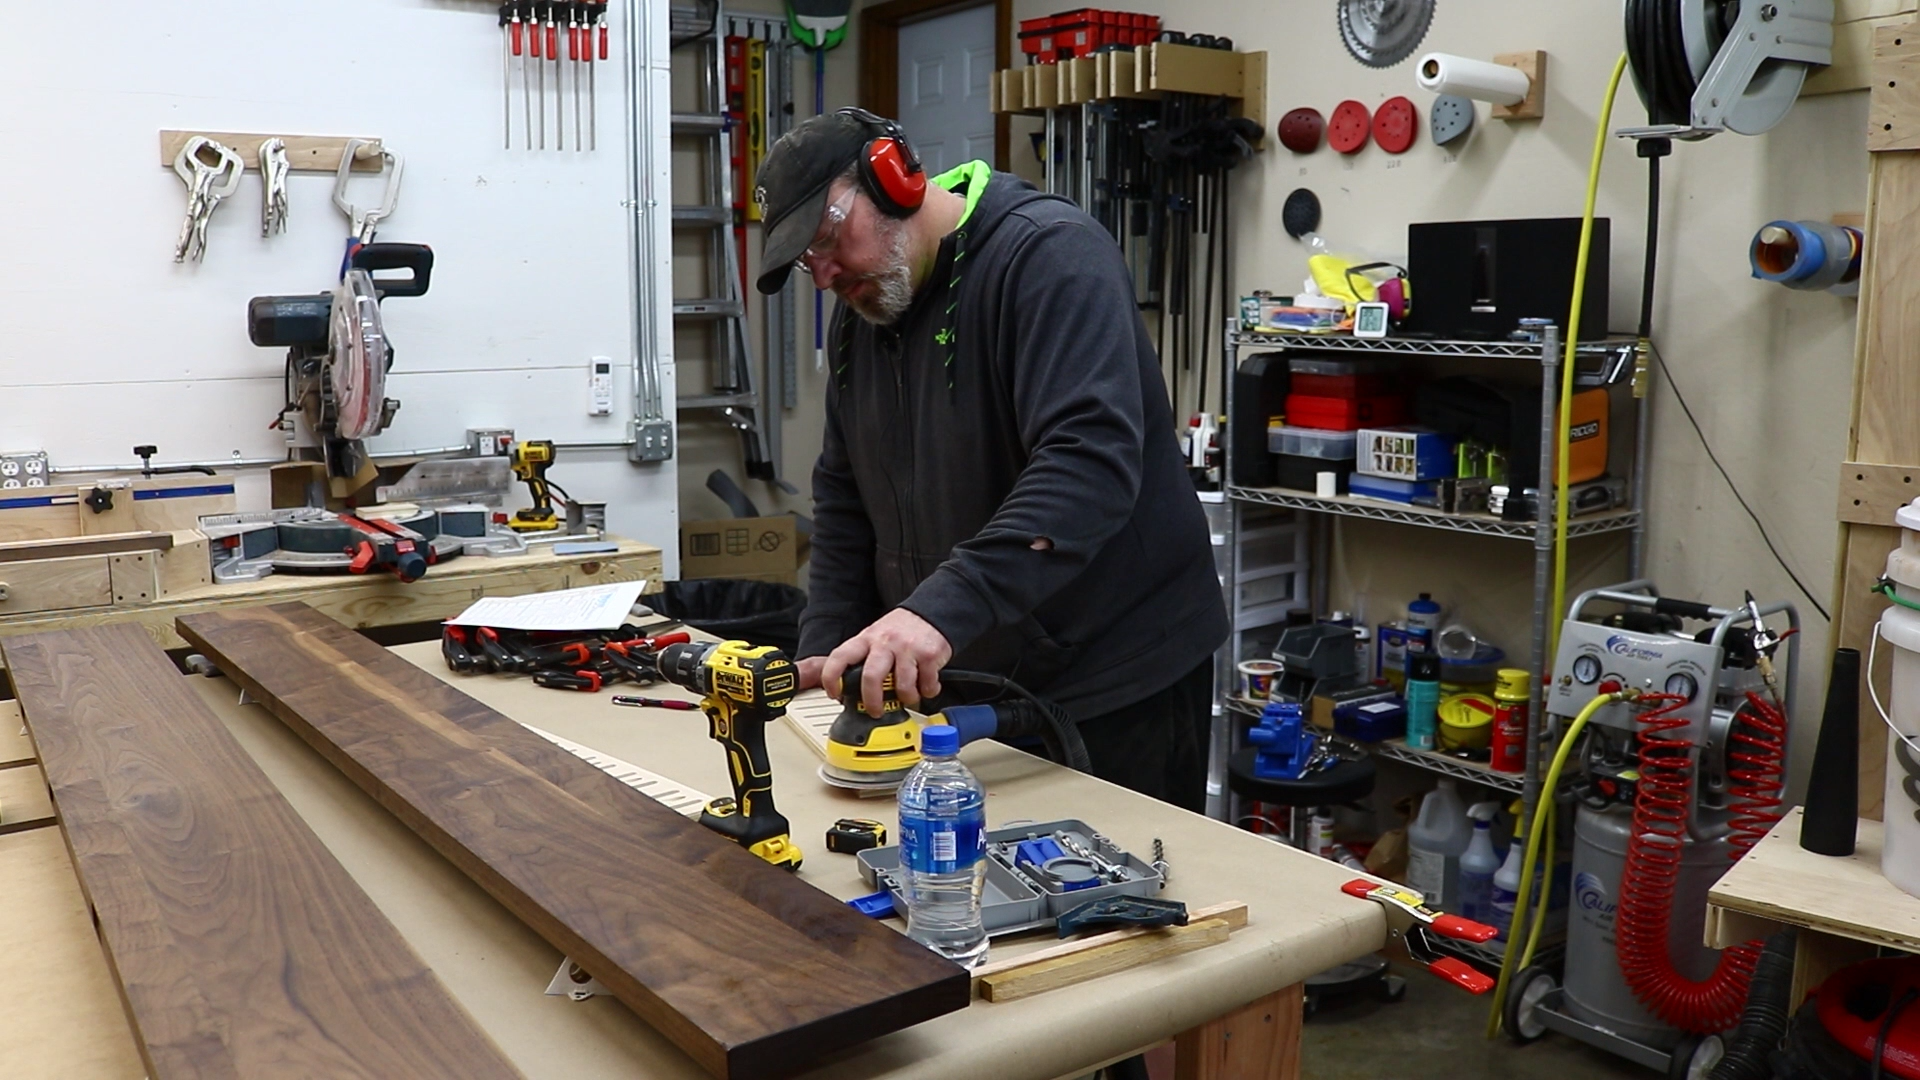
It’s not necessary but I hit each side of the rack with my orbital sander just to clean it up a bit.
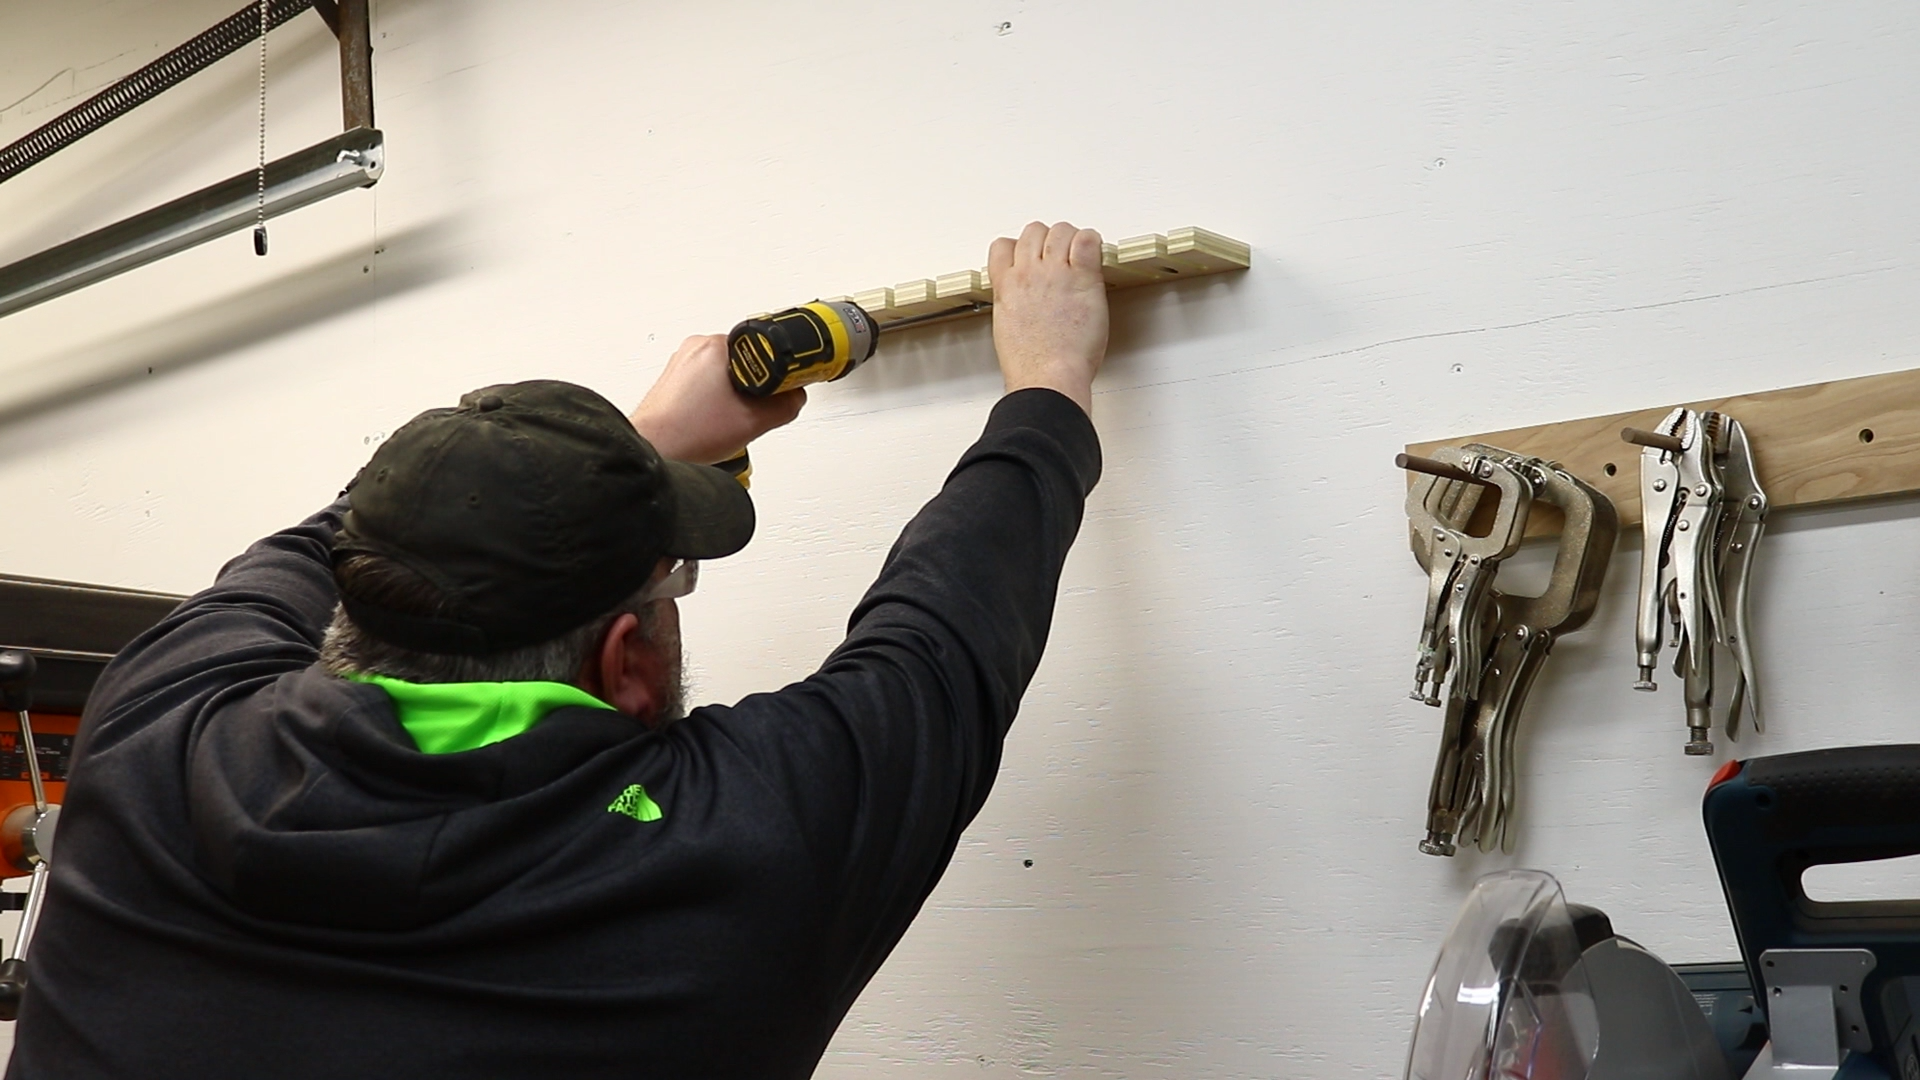
I positioned the rack on the wall and drove in the middle mounting screw.
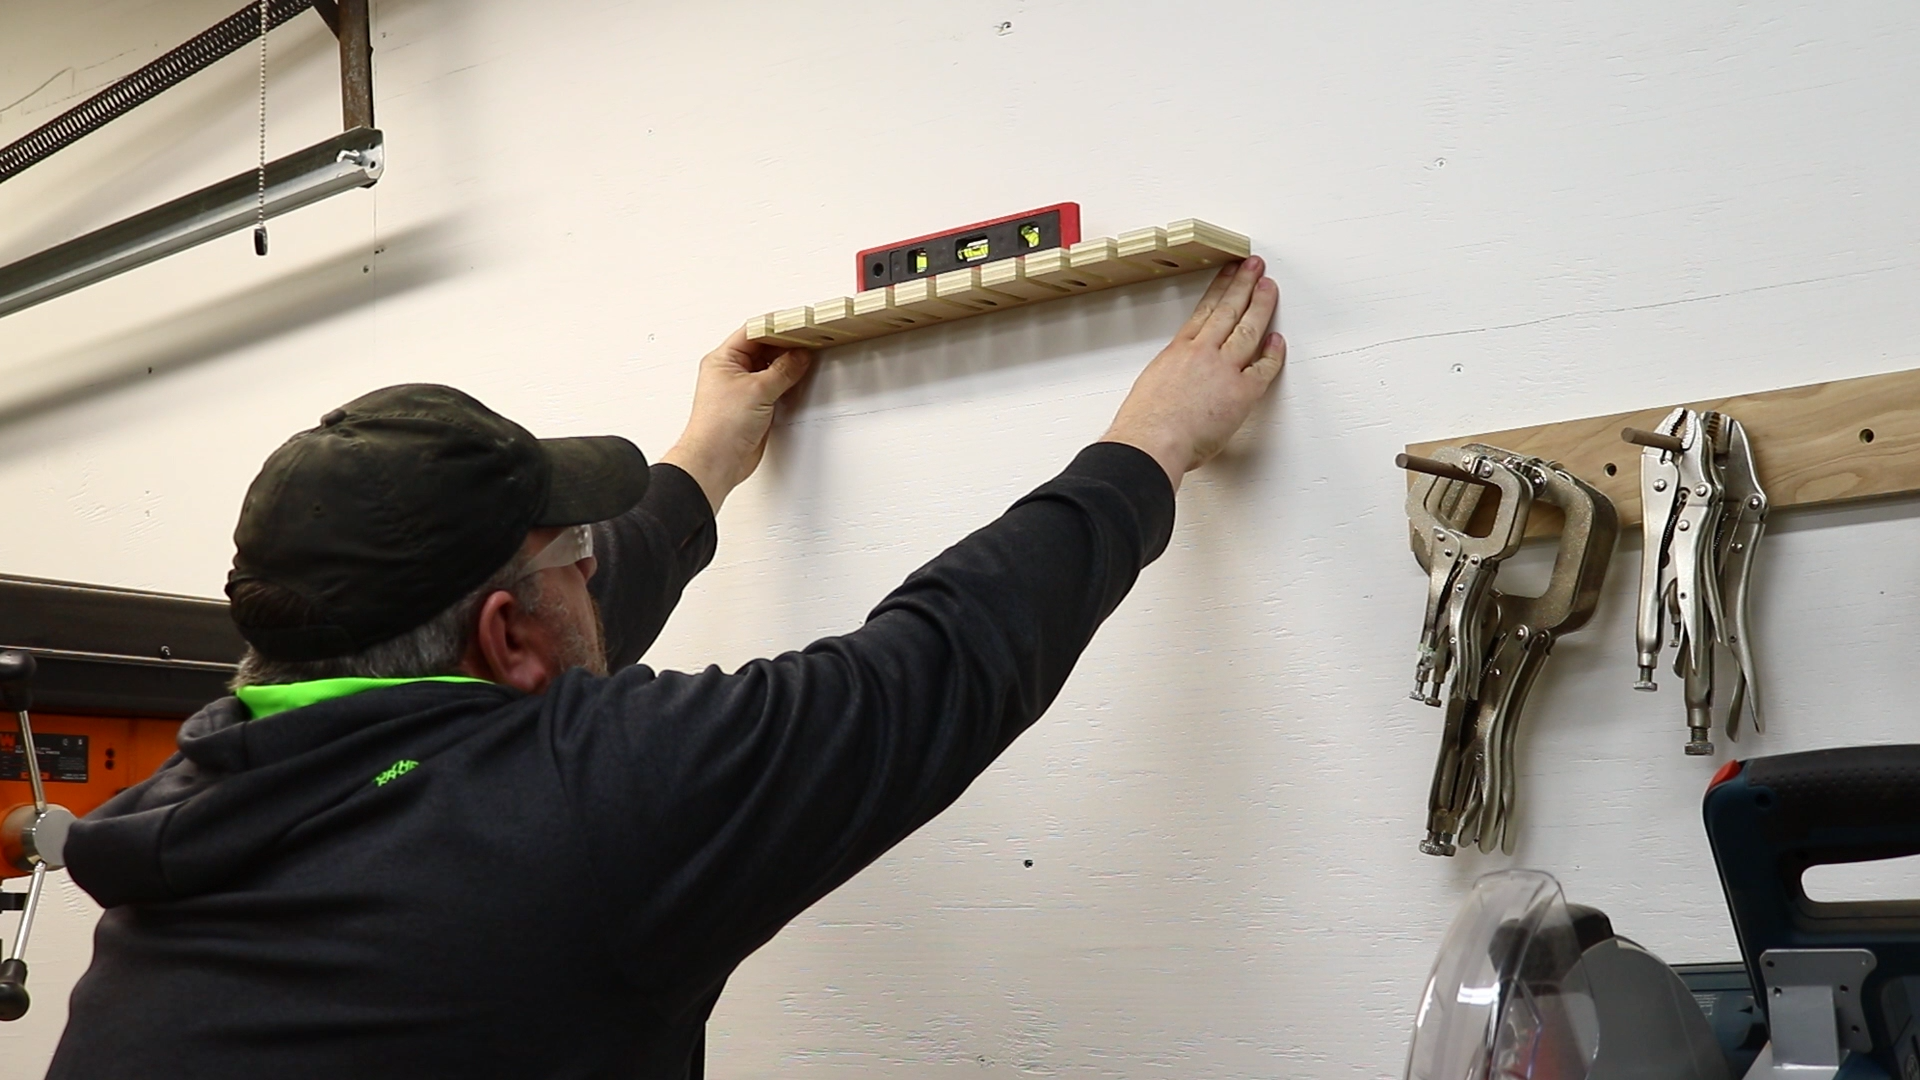
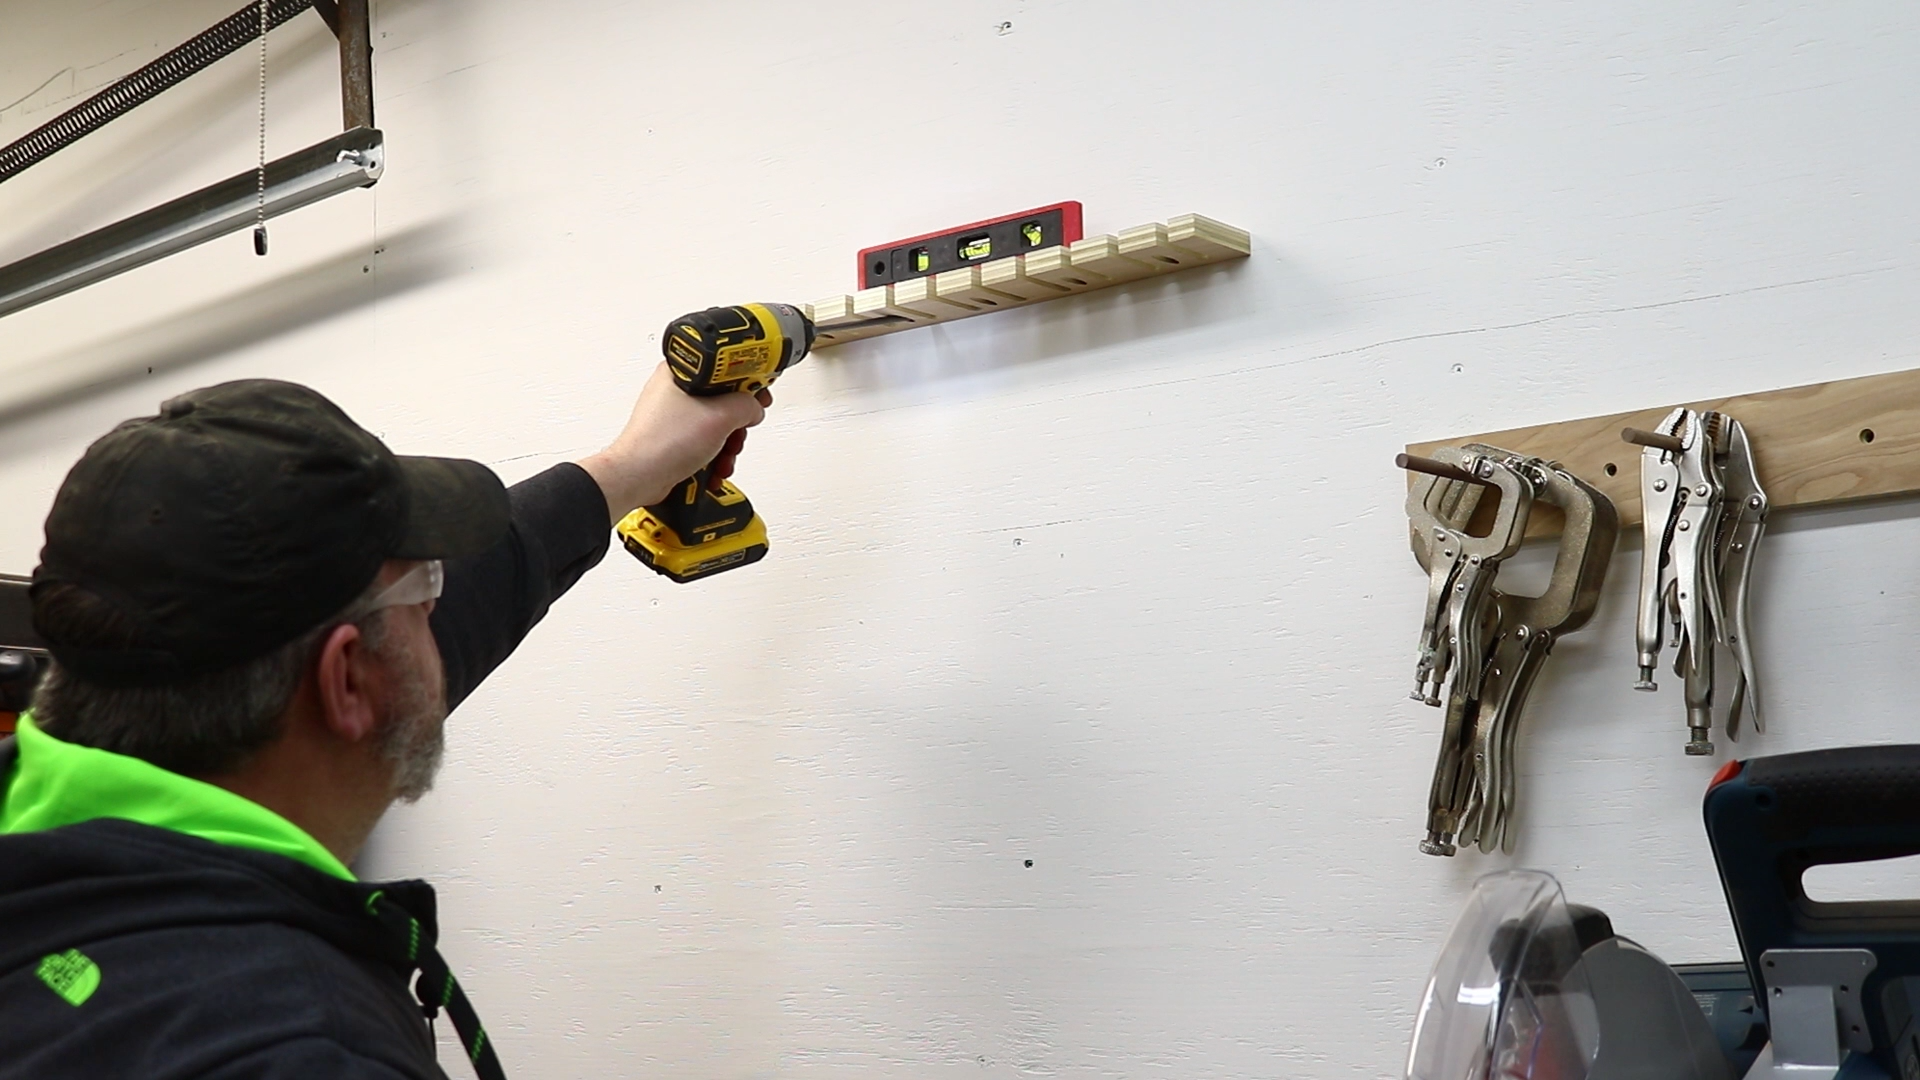
Once it was secure to the wall I leveled it and then drove in the rest of the screws.
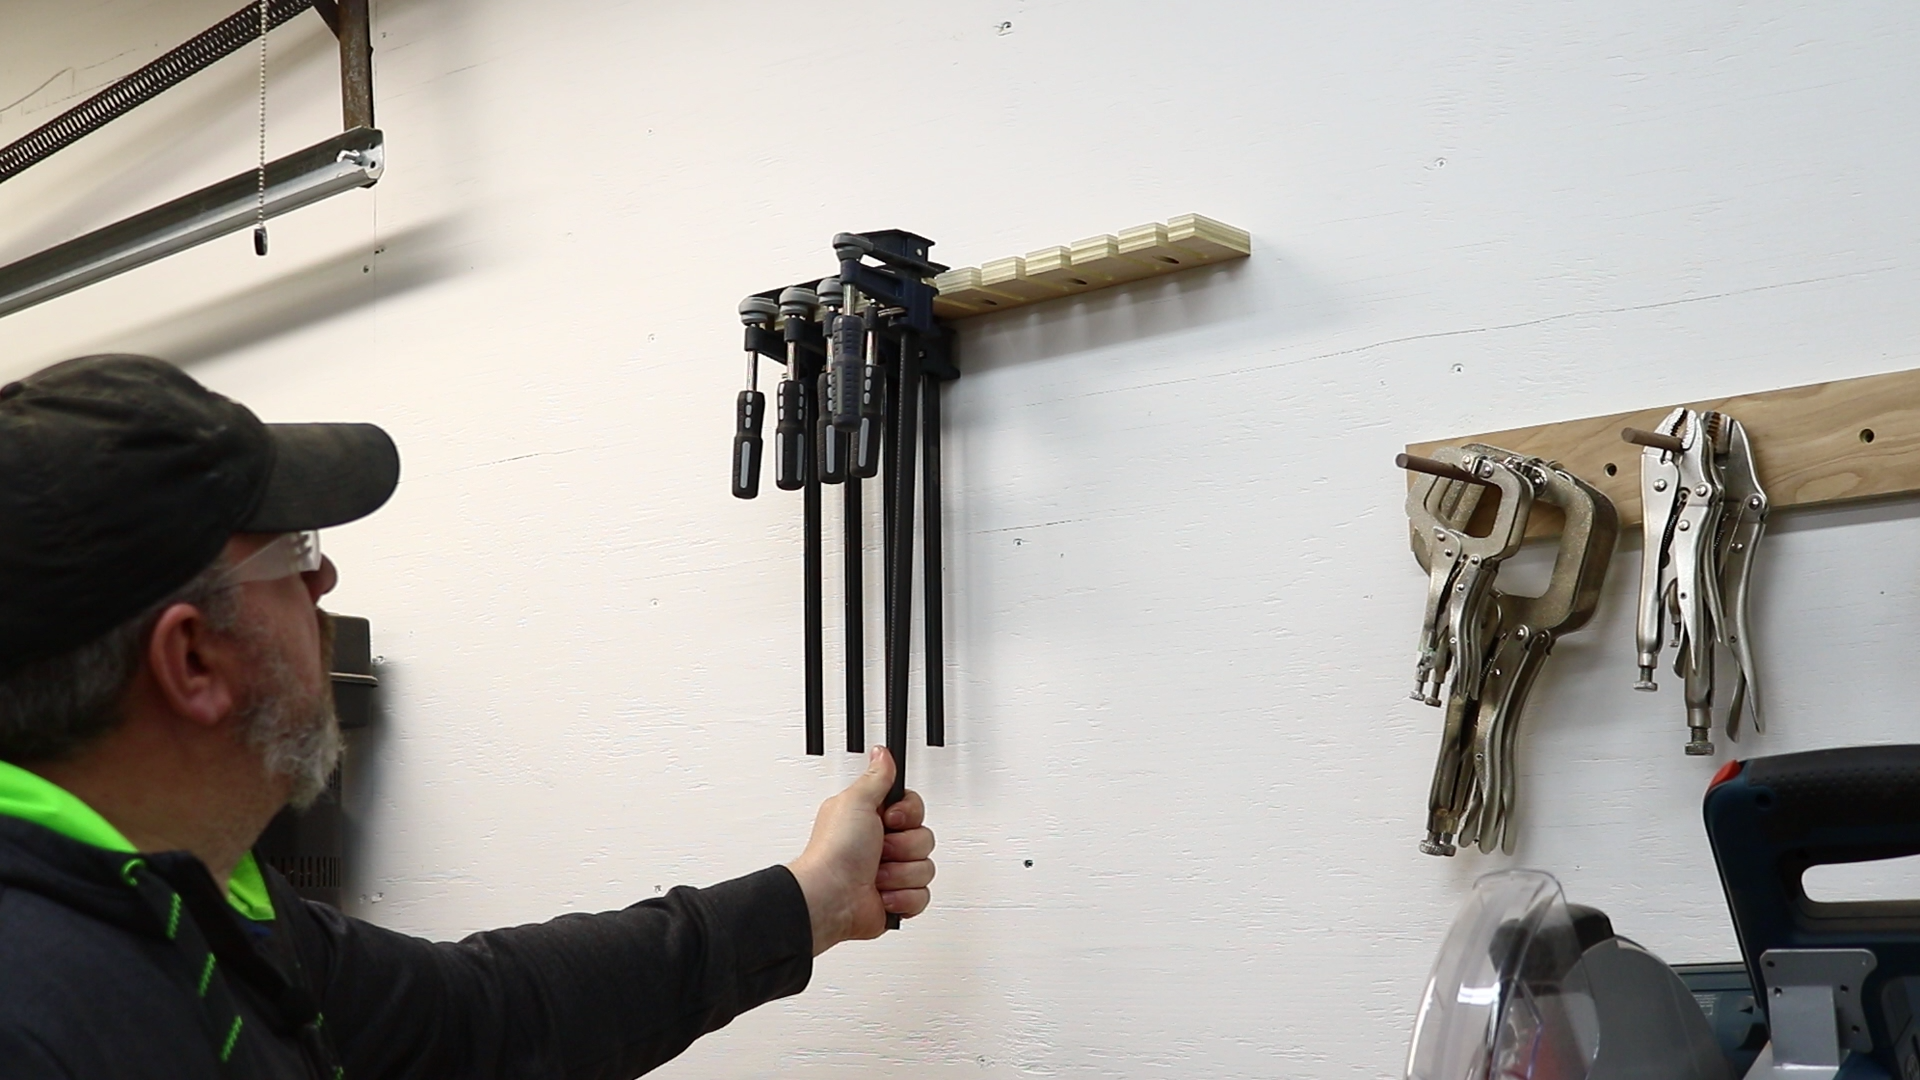
That’s pretty much it. All that was left was filling it up with clamps.
It took a total of about 45 minutes to make this rack and that included having to set the camera up for all of the shots. All in all, a quick build.
What if you don’t have plywood walls?
There’s two ways to mount these if you don’t have plywood walls.
Option 1
If you’re just using this for smaller F style clamps then just use those longer Kreg screws I specified in the materials list and make sure you drive them into studs. The racks are 18″ wide so, assuming your studs are 16″ on center, you should be able to get them secured into two studs. You might drive one screw in the middle just to help with sagging but I don’t think that’s necessary.
Option 2
Cut another piece of 18″ x 3″ plywood and mount the rack to that which you can then mount to the wall with a couple 2″ #8 screws into the studs.
Wrap Up
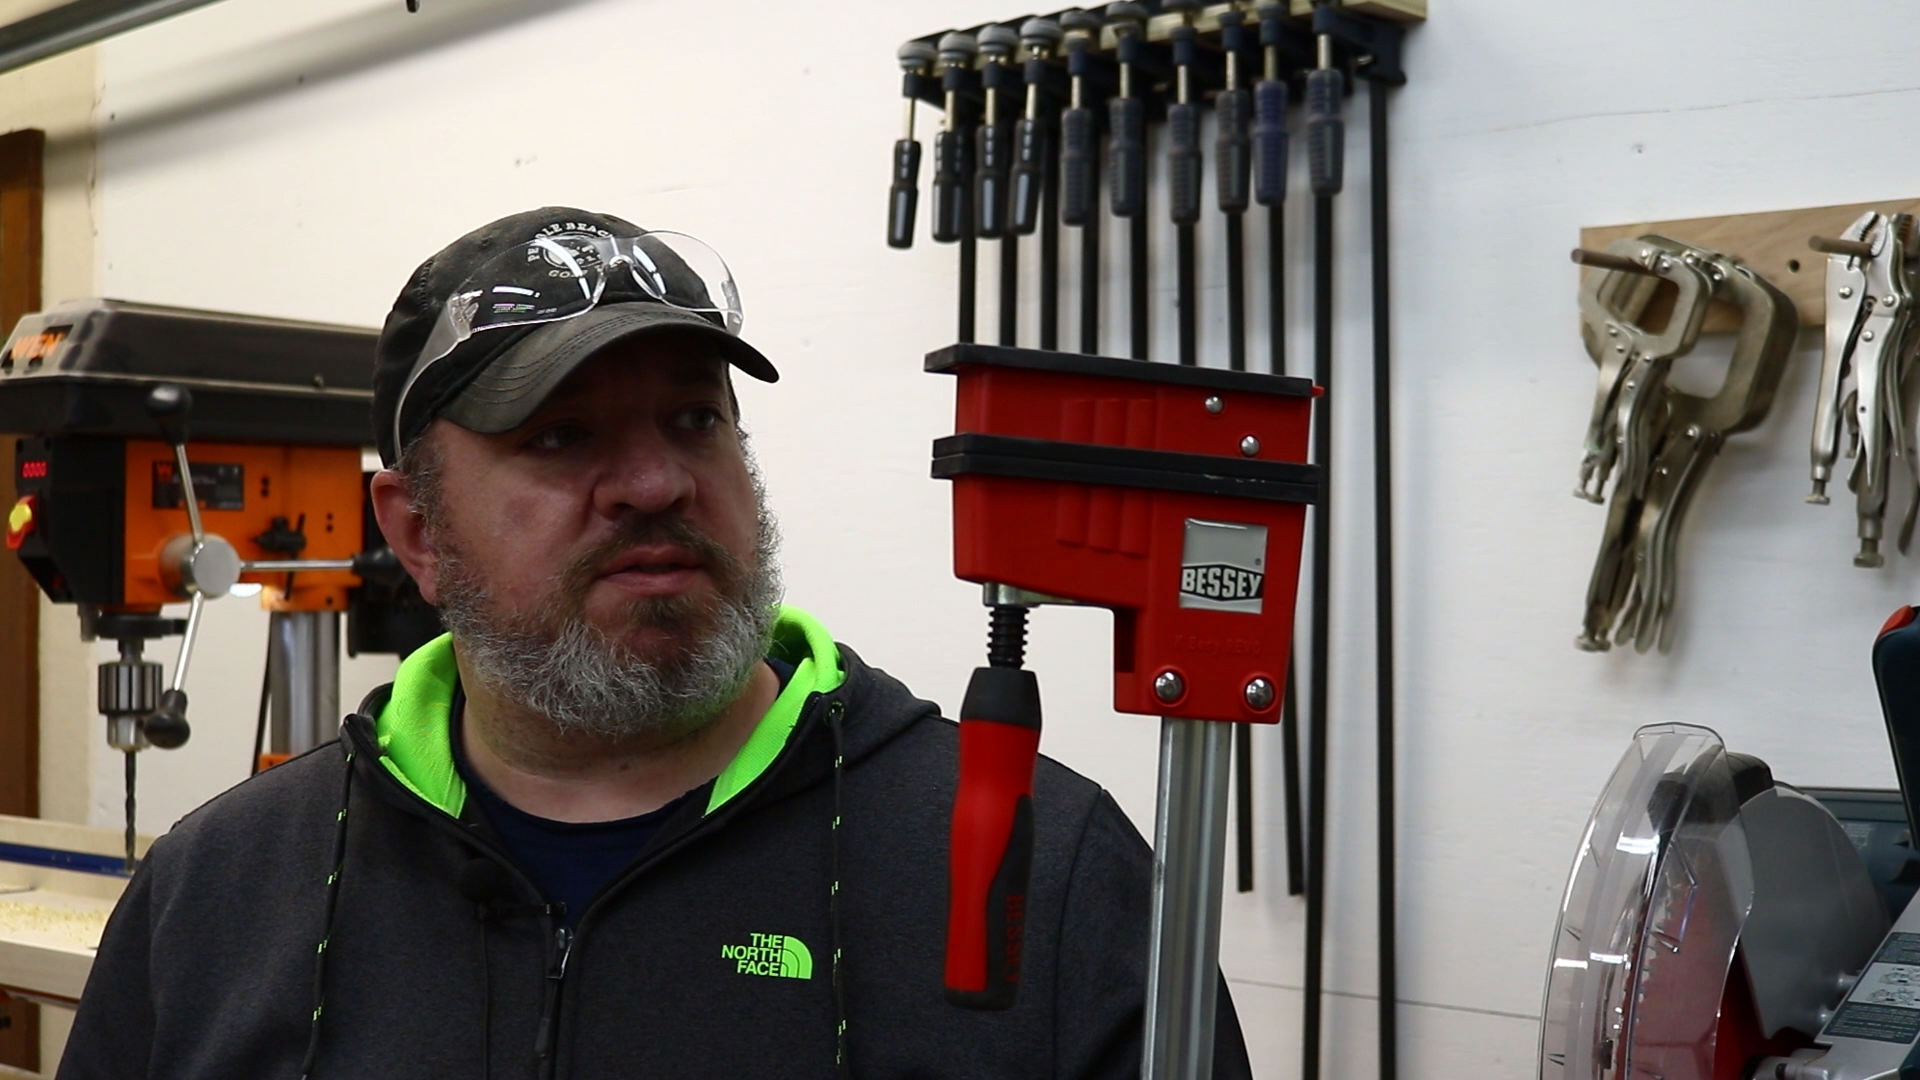
These racks were beyond simple to make but they sure did help me get organized. I posted a pic of these to a couple forums I frequent and some people called out the strength of the pocket hole screws. I decided to put them to the test and loaded one up with 10 of my 24″ Bessey REVO K Body clamps. I’d guess they weigh at least 10 pounds and the rack held up fine.
I am not saying I endorse loading these racks up with a bunch of heavy clamps but they seemed to hold up fine under the load of my Besseys.
What do you all think of these racks? Do you have a simple solution for your clamps? Lemme know in the comments down below.
Thanks for stopping by.




0 Comment